Ⅰ. A brief introduction to Lasergrbl

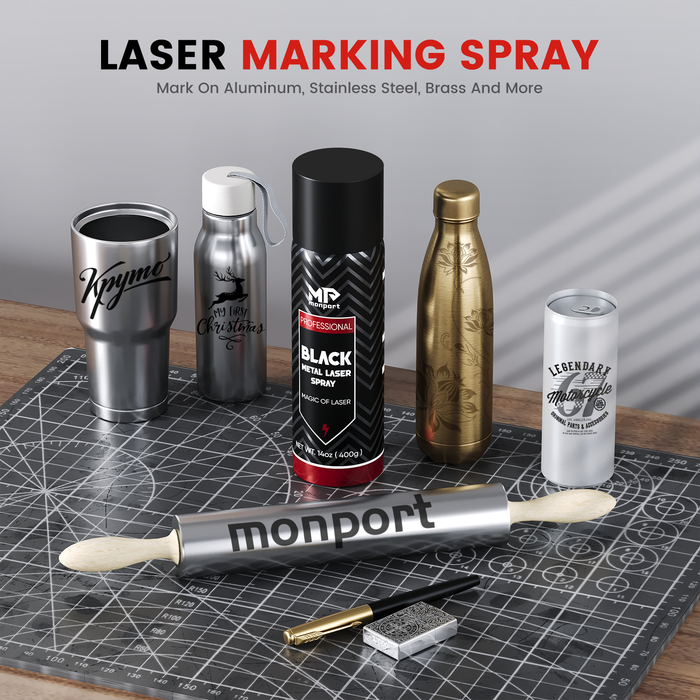
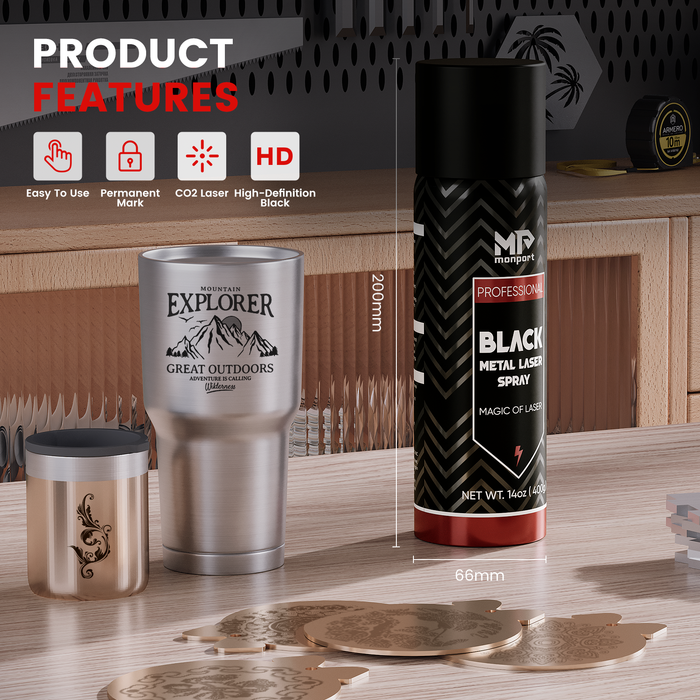
LaserGRBL (free software) supports Windows XP, 7, 8, 10. LaserGRBL software is the most popular laser engraving software in the world, and it is also one of the best Windows software for image laser engraving. It can import images in different formats. You can load any image, picture, or logo with just a few clicks and send it to your laser engraving machine. You can edit it in Photoshop, Inkscape, CAD, etc., then connect the engraving machine and use LaserGRBL for engraving and cutting. In this article, we'll discuss how to center engraving in LaserGRBL to ensure precise and accurate results every time, especially when using black laser marking spray for enhanced contrast.
Lasergrbl provides all the basics you need to run your good laser cutter: you can do it through the software, enter custom G-code lines, and see previews of engraving and cutting operations.
It's one of the better options out there, but it has fewer features than Lightburn. Its weak points are its general user-friendliness and some more in-depth features, so you shouldn't expect to find things like a virtual grid array or a Bluetooth connection to your machine. But otherwise, this is a good alternative to Lightburn.
Unlike other GUIs, Lasergrbl software is specifically developed for use with hobbyist laser cutters. For those who don't need simpler and more effective tools, it can be a good free substitute for Picengrave, Benbox, T2laser, and Lightburn.
Ⅱ. Monport Upgrade Controller with Lasergrbl
Lasergrbl is usually used with diode engraving machines. If you want more power, you must choose CO2 laser machines, but these machines are usually more expensive, larger, more complex to use, and most of them use their own control software. Therefore, the control board is needed to connect the engraving machine and Lasergrbl!
Many laser engraving hobbyists start using diode engravers. They are used to Lasergrbl, and after switching to a good laser cutter like the K40 CO2 engraving machine, they still want to use Lasergrbl first, and want to gradually upgrade to Lightburn. Then, the Monport upgrade controller will be a good software bridge for these people.
Usually, the Arduino board cannot be connected to Lasergrbl and Lightburn, nor can it control the laser intensity. The Monport upgrade board can be applied to Lasergrbl and Lightburn, and its various interfaces can help engravers better control the laser intensity, ensuring smoother use when working with materials like black laser marking spray for better results.
Ⅲ. How to connect to Lasergrbl software
Here are the steps of how to set up Lasergrbl software when you connect Monport Motherboard.
- Click the marked part to connect your K40.

- Click “Grbl”and choose “Grbl Configuration”

- Import the attached file.

PS: You can find the green part like I marked in the picture in your machine. It is mounted on X axis and Y axis.
Pay attention that the wires need to be plugged into “NO” and “C”. If not, just unplug them and connect them to the right position to ensure proper functionality with your good laser cutter, especially when working with materials like black laser marking spray for optimal engraving results.
Ⅳ. Time to test
Finally, it is very simple and convenient for you to use the monport K40 upgrade controller to connect various software. If you need to DIY your own K40 laser engraver, you need to pay attention to the connection of various ports.


1 Comment
J’ai un lasser que je chercher a le metriser ca fonctionnaliter mais c’est chaud