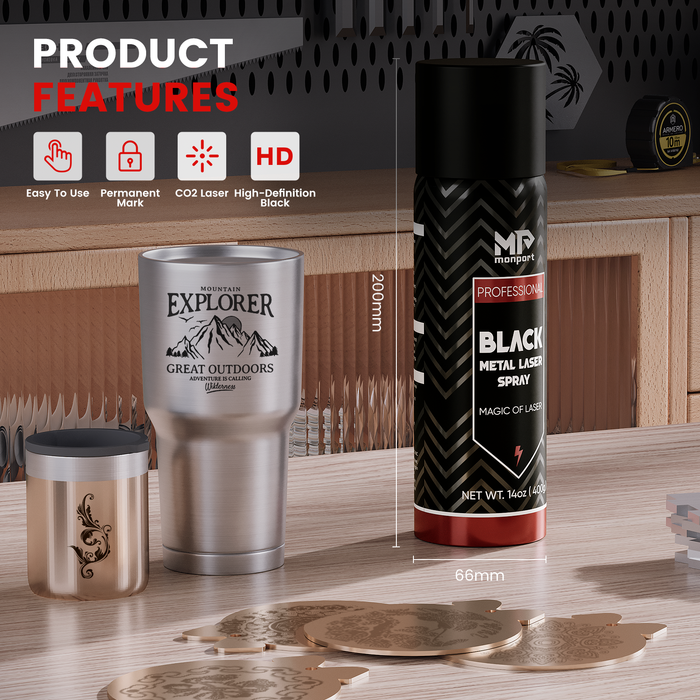
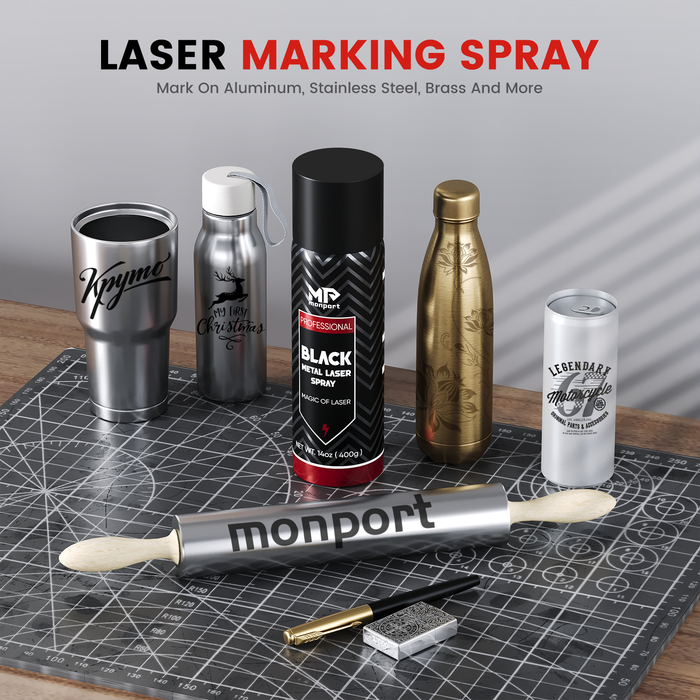
Welcome to the world of laser engraving! As a beginner, you might be overwhelmed by the various techniques and tools available for this craft, black laser marking spray. including essential laser engraver accessories like laser engraver parts. One crucial aspect of laser engraving is leveling your laser bed. In this blog, we'll walk you through the process of leveling your laser bed using the Monport wood laser engraving equipment.
Why Leveling Your Laser Beds Matters
A perfectly level laser bed is essential for achieving consistent and high-quality results in your engraving and cutting projects. Uneven laser beds can lead to distorted cuts, poor engraving depth, and even damage to your materials or equipment. Whether you're a hobbyist or a professional, understanding how to maintain level laser beds is crucial to producing precise, professional-looking designs.
In this blog post, we will guide you through the process of leveling the laser beds on your Monport laser engraving machine, ensuring the best possible performance from your CO2 laser system and associated accessories.
Monport Laser Cutting and Engraving Machine
The Monport laser engraving machine is a versatile and user-friendly device designed for hobbyists and professionals alike. It's equipped with advanced features that make it easy to create precise and intricate designs on a variety of materials. With its user-friendly interface, it's an excellent choice for beginners looking to learn the art of laser engraving.

Importance of Leveling Your Laser Bed
A perfectly level laser bed is essential for achieving consistent and high-quality results with your laser cutting projects. Uneven surfaces can lead to irregular engraving depths, uneven cuts, and even damage to your laser machine. In this blog post, we will guide you through the process of leveling the laser bed on your Monport laser engraving machine, ensuring that you get the best possible results from your CO2 laser and laser engraver accessories and laser engraver parts.
Leveling your laser bed is essential for achieving the best results in your laser engraving projects. An uneven bed can lead to inconsistent engraving depths, distorted images, and even damage to your materials or machine. By taking the time to level your laser bed using reliable wood laser engraving equipment, you'll ensure that your engraved designs come out clean, crisp, and professional-looking, black laser marking spray.

How to Level Your Laser Bed with Monport Laser Engraving Machine
Step 1: Gather the Necessary Tools
Before initiating the leveling procedure, make sure you have all the essential equipment within reach, including laser engraver accessories and laser engraver parts:
A spirit level to verify the flatness of the bed
A ruler or measuring tape for determining the distance between the laser head and the bed
A collection of Allen wrenches (included with your Monport laser engraving machine)
Step 2: Safely Shut Down and Disconnect Your Laser Engraver
To prevent any mishaps or damage to your laser engraver accessories and laser engraver parts, it is vital to turn off your Monport laser engraving machine and disconnect it from any power supply before making any adjustments.
Step 3: Evaluate the Flatness of the Laser Bed
Place the spirit level on the laser bed to assess its evenness. If the bubble is centered, the bed is level, and you can move on to step 6. If the bubble is off-center, proceed with step 4.
Step 4: Locate the Bed Leveling Screws
Your Monport laser engraving machine comes with four leveling screws, situated at each corner of the laser bed. These screws are designed for adjusting the bed's height and evenness.
Step 5: Adjust the Leveling Screws
Use the Allen wrenches to modify the leveling screws by rotating them clockwise to raise the bed or counterclockwise to lower it. Continuously check the bed's flatness with the spirit level while making these adjustments. When using the Monport wood laser engraving equipment, be cautious not to over-tighten the screws by making only minor adjustments.
Step 6: Verify the Flatness of the Bed
After fine-tuning the leveling screws, position the spirit level back on the bed to recheck its evenness. If necessary, repeat steps 4 and 5 until the bed is entirely level.
Step 7: Inspect the Distance Between the Laser Head and the Bed
Use a ruler or measuring tape to gauge the space between the laser head and the bed. This distance should be consistent across the entire bed. When working with Monport wood laser engraving equipment, if it is not uniform, you may need to adjust the laser head's height using the Allen wrenches, black laser marking spray.
Step 8: Test Your Monport Laser Engraving Machine
Once you have confirmed that your laser bed is level, reconnect and power up your Monport laser engraving machine. Perform a test run to ensure that your engravings are even and of superior quality.
FAQs
-
What materials can Monport laser machines handle?
Monport lasers work on wood, acrylic, metal, leather, glass, and more—ideal for versatile engraving and cutting. -
What are the benefits of Monport CO₂ laser engravers?
They offer high precision, large work areas, and powerful cutting ability, perfect for creators and small businesses. -
Why choose a Monport fiber laser?
Monport fiber lasers are built for speed and accuracy, making them excellent for metal engraving and industrial use. -
Are Monport machines beginner-friendly?
Yes, many models come pre-assembled or semi-assembled, with intuitive controls and tutorials for easy setup. -
What makes Monport stand out from competitors?
Monport offers affordable pricing, solid build quality, and great software compatibility—ideal for hobbyists and pros alike.

Conclusion
Precisely leveling your laser bed is a critical step in producing professional-grade laser engravings. By adhering to these steps and utilizing the Monport wood laser engraving equipment, you'll be well on your way to mastering the craft of laser engraving. Enjoy your engraving journey with the right black laser marking spray laser engraver accessories and laser engraver parts!
Celebrate Business Week with Monport! Enjoy up to 30% OFF on our premium laser engraving machines and unlock incredible free gifts to elevate your projects. Buy a CO₂ laser and receive a FREE Water Chiller, Rotary Axis, and LightBurn software. Purchase a Fiber Laser and get a FREE Rotary Axis. Plus, score a special $130 OFF on bundle deals and 30% OFF laser engraving materials. Don’t wait — use code BESTMP10 at checkout and click here to shop now!


