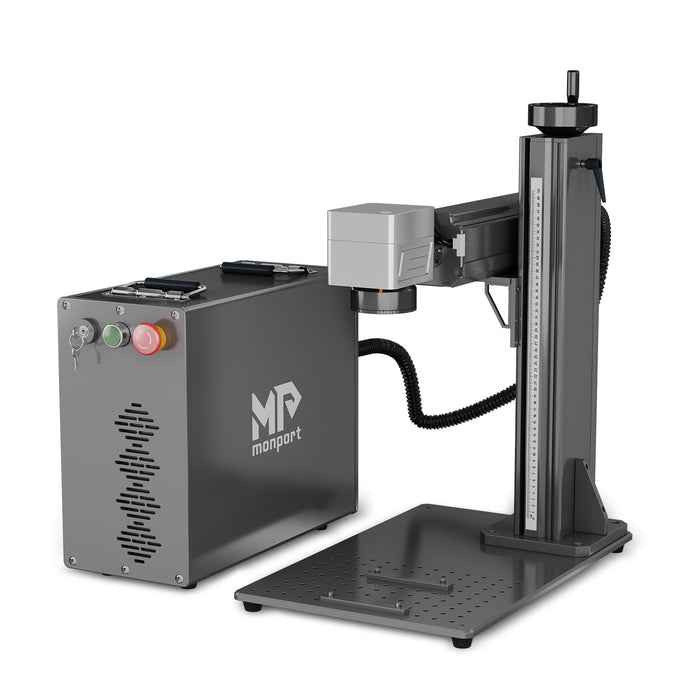
If you're new to the fascinating realm of laser engraving and cutting, you're in for an exciting journey. Understanding how to optimize your equipment is key to achieving outstanding results. One of the most crucial factors to consider is the laser engraving speed and power settings. In this beginner’s guide, we’ll introduce you to the basics of adjusting these settings to enhance your projects.
We’ll also focus on the importance of the 30 inch x 30 inch laser bed, a versatile size that accommodates a wide range of projects. By learning how to effectively utilize this space, you can maximize your engraving and cutting capabilities, whether you're working on intricate designs or larger items. Dive in to discover tips and tricks to fine-tune your laser settings and make the most out of your equipment with the help of a co2 laser cutting speed and power chart.
Understanding Laser Power and Speed

Laser power and speed settings are two critical factors that determine the quality of your engraving or cutting results. A co2 laser cutting speed and power chart often summarizes these factors for different materials. Here's a brief overview of each:
Laser Power: This refers to the amount of energy emitted by the laser during operation. It is typically measured in watts (W) or milliwatts (mW). Higher power settings will result in deeper engraving or cutting, while lower settings will produce shallower results.
Laser power directly affects the cutting process in several ways, and referencing a co2 laser cutting speed and power chart can help simplify these choices:
Cutting Depth: Higher laser power results in deeper cuts, while lower power produces shallower cuts.
Cutting Speed: Higher power allows for faster cutting speeds, which can increase productivity.
Material Compatibility: Different materials require different laser power levels for optimal cutting or engraving.
Cut Quality: The appropriate laser power ensures clean, precise cuts with minimal charring or melting.
Laser Speed: This refers to the rate at which the laser head moves across the material during engraving or cutting. It is usually measured in millimeters per second (mm/s) or inches per second (in/s). Slower speeds will allow the laser to dwell on the material for a longer time, resulting in deeper engraving or cutting, while faster speeds will produce shallower results. A co2 laser cutting speed and power chart can give you starting points for these values.
Tips for Choosing the Right Laser Power and Speed
Start with the manufacturer's recommendations: Most laser engravers and cutters come with a user manual or guidelines that provide suggested power and speed settings for various materials. These often include a co2 laser cutting speed and power chart for reference.
Consider the material: Different materials require different power and speed settings. For example, denser materials like hardwood or acrylic may require higher power and slower speeds, while softer materials like paper or fabric may need lower power and faster speeds. Always test your settings on a small piece of the material before proceeding with your project.
Adjust for desired depth: If you want a deeper engraving or cut, increase the power or decrease the speed. Conversely, if you want a shallower result, decrease the power or increase the speed. Remember that increasing the power too much can cause damage to your material or machine, so always test your settings first.
Balance power and speed for efficiency: While higher power and slower speeds may produce deeper results, they can also take longer to complete and may cause more wear and tear on your machine. Experiment with different power and speed combinations to find the most efficient settings for your project.
Test and iterate: It's essential to test your settings on a small piece of the material before proceeding with your project. This will help you fine-tune your power and speed settings and avoid costly mistakes. Don't be afraid to make adjustments and try different combinations to achieve the best results.
FAQs
How to Make the Speed vs Power Matrix
A power vs laser engraving speed chart is a helpful tool for determining the best settings for your laser engraving application. To create a matrix:
- Create a grid with power settings on the vertical axis and speed settings on the horizontal axis.
- Perform test cuts or engravings at each intersection of power and speed settings.
- Evaluate the results to determine the best combination of speed and power for your desired outcome.
Laser Cutting Matrix Test
A laser cutting matrix test involves performing test cuts at various laser power and speed settings to determine the optimal combination for your specific material and application. By evaluating the cut quality, depth, and efficiency at each setting, you can choose the best settings for your project.
Laser Engraving Matrix Test
Similar to the laser cutting matrix test, a laser engraving matrix test involves performing test engravings at different laser power and speed settings. The goal is to find the ideal balance that produces clean, precise engravings without damaging the material or sacrificing efficiency. Keeping track of your results in a co2 laser cutting speed and power chart makes future projects easier.
Conclusion
Mastering the art of laser power and speed settings is crucial for achieving optimal engraving and cutting results. By starting with the manufacturer's recommendations, considering the material, adjusting for desired depth, balancing laser power and speed settings for efficiency, and testing and iterating, you'll be well on your way to becoming a laser engraving and cutting pro. A co2 laser cutting speed and power chart will help you document and repeat your best settings. Remember that practice makes perfect, so don't be afraid to experiment and learn from your mistakes. Happy engraving!
Unlock Big Savings at Monport Laser! Use code BESTMP10 at checkout for an exclusive discount – Click here to shop now!
Read More: Speed, Power, and Precision: A Comparison of High-Speed Laser Cutters


