
40W Lightburn-ready CO2 Laser Engraver
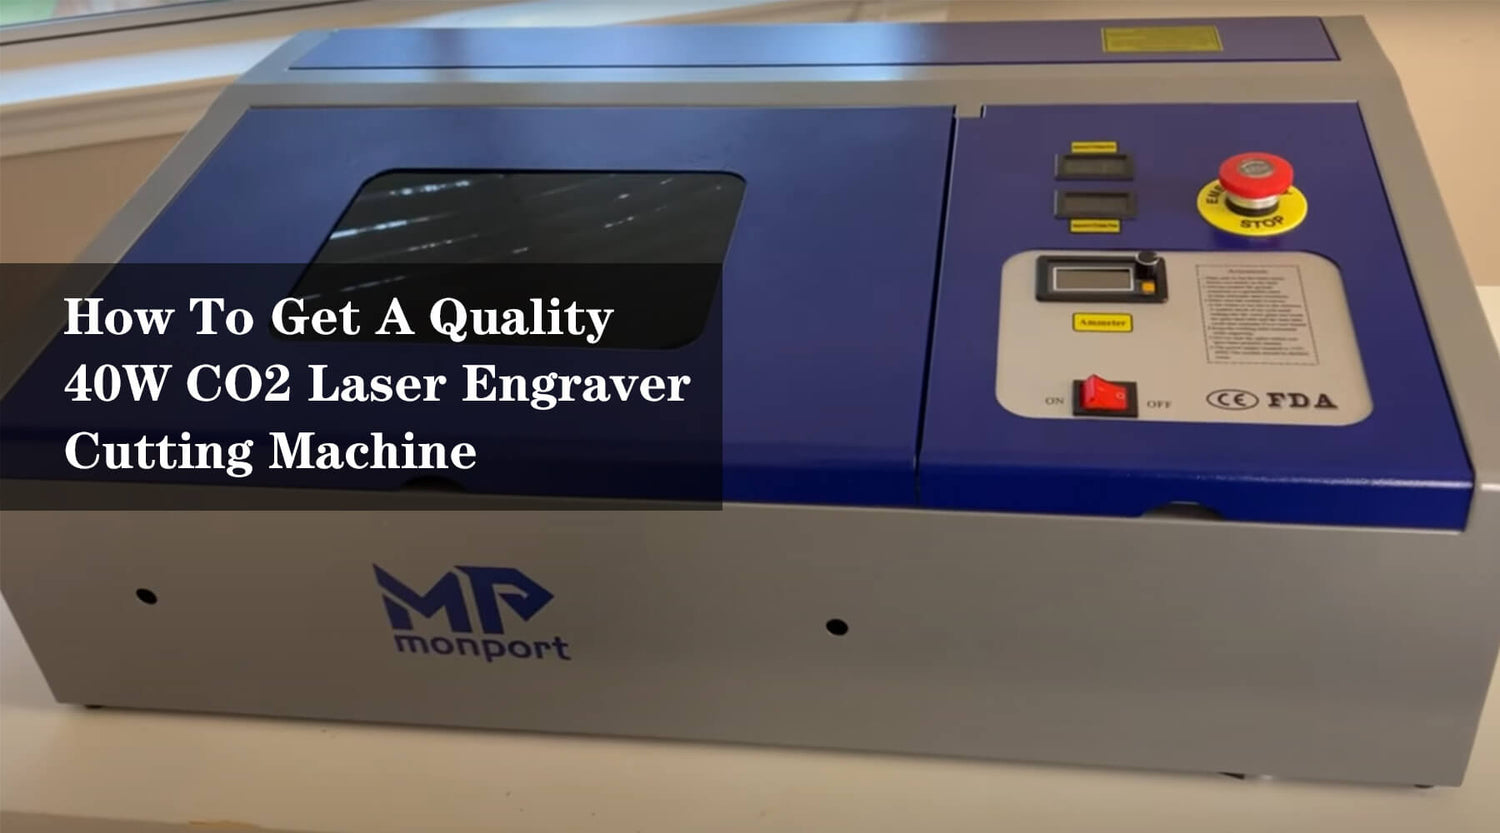
How To Get A Quality 40W CO2 Laser Engraver Cutting Machine
The 40W CO2 Laser Engraver Cutting Machine is a versatile tool ideal for both hobbyists and small businesses. Offering precision, speed, and high-quality cuts on materials like wood, acrylic, and leather, it’s perfect for various engraving and cutting applications. Monport’s 40W model comes with essential features, including Lightburn compatibility, red dot guidance, and a one-year warranty, ensuring a great experience for beginners and professionals. When choosing the right machine, consider your budget, the machine's specifications, and the available customer support to get the best value for your needs.
Read more40W Lightburn-ready CO2 Laser Engraver

A Brief Introduction to Milliammeter for Monport K40
Discover why an ammeter is essential for your Monport K40 laser. Monitor laser tube current, ensure optimal power, prevent damage, and improve efficiency for precise CO₂ laser engraving.

Beginners Guide To The K40 Laser Engraver - Monport
Discover the Monport 40W K40 CO2 laser engraver, its specs, structure, benefits, and upgrades. Learn how to use K40 laser cutters for precision engraving, cutting, and DIY projects with professional-quality results.

Monport K40 Laser Cutter Questions and Answers: Guidance for Novice
Get started with your Monport K40 laser! This guide covers water cooling, exhaust setup, grounding, initial testing, LightBurn installation, and optical alignment for beginners. Ensure safety and precision while engraving on wood, acrylic, and more.

10 Laser Engraving Ideas with Monport K40 Laser Cutter
Discover endless DIY and craft possibilities with the Monport K40 laser. Engrave wood, leather, bamboo, and household items easily. Beginner-friendly and low-cost, it’s perfect for turning hobbies into business opportunities.

Setting Up Your Laser with Lightburn Software
Over the years, various software companies have developed several laser software applications that can drive CO2 laser engraving machine. These useful programs convert the images in your computer into a format that the laser can understand, and finally send the data to the laser for carving. However, lightburn, such a laser software tool, has been developed and become the de facto standard, which is heard by all professionals and recommended by most people. After years of development, Lightburn software is not only a laser control system, but also an advanced design and editing tool, which can be used to create designs from scratch or transform and manipulate existing designs. Therefore, it is worthwhile to spend time learning all the functions of LightBurn software and understanding its working principle, especially if you are using a laser cutting machine software like LightBurn download to create precise and intricate designs. To get started properly, understanding lightburn installation is one of the first steps, followed by learning how to use lightburn software effectively so you can maximize its full potential in real-world engraving projects. Monport 40W Lightburn-ready (12" X 8") CO2 Laser Engraver & Cutter with FDA Approval - 40W Basic What makes LightBurn powerful LightBurn is a laser engraver machine software that integrates layout, editing, and control. With LightBurn, you can not only import drawings in a variety of common vector graphics and image formats (including AI, PDF, SVG, DXF, PLT, PNG, JPG, GIF, BMP), but also arrange, edit, and even create new vector shapes in the editor. The software has powerful functions such as offset, Boolean computation, welding, and node editing. In addition, once you complete your lightburn installation, you’ll notice features like: Power and speed adjustment Pass times and cut order control Brightness and contrast tuning Jitter mode for detailed engraving These features are essential when learning how to use lightburn software, especially for beginners aiming to produce clean and professional results. The software can send the results directly to the laser cutter. Written as a native application for Windows, Mac OS, and Linux, LightBurn download's interface is intuitive and easy to use for sculptors using different laser cutting machine software applications. Supported controllers and compatibility LightBurn talks directly to your laser without the use of other software. The software currently supports most controllers based on Ruida, Trocen, TopWisdom and GCode. Supported GCode controllers include Grbl, Smoothieware, GRBL-LPC, and Marlin. Available Ruida controllers include RDC6442G/S, RDC6445G, RDC6332G, RDLC-320A and R5-DSP, and it also supports Trocen controllers including AWC708C, AWC608 and TL-3120 models. Designed specifically for lasers, this software can talk directly to your lasers without the use of other software. If your controller is based on GCode, Ruida, Trocen, or TopWisdom, it may already be supported even if it's not listed. After completing your lightburn installation, it’s always a good idea to run a quick test project to confirm compatibility and performance. Note that it does not support the stock M2-Nano board in the popular K40 laser. The motherboard does not provide the ability to control power through software. We recommend upgrading the motherboard to take full advantage of LightBurn. This upgrade becomes even more important when you start exploring advanced features tied to how to use lightburn software efficiently. How to add the laser to LightBurn? Before entering the world of design capabilities of Lightburn software, you need to connect the Monport CO2 laser engraver to a computer and make sure it can communicate with the software. Connect the Monport laser to your computer using a USB cable. The laser can also use USB drives, Ethernet, or IP connections depending on your setup. After finishing your lightburn installation, this step is critical because it ensures your machine communicates correctly with the software. Understanding how to use lightburn software begins with proper device setup. Lightburn Software - GCode License Key (for 40W CO2 laser engraver only) Find my laser If you have no device configured in the software, running the software will automatically bring you here. Choosing something is important because the interface will change depending on the functionality of the laser you choose. Steps: Open Devices Click “Find My Laser” Ensure the machine is powered and connected Select detected device Click Add Device This is one of the easiest ways to start if you’re still learning how to use lightburn software after completing lightburn installation. GCode equipment If you have a GCode controller, you will be asked if your computer is X-carve or Shapeoko. If not, select “Other.” Important setup notes: Most GCode systems start from the front left Enable homing if your machine supports it Disable if no limit switches are installed Errors like “Error: 9” usually mean incorrect homing setup. These small adjustments are part of mastering how to use lightburn software in real setups. DSP devices If you have a DSP controller, the software will ask for the machine origin. This is the corner where the machine homes during startup. Select correct origin corner Confirm direction of movement Adjust if needed later Getting this right ensures smoother workflow after your lightburn installation and reduces mistakes when learning how to use lightburn software in production. What if you can't find the laser? If the software cannot find your laser, it may be due to several reasons: Missing driver – install original software for drivers Software conflict – close RDWorks, LaserCAD, etc. Network setup – requires manual configuration Marlin controllers – need manual setup due to complexity These troubleshooting steps are common, especially right after lightburn installation, and are part of the learning curve when figuring out how to use lightburn software properly. Add the laser manually If the software cannot automatically add a laser, you can click “Create Manually” on the Devices page. This opens the New Device Wizard. Steps include: Select controller type Choose connection method Input machine dimensions Confirm settings Manual setup is useful for advanced users and helps deepen your understanding of how to use lightburn software beyond basic automatic detection. It also ensures your lightburn installation is fully customized for your specific machine setup. FAQs What is LightBurn software used for? LightBurn is used for designing, editing, and controlling laser engraving and cutting machines. It allows users to create and send designs directly to the laser. Is lightburn installation difficult for beginners? No, lightburn installation is generally simple. The software provides step-by-step setup, and most devices can be detected automatically. How long does it take to learn how to use lightburn software? Learning how to use lightburn software can take a few hours for basics, but mastering advanced features may take longer depending on your projects. Can LightBurn work without internet? Yes, once lightburn installation is complete, the software works offline. Internet is only needed for downloads, updates, and licensing. Why is my laser not detected after installation? This usually happens due to missing drivers, incorrect connections, or software conflicts. Rechecking your lightburn installation and setup process will usually fix the issue.