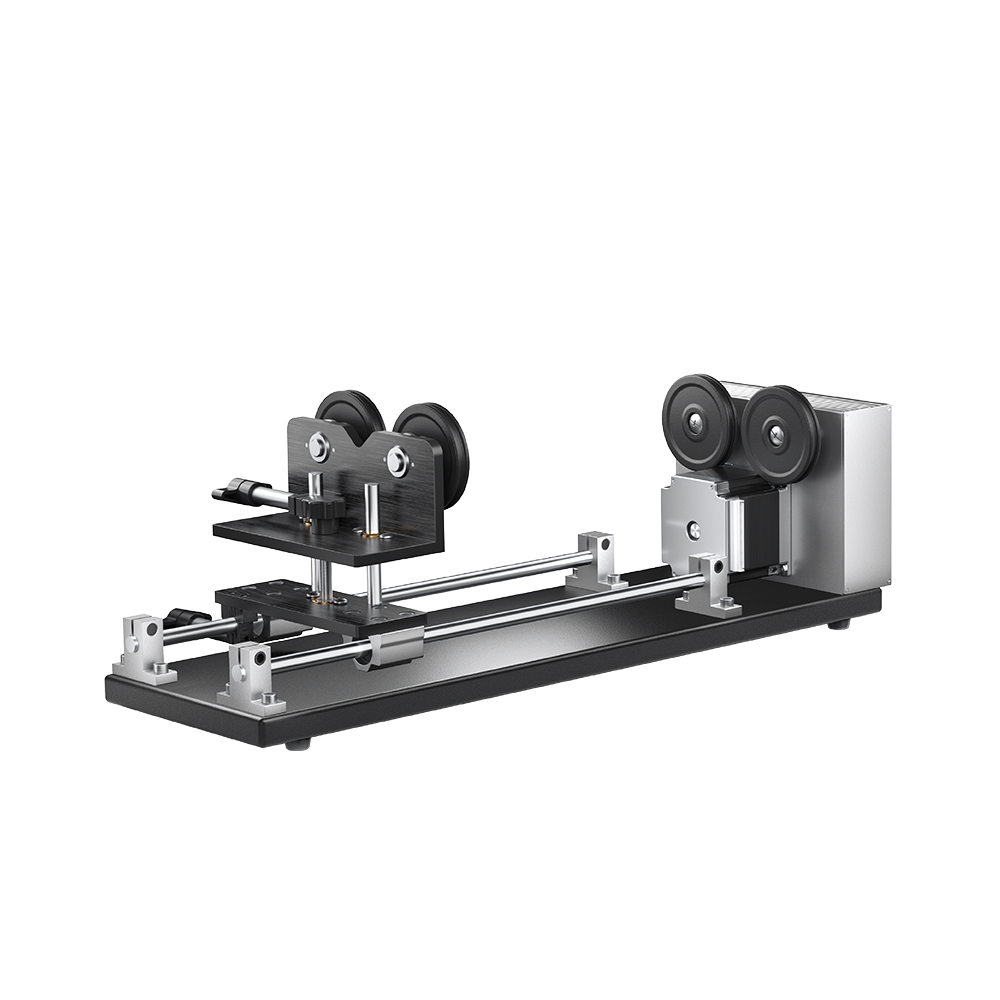
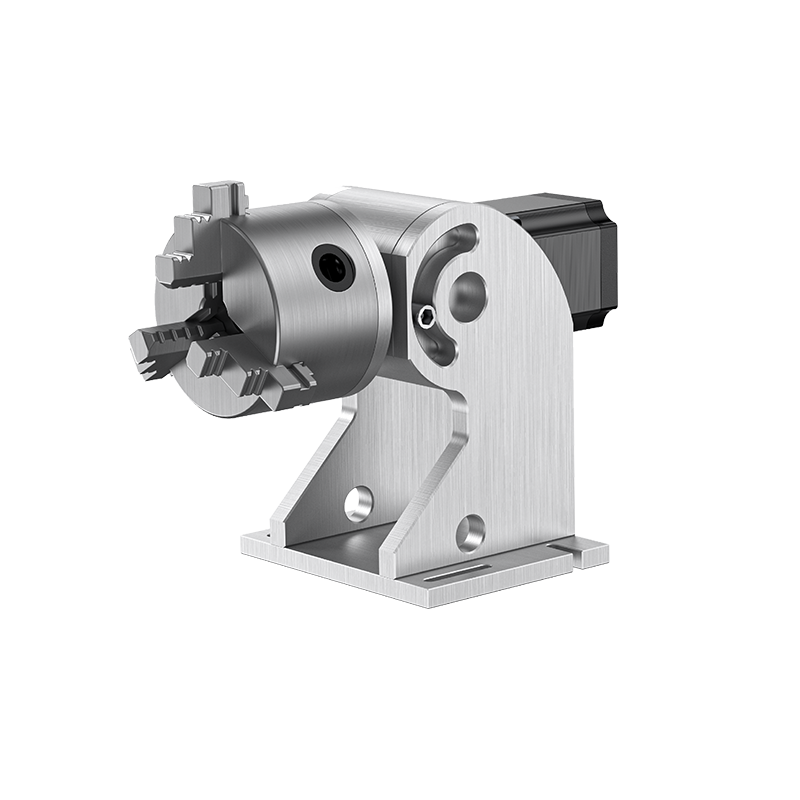
Step 1: Turn off the machine and connect the rotary axis plug.
You’ll notice on the back of your fiber machine there’s a label says “Rotary” on it and right there you can use it to plug ,Turn the machine, open the EzCad software
Step 2: Install the Object on the Rotary Attachment.
Fix the cylinder, ensuring it on the same level with chuck, fix the bottom with 2 screws;
Step 3: Adjust the Marking Head
Manual adjusting the suitable focus length with focus ruler. Set the necessary height of the head. The red line and the red dot of the beam will help you. See that they overlap.
Step 4: Measure the cylinder diameter, calculating the perimeter (diameter*3.14), pls note:the text file length (X size) can’t more than perimeter.
Step 5: Fill in the Text
There are many ways to add the contents of the text to the software. In our case, it’s faster to write the text manually. But for more complex objects like logos you can upload the data from a file.Hatch the line, use Ctrl+4 direction key on keyboard can rotat the text direction.
Step 6: Input the suitable Power & Speed
Click “Laser”, “Rotate Test Mark” ,“Part diameter”, input cylinder diameter, scan the marking area, start marking!
Machines
MEGA CO2
GA Series
Fastest Autofocus MOPA Fiber Laser for Metal Color Marking
GPro Series
High-End Split MOPA Fiber Laser for Metal Color Marking
GQ Series
Entry-Level Galvo-Tech Fiber Laser for Metal Marking
GP Series
Lightweight Integrated Raycus Fiber Laser for Metal Marking
GI Series
Integrated JPT MOPA Fiber Laser for Metal Color Marking
GM Series
The Galvo Mini offers powerful and precise marking capabilities with unbeatable value
Desktop
The Monport Desktop Laser Cutter offers exceptional performance and safety, making it perfect for both hobbyists and commercial use.
Industrial
The Monport 60W-150W CO2 laser engraver ensures safe, precise, and high-quality engraving for almost all levels of projects.
High Speed
The world's fastest CO2 engraver for glass tubes


