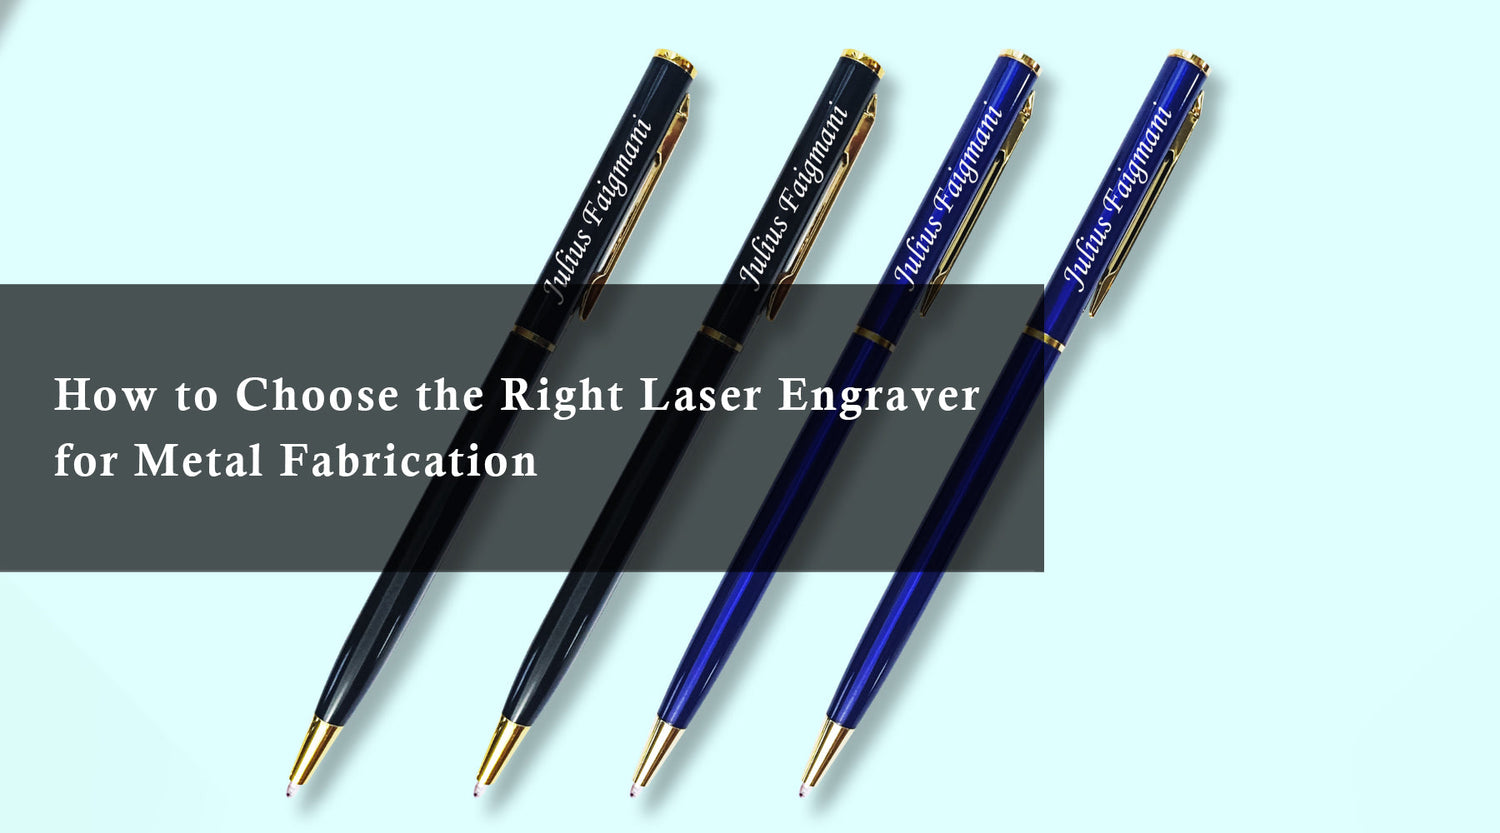
Wooden pens are a timeless classic that adds sophistication to any work desk or pocket. With the Monport 40W CO2 laser engraver, creating customized wooden pens has never been easier. The precision, efficiency, and versatility of this machine make it the ideal choice for creating stunning engraved wooden pens. In this article, we will provide a step-by-step guide on how to create customized wooden pens using the Monport 40W CO2 laser engraver.
Unlock Big Savings at Monport Laser! Use code BESTMP10 at checkout for an exclusive discount – Click here to shop now!
ReadMore : Crafting Beautiful Wood Engraved Pens: A Step-by-Step Guide
Choosing the Right Wood

The first step in creating stunning laser engraved wooden pens is choosing the right type of wood. The quality of wood plays a significant role in the overall aesthetics of the pen. Choose a wood that is hard, durable, and has minimal visible grains. For instance, exotic woods like Cocobolo, Bocote, and Ebony offer a striking contrast that enhances the visual appeal of the pen. More affordable options include Walnut, Mahogany, and Maple. Always ensure that the wood is dry and free of any cracks or defects that may interfere with the engraving process.
Preparing the Wooden Pen Blanks

To create customized wooden pens, you will need to start with wooden pen blanks. These blanks are available in various sizes and shapes, allowing you to choose the ideal size and shape for your pen. Next, sand the wooden pen blanks to a smooth finish using grit sandpaper. Ideally, start with a 100 grit sandpaper and gradually move to a 400 grit sandpaper. This will give the wood a smooth and polished finish, making it easier to engrave.
Designing the Layout

Using your preferred graphics software, design the layout of the pen. You can add text, logos, or any other design element that you prefer. Ensure that the design fits the size of the pen blank and is positioned correctly. Import the layout into the Monport 40W CO2 laser engraver software, and set the engraving parameters. These will include the speed, power, frequency, and resolution tailored to the pen blank and the intricacy of your design.
Engraving the Wooden Pen Blanks

Next, place the wooden pen blanks uniformly in the Monport 40W CO2 laser engraver. Use the software to set the correct working height to ensure proper focus of the laser beam. Run a test engraving to ensure that the design, speed, and power are correctly set. Once satisfied with the test, begin the engraving process, making sure to monitor the machine in case of any unforeseen circumstances. The laser engraver will take care of the rest, and you can sit back and watch as it carves your desired design into the wooden pen blanks.
Finishing the Engraved Wooden Pens

Once the engraving process is complete, remove the customized wooden pen blanks from the Monport 40W CO2 laser engraver. Apply a coat of finish to seal and protect the wood. You can choose from various finishes, including lacquer, shellac, or polyurethane. To make the engraved designs pop out, using a contrasting color finish will help do the trick. Next, assemble the wooden pen barrels with the appropriate nibs, clips, and other pen components.
Conclusion
With its precision and versatility, the Monport 40W CO2 laser engraver makes creating customized wooden pens a breeze. By following the steps outlined above, you can now create stunning engraved wooden pens and add a touch of sophistication to your writing. Visit Monport and give it a try today!
Ready to Elevate Your Craft?
Bring your creativity to life with the Monport 40W CO2 Laser Engraver. Whether you're personalizing gifts or launching your own line of bespoke wooden pens, our precision technology makes it effortless.
Start engraving today — and turn ordinary wood into timeless art.


