Introduction
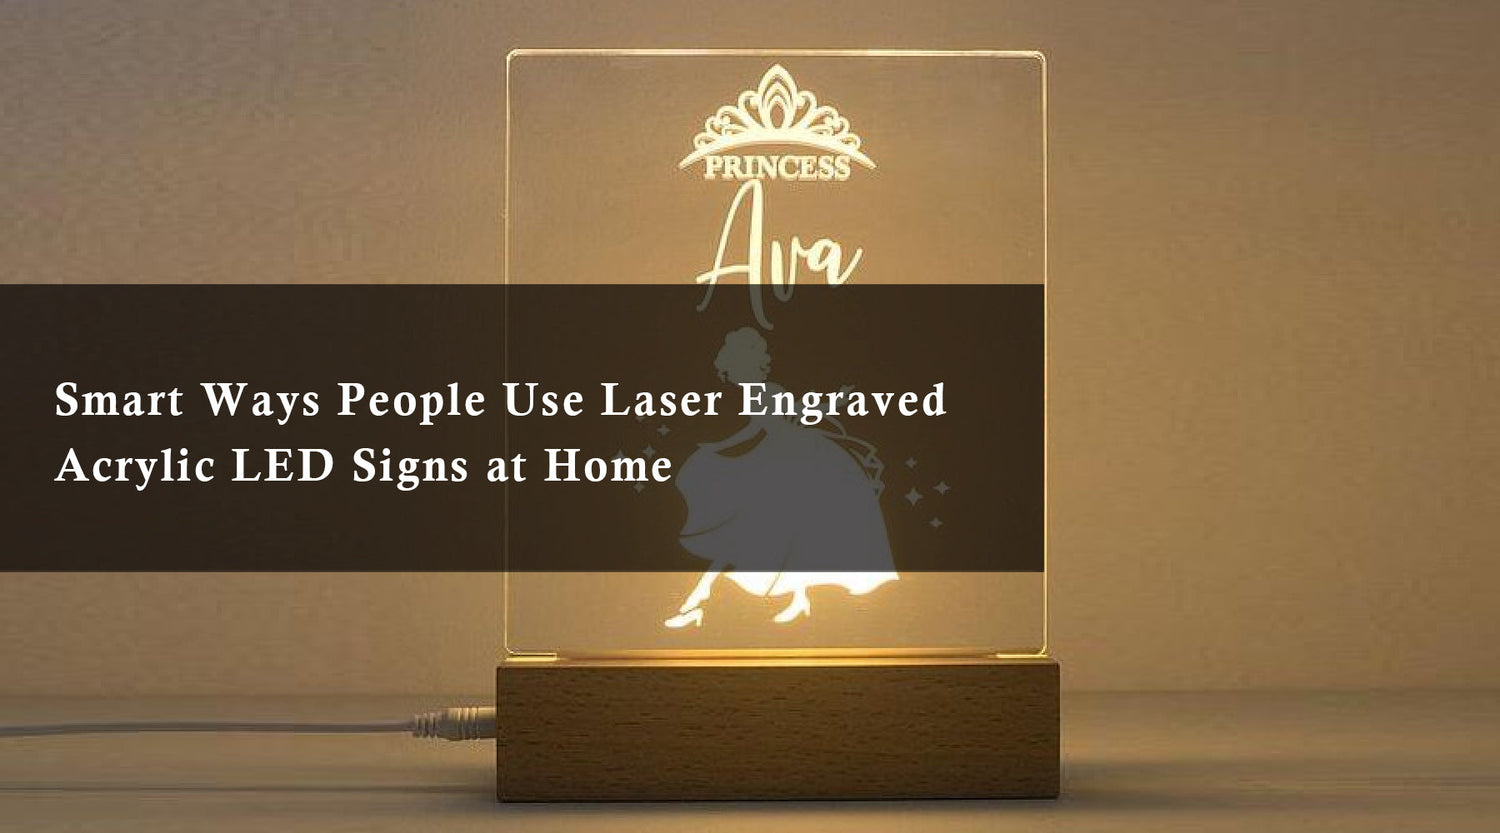
Acrylic LED signs are visually captivating and versatile, making them popular for various applications such as business signage, home decor, and event displays. Creating these signs using a laser equipment supplier and a laser engraver allows for precise and intricate designs. In this blog, we will share some valuable tips and tricks to help you make high-quality acrylic LED signs with your laser equipment supplier and laser engraver. These tips will enhance the engraving and cutting process, resulting in stunning and professional-looking LED signs that will impress viewers.
Choosing the Right Acrylic

Selecting the appropriate acrylic sheet is crucial for achieving the desired results. Opt for high-quality, transparent or translucent acrylic with a smooth surface. Ensure that the sheet is free from scratches or defects that could affect the final product's appearance. Additionally, consider the thickness of the acrylic, as it affects the intensity of LED lighting. Thicker sheets may require more LED strips or stronger lighting to achieve adequate illumination. When choosing your acrylic, consult your laser equipment supplier for recommendations on the best material for laser engraving.
Optimizing Artwork Design
To create visually appealing acrylic LED signs, pay attention to your artwork design. Keep in mind that the laser engraver will engrave and cut based on vector lines. To achieve clean and sharp edges, use vector-based design software such as Adobe Illustrator. Ensure that your design is properly scaled to fit the size of the acrylic sheet. It is also helpful to apply different line colors or line styles in your design software to indicate engraving and cutting paths. When working with intricate designs, be sure to discuss options with your laser equipment supplier for the best laser settings and materials.

Test Engraving and Cutting
Before engraving and cutting your final acrylic sheet, it is essential to conduct test runs on a scrap piece. This allows you to fine-tune laser settings such as power, speed, and frequency for optimal engraving and cutting results. Adjust these settings based on the thickness and type of acrylic used. Test engraving will also help you determine the ideal focus point of the laser beam for precise and consistent results. Many laser equipment suppliers offer helpful guides to assist with these settings.
Proper Material Alignment and Hold-down
Accurate alignment of the acrylic sheet in the laser engraver is crucial for precise engraving and cutting. Use alignment guides or rulers to position the sheet correctly. Consider using masking tape or adhesive to secure the sheet in place, ensuring minimal movement during the process. This will prevent misalignment, which could result in uneven engraving or cutting.
Managing Heat and Smoke
Laser engraving acrylic generates heat and smoke. Excessive heat can cause melting or warping, while smoke can leave residues on the material surface. Proper ventilation and efficient air extraction systems are essential to maintain a stable engraving environment. If necessary, use air assist features to blow away smoke near the laser beam for cleaner results. Regularly clean the laser lens and mirrors to prevent smoke residue buildup, which can affect the laser's performance.
Finishing and Illumination

After engraving and cutting, remove any protective film from the acrylic sheet. Clean the engraved and cut surfaces using a soft cloth to ensure the clarity and transparency of the acrylic. To enhance the LED lighting effect, consider using light diffusing materials or etching the acrylic to create a frosted effect. This disperses the LED light more evenly throughout the sign. Experiment with different LED strip placements, such as edge lighting or back lighting, to achieve the desired illumination effect.
Introducing the Monport 80W CO2 Laser Engraver


A powerful and versatile tool for your engraving and cutting needs. This machine boasts of exceptional performance and precision, making it an ideal option for both personal and commercial use.
With a robust 80W CO2 laser tube, this engraver can handle various materials, including acrylic, wood, leather, fabric, and metal, among others. Its features include a large working area of up to 23.6 inches by 15.7 inches, a high-resolution graphic display for easy operation, and a fast engraving speed of up to 600mm/s.
The Monport 80W also comes with advanced safety features such as a built-in water cooling system, automatic shut-off, and emergency stop button. With its exceptional engraving and cutting precision, the Monport 80W CO2 laser engraver is an excellent choice for all your engraving and cutting needs, whether it's for creating personalized gifts, industrial production, or signage.
What are laser etched acrylic signs used for?
Laser etched acrylic signs are commonly used for business displays, décor, and illuminated signage where clarity and precision are important.
How does a laser engraved acrylic LED sign work?
A laser engraved acrylic LED sign uses laser light engraving to create etched areas that glow when LED light passes through the acrylic.
Why is laser light engraving effective for acrylic engraved LED designs?
Laser light engraving produces controlled depth and clean edges, allowing acrylic engraved LED designs to illuminate evenly.
What affects brightness in acrylic engraved LED signs?
Acrylic thickness, engraving depth, and LED placement all influence brightness and visual clarity.
Conclusion
Creating laser etched acrylic signs requires careful material selection, thoughtful design, and controlled laser light engraving. By testing settings, aligning materials, and refining illumination, you can produce a polished laser engraved acrylic LED sign with consistent acrylic engraved LED performance. With the right approach, these signs deliver strong visual impact and long-lasting quality.
Need more tips and tricks for your next laser engraving project? Visit Monport today and learn all about laser engraving in the comforts of your home!