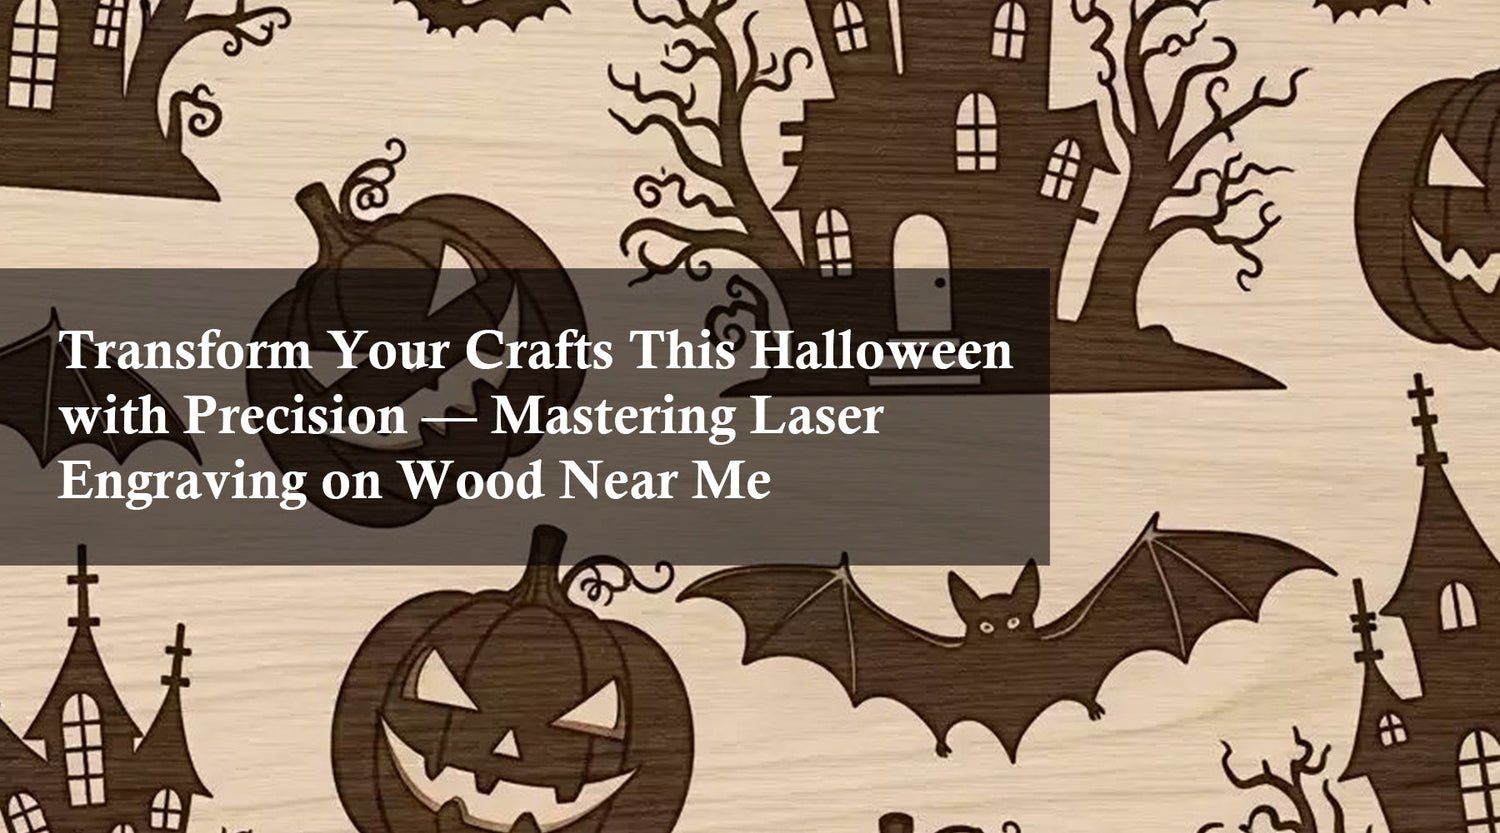
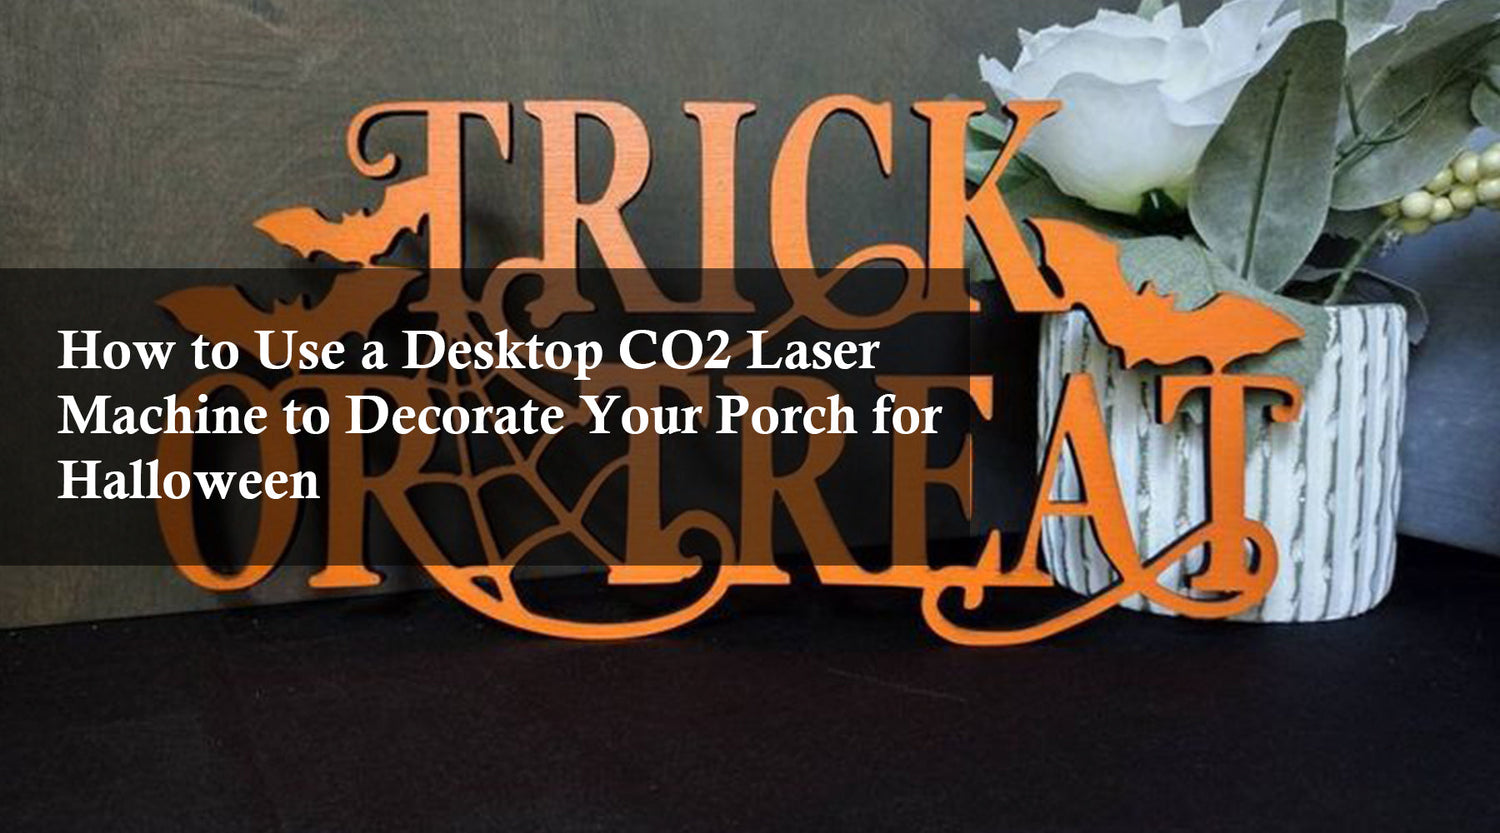
As the holiday season approaches, people often look for creative ways to make their Christmas decorations stand out. One of the most exciting and modern techniques to add a personal touch to your festive décor is through laser engraving materials. With laser engraving, you can craft unique, customized Christmas decorations that perfectly reflect your style and creativity.
If you're curious about how to get started or need some inspiration, this guide will walk you through the process of using a CO2 laser machine marking, like the Monport 80W Built-in Chiller CO2 Laser Engraver & Cutter (36" x 24"), to create beautiful holiday décor pieces using laser engraving materials.
Why Use Laser Engraving for Christmas Decorations?
CO2 laser machine marking provides a professional and clean finish to your designs. It allows you to create intricate patterns, personalized names, and even 3D effects on various laser engraving materials such as wood, acrylic, leather, and more. Here's why you should consider it for your Christmas decorations:
- Precision and detail: Achieve fine details with sharp lines on laser engraving materials.
- Customization: Add personal messages, names, or dates to your décor with laser engraving materials.
- Versatility: Engrave a variety of laser engraving materials to match your holiday theme.
- Durability: Laser engraving materials result in decorations that last longer, resisting wear and tear.
Step-by-Step Guide to Create Laser Engraved Christmas Decorations
Step 1: Choose Your Design Start by selecting a design that complements your Christmas theme. This can be a simple snowflake, a reindeer, or even custom text with festive greetings. You can find free templates online or create your own using design software such as Adobe Illustrator.
Step 2: Select Your Laser Engraving Material Pick the right material based on your design. For a warm, rustic look, wood is a popular choice. For a modern, sleek appearance, acrylic is an excellent option.
Step 3: Set Up Your Monport CO2 Laser Engraver Ensure that your Monport 80W Built-in Chiller CO2 Laser Engraver & Cutter (36" x 24") or laser marking is ready to go. The built-in chiller helps maintain consistent temperature, so your machine performs efficiently even during long engraving sessions.
Step 4: Adjust the Settings Each material requires specific settings for the best results. For example, wood typically requires lower laser power and slower speeds, while acrylic needs higher power. Always test a small area of the material with your CO2 laser machine to ensure optimal settings.
Step 5: Begin Engraving Once your material is securely placed in the engraver, start the engraving process. Watch as your design comes to life, with intricate details being carved out by laser marking.
Step 6: Clean and Assemble After engraving, clean the material surface to remove any residue. If your project involves multiple pieces (e.g., an ornament with several layers), carefully assemble them to create your final decoration.

Ideas for Laser Engraved Christmas Decorations
Here are a few creative ideas to inspire your next holiday project:
- Personalized Wooden Ornaments: Add family names or holiday greetings on wood, creating a rustic touch to your Christmas tree.
- Acrylic Snowflakes: Create translucent, glowing snowflakes that can hang in windows or from the tree.
- Leather Stocking Labels: Customize labels with names or monograms and attach them to your Christmas stockings.
- Engraved Glass Candle Holders: Design intricate patterns on glass candle holders to create a warm and cozy ambiance.

FAQs
Q: What are the best materials for laser engraving Christmas decorations?
A: Popular materials include wood, acrylic, leather, and glass due to their versatility and unique finishes.
Q: Can I use the Monport 80W CO2 Laser Engraver for engraving on metal?
A: Yes, this laser engraver is powerful enough to engrave on certain types of metal, allowing you to create durable, personalized tags and plates.
Q: Do I need to be an expert to use the laser engraver?
A: No, the Monport CO2 Laser Engraver is beginner-friendly with adjustable settings, making it accessible to both professionals and hobbyists.

Important Details to Remember
- Safety First: Always wear proper eye protection when operating a laser engraver. Keep the area well-ventilated, especially when working with materials like acrylic that can release fumes.
- Maintenance: Clean the laser engraver regularly to avoid build-up, which could affect performance. The built-in chiller helps regulate temperature, ensuring long-lasting use.
Takeaways
- Laser engraving is an excellent way to create unique, personalized Christmas decorations.
- The Monport 80W CO2 Laser Engraver is a versatile tool that works on various laser engraving materials.
- You can use different materials such as wood, acrylic, and glass to suit your design preferences.
- Safety and proper maintenance of the machine are essential for optimal performance.

Conclusion
Using laser engraving materials to craft Christmas decorations adds a personal touch that can't be achieved with store-bought items. With the Monport 80W Built-in Chiller CO2 laser machine, you can easily create detailed and customized designs that will bring your holiday decorations to life. Whether you're making personalized ornaments, festive signs, or unique gift tags, the possibilities are endless with laser engraving.


