Introduction
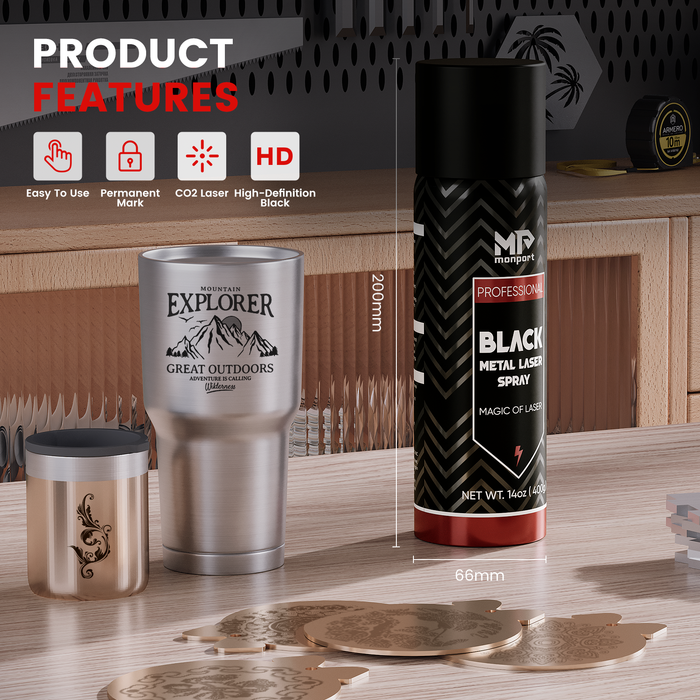
Laser engraving has revolutionized many industries, offering precision and efficiency that traditional methods struggle to match. Black laser marking spray can further enhance the contrast and clarity of your laser engravings, ensuring high-quality results.One area where this technology truly shines is in how to make stamps with a laser engraver, which can also complement techniques like how to make rubber stamp at home. If you've recently invested in a 60W CO2 laser engraver, you're in luck! Today, we'll walk you through the process of creating custom stamps with ease, while also exploring options for wood engraving near me.
Monport 60W CO2 Laser Engraver & Cutter (24" x 16") with Autofocus
Why Choose a 60W CO2 Laser Engraver for Making Stamps?
A 60W CO2 lazer engraver is an ideal choice for stamp making due to its power and versatility. Here's why:
-
Power: The 60W power output provides sufficient energy to engrave on various materials used for stamps, such as rubber and acrylic, which can be used in conjunction with techniques for how to make rubber stamp at home.
-
Precision: High precision ensures that even intricate designs and small text are reproduced accurately, similar to the precision needed for wood engraving near me.
-
Versatility: Apart from stamp making, a 60W CO2 lazer engraver can handle a wide range of engraving and cutting tasks on different materials.

Materials Needed
Before diving into the process, gather the following materials:
| Materials | Description |
|---|---|
| Rubber sheet | For stamp base |
| Acrylic sheet | Optional for mounting stamps |
| Computer | With design software installed |
| 60W CO2 lazer engraver | Monport 60W CO2 Lazer Engraver & Cutter |
| Masking tape | For securing materials |
| Safety goggles | For eye protection |
Step-by-Step Guide to Making Stamps
-
Design Preparation
Software: Use design software like Adobe Illustrator or CorelDRAW to create or import your stamp design, which can also be applied to how to make rubber stamp at home projects.
Size: Adjust the design size to fit your stamp's intended dimensions.
Orientation: Flip the design horizontally for laser engraving (mirrored view), similar to techniques used in wood engraving near me.
-
Material Preparation
Rubber Sheet: Cut the rubber sheet to the desired size using scissors or a utility knife.
Mounting (Optional): If using acrylic as a mount, cut it to match the rubber sheet size.
-
Setting Up the Laser Engraver
Auto Focus: Utilize the Autofocus feature of the Monport 60W CO2 Laser Engraver to ensure optimal focus for engraving.
Power and Speed: Set the appropriate power and speed settings for rubber engraving. Typically, lower power and higher speed work best for rubber.
-
Engraving Process
Secure Material: Use masking tape to secure the rubber sheet onto the engraving bed.
Start Engraving: Load your design into the engraving software and initiate the engraving process, which can be used for both rubber and wood projects like how to make rubber stamp at home and wood engraving near me.
-
Post-Engraving
Inspect: After engraving, carefully remove the stamp from the engraver and inspect the design for quality.
Cleaning: Clean any residue or debris from the engraved area using a soft brush or cloth.
FAQs
Q1: Can I use other materials besides rubber for stamp making?
- Absolutely! You can use materials like acrylic, wood with appropriate settings.
Q2: How long does it take to engrave a stamp?
- The engraving time depends on the design's complexity and the material used. Simple designs can take a few minutes, while intricate ones might take longer.
Q3: Is it safe to use a laser engraver?
- With proper safety precautions, such as wearing safety goggles and ensuring ventilation, lazer engraver are safe to use.

Important Details to Consider
-
Ventilation: Always ensure good ventilation when operating the laser engraver to prevent harmful fumes.
-
Safety: Wear safety goggles and avoid touching the laser beam or engraved surface immediately after engraving.
Takeaways
-
A 60W CO2 laser engraver offers power and precision ideal for stamp making. Black laser marking spray can enhance the engraving process by improving contrast and ensuring clean, clear results.
-
Proper design preparation and material selection are crucial for successful stamp engraving.
-
Safety should always be a priority when using a laser engraver.

Conclusion
Creating custom stamps with a 60W CO2 laser engraver like the Monport 60W CO2 Laser Engraver & Cutter is a straightforward process that yields professional results. By following this step-by-step guide and considering the important details and FAQs, you can create personalized stamps for various applications with ease. Whether you're a hobbyist or a professional, this technology opens up a world of possibilities for stamp making and beyond, including black laser marking spray, how to make rubber stamp at home, and wood engraving near me projects. Happy engraving!


