

Introduction
Lightburn photo engraving has revolutionized the world of laser cutting and engraving. This technique allows you to transform your favorite images into stunning physical artworks. However, achieving optimal results requires finding the best Lightburn setting for photo engraving and a deep understanding of the Lightburn setting software. In this comprehensive guide, we will explore the intricacies of Lightburn photo engraving, providing valuable tips and tricks to elevate your creations with the help of a laser printing machine.

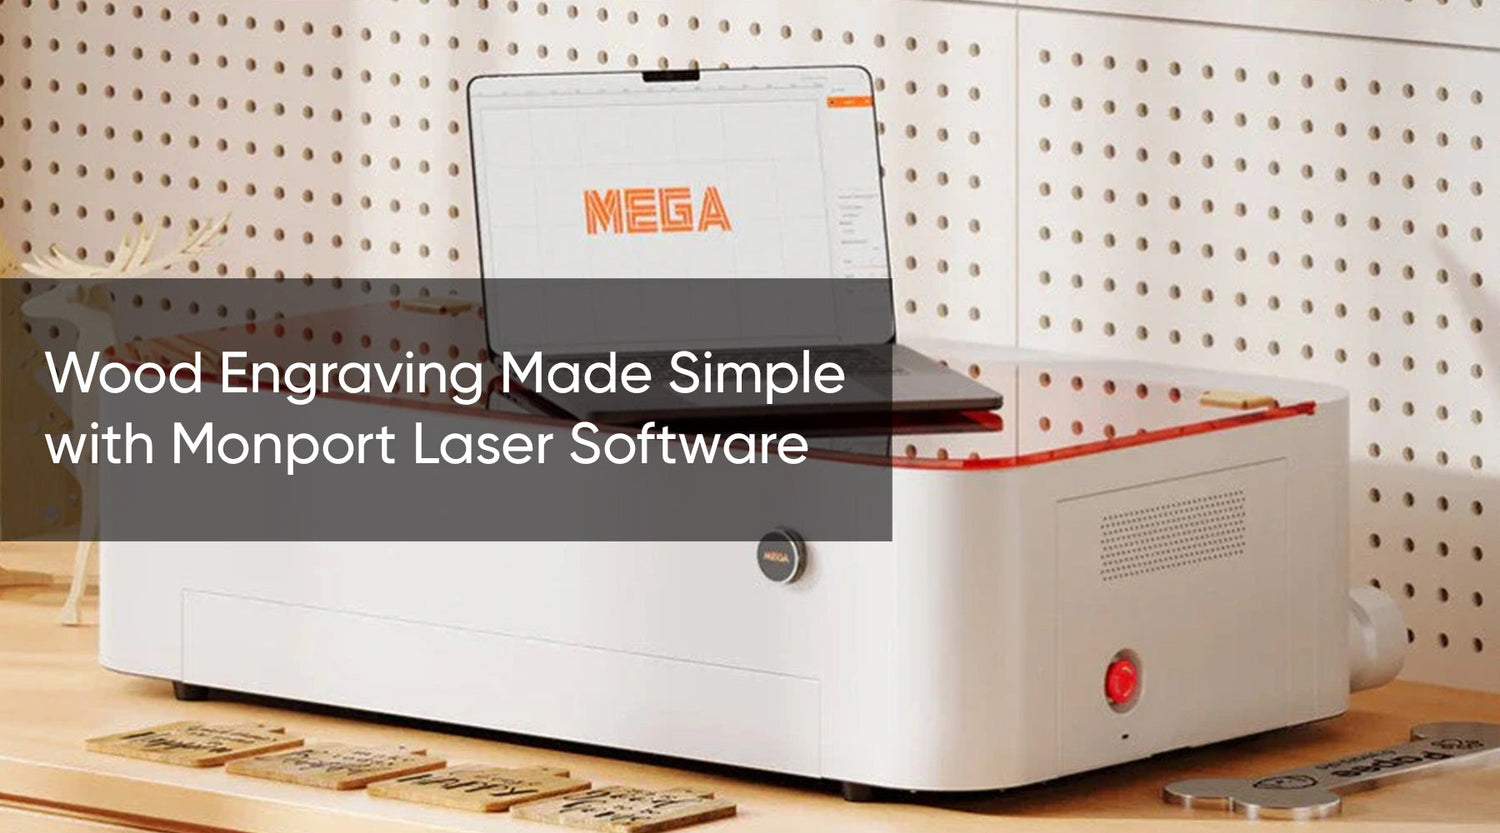
Monport GI 30W Integrated MOPA Fiber Laser Engraver & Marking Machine with Electric Lifting

Read More : Master Photo Laser Engraving with Lightburn Software: Guide & FAQs
Understanding Lightburn Photo Engraving
Lightburn photo engraving involves converting a digital image into a vector-based engraving pattern. This process is facilitated by the software's image processing capabilities, whicfh analyze the image's tonal values and translate them into laser power variations. Learning how to engrave a picture in Lightburn becomes even more effective once you understand how to apply the best Lightburn setting for photo detail and clarity.

To achieve accurate and detailed engravings, it's essential to understand the fundamental concepts of image resolution, color depth, and file formats. Lightburn supports various image formats, including JPEG, PNG, and TIFF. For optimal results, it’s best to use high-resolution images with a wide color gamut. When combined with the best Lightburn setting for photo, a laser printing machine can produce stunning results with precision and contrast.
Optimizing Lightburn Settings for Photo Engraving
Lightburn offers a plethora of settings that can significantly impact the outcome of your photo engraving project. To achieve the desired results, you need to carefully adjust parameters such as:
- Power: Determines the laser's intensity, affecting the depth and clarity of the engraving.
- Speed: Controls the laser's movement speed, influencing the engraving time and detail level.
- Frequency: Affects the laser's pulse rate, impacting the quality of the engraving.
- DPI: Controls the image resolution during the engraving process.
- Dithering: A technique used to simulate grayscale images with a black and white laser.
- Invert: Flips the image, which can be useful for certain engraving effects.
To get high-quality results, experiment to determine the best Lightburn setting for photo on your specific material. Each laser printing machine reacts differently depending on these values, so fine-tuning them is key to success.
The Monport GI30 Fiber Laser: A Perfect Match for Photo Engraving
The Monport GI30 Fiber Laser is a cutting-edge laser printing machine built for top-tier photo engraving. With exceptional speed, precision, and Lightburn integration, it simplifies the process of discovering the best Lightburn setting for photo engraving on a variety of surfaces.
How to engrave a picture in Lightburn is made easier with a high-performance laser engraver like the Monport GI30.

Key features of the Monport GI30 Fiber Laser:
- Full color marking: Achieve vibrant and detailed color engravings on various materials.
- Unmatched speed and precision: Rapidly produce high-quality engravings with exceptional accuracy.
- Electric lifting focus: Easily adjust the focus for optimal results.
- Lightburn compatibility: Seamless integration with Lightburn software for efficient workflow.
- Durable and reliable: Built with high-quality materials for long-lasting performance.
By combining the versatility of Lightburn software with the precision of the Monport GI30 Fiber Laser, a laser printing machine that delivers stunning results, you can achieve photo engravings that are both visually appealing and durable.
Tips for Stunning Photo Engravings

- Image Preparation: Ensure your image is high-quality, well-lit, and free from noise or artifacts. Consider using image editing software to enhance contrast and detail.
- Material Selection: The choice of material significantly impacts the engraving outcome. Wood, acrylic, and metal offer different engraving characteristics.
- Test Engravings: Always perform test engravings on a scrap piece of material to fine-tune your settings before working on the final piece.
- Color Calibration: If you're aiming for color engravings, accurate color calibration is crucial. Lightburn offers tools to assist with color profiling.
- Layer Engraving: For intricate details, consider using layer engraving techniques to build up the image gradually.

Your laser printing machine will be essential in achieving these results by following the appropriate settings and techniques.
Advanced Lightburn Techniques
To further enhance your photo engraving skills, explore these advanced techniques:
- Halftone Engraving: Create a halftone effect by converting your image into a pattern of dots.
- Line Art Conversion: Transform your photo into a line art drawing for a unique look.
- Vector Tracing: Convert your image into vector graphics for precise and clean engravings.
By mastering these techniques and experimenting with different settings on your laser printing machine, you can create truly exceptional photo engravings that showcase your artistic vision.
Frequently Asked Questions About Lightburn Photo Engraving
Q: Can I colorize my photo engraving?
A: While direct color engraving is challenging, you can achieve color effects by combining multiple grayscale engravings or using color-filled materials.
Q: How do I achieve different shades of gray in my engraving?
A: Lightburn's dithering settings allow you to simulate grayscale images by varying the density of laser dots. Experimenting with different dithering patterns is key to understanding how to engrave a picture in Lightburn properly.
Q: What factors affect the engraving speed and depth?
A: Engraving speed and depth are influenced by laser power, material thickness, image complexity, and focus. How to engrave a picture in Lightburn requires adjusting these parameters.
Q: How do I prevent image distortion during the engraving process?
A: Ensure your image is correctly scaled and positioned before engraving. Using a high-quality laser machine with precise optics can also help minimize distortion.
Q: Can I use a color photo for engraving?
A: While it's possible to engrave color photos, the results may not be as vibrant as expected. Converting the image to grayscale often produces better results.
Q: How do I clean the engraved surface?
A: Avoid using harsh chemicals or abrasive materials. A soft cloth and mild cleaning solution are usually sufficient.

Conclusion
Lightburn photo engraving is a captivating art form that empowers you to transform ordinary images into extraordinary pieces. By understanding the fundamentals of image processing, optimizing Lightburn settings, and experimenting with advanced techniques, you can achieve stunning results. Remember, practice makes perfect, so don't be afraid to experiment and explore the full potential of your laser engraver.
Make your move today, visit Monport, and don’t forget to use BESTMP10 at checkout to claim your special offer. Your next best-selling product line could be just one laser cut away. Click here!


1 Comment
Launch into the expansive realm of EVE Online. Test your limits today. Conquer alongside hundreds of thousands of pilots worldwide. [url=https://www.eveonline.com/signup?invc=46758c20-63e3-4816-aa0e-f91cff26ade4]Start playing for free[/url]