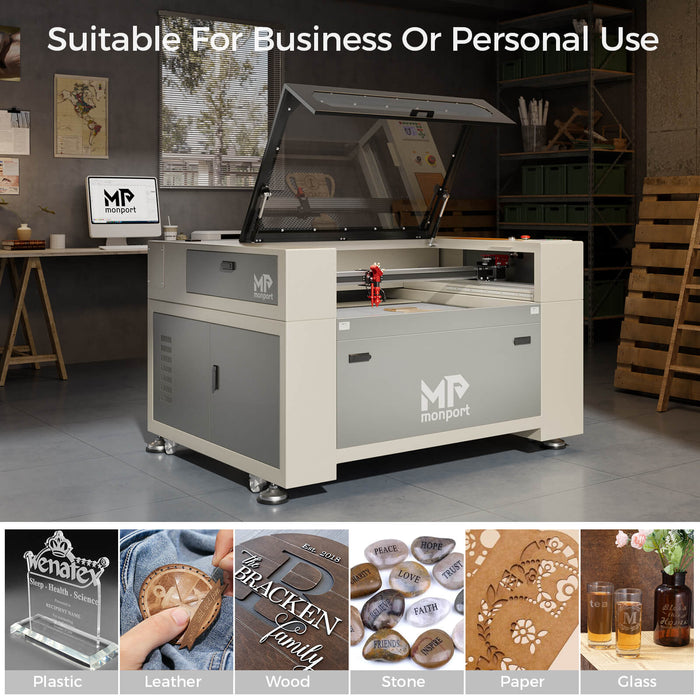
Installing a laser engraver water chiller is a crucial step in maintaining optimal performance and prolonging the lifespan of your machine. In this comprehensive guide, we'll walk you through the process of installing a water chiller for your laser engraver, ensuring smooth operation and efficient cooling. Plus, discover the added convenience of Monport laser machines, which come equipped with a built-in laser cooling system for hassle-free operation.
Why Install a Water Chiller?

Before diving into the installation process, it's essential to understand the importance of a water chiller for your lazer engraver. Laser engraving generates heat, and without proper cooling, the machine's components can overheat, leading to reduced efficiency and potential damage. A water chiller helps dissipate heat effectively, maintaining stable operating temperatures and ensuring consistent engraving quality.
Step-by-Step Installation Guide:
Monport 6L CW-5200 Industrial Water Chiller for 40W-150W CO2 Laser Engraver
Choose the Right Water Chiller
Select a water chiller that is compatible with your laser engraver's specifications, including capacity, cooling power, and dimensions. Ensure that the laser cooling system meets the manufacturer's recommendations for optimal performance.
Prepare the Workspace
Clear a space near your laser engraver for the water chiller, ensuring adequate ventilation and accessibility. Position the laser cooling system on a stable surface, preferably close to the engraver for ease of connection.
Connect the Inlet and Outlet
Locate the water inlet and outlet ports on your laser engraver and the corresponding ports on the water chiller. Use suitable hoses or tubing to connect the two, ensuring a secure and leak-free connection. A well-connected laser cooling system ensures smooth performance and prevents overheating.
Power On the Water Chiller
Once the connections are made, power on the water chiller and set the desired temperature and flow rate according to your engraving requirements. Refer to the manufacturer's instructions for proper operation and maintenance of the laser cooling system.
Monitor and Adjust
Keep an eye on the water chiller's temperature and flow indicators during operation, making adjustments as needed to maintain optimal cooling performance. Regularly check for any signs of leaks or malfunctions and address them promptly to prevent damage to your engraving machine. A well-maintained laser cooling system ensures longevity and efficiency.
The Monport Advantage: Built-in Chiller for Convenience
Monport 80W Built-in Chiller CO2 Laser Engraver & Cutter (36" x 24")
High Speed and Resolution Features:
- Engraving Speed: Achieves speeds up to 600 mm/s for efficient engraving.
- Resolution: Offers a maximum resolution of 4500 dpi for detailed designs.
- LED Illumination: Three LED light strips above the work bed provide enhanced visibility for precision engraving.
- Focal Distance: With a 2.0" focal distance, the machine ensures high resolution and precise etching of tiny fonts.
Autofocus Capability:
- Autofocus Control: Utilize the control panel to automatically adjust the focus at the touch of a button, eliminating the need for manual testing and adjustment.
Built-in Air Assist System:
- Enhanced Precision: The built-in air assist system guides pressurized air through the laser head nozzle to displace debris, heat, and combustible gases, ensuring precise engraving results.
Multiple PC Connection Options:
- Versatile Connectivity: Two USB ports offer options for flash drive connectivity and USB-to-USB PC connection, while an additional ethernet port is available for connection versatility.
Red Dot Guidance Feature:
- Laser Positioning: The red dot indicates the laser head position, marks the working path, and frames project sizes, providing enhanced convenience and guidance during engraving.
Automatic Safety Sensor:
- Enhanced Safety: The safety shutdown sensor automatically stops the machine, even if the window cover is on, ensuring safety during operation. Simply press the "Enter" button to resume operation after closing the cover.
Unlike other laser engraver brands, Monport laser machines come equipped with a built-in laser cooling system, eliminating the need for separate installation and setup. With the water chiller integrated seamlessly into the machine's design, users can enjoy hassle-free operation and peace of mind knowing that their engraver is equipped with efficient cooling capabilities from the start.
Conclusion
Installing a water chiller for your lazer engraver is a straightforward process that can significantly enhance the performance and longevity of your machine. By following this guide and taking advantage of Monport's built-in chiller feature, you can ensure smooth operation and reliable cooling for all your engraving projects.


