Laser etched metal signs have become increasingly popular due to their durability, aesthetic appeal, and customization options. With the advancement of MOPA laser technology, creating high-quality metal signs has become more accessible than ever. In this guide, we'll explore the process of MOPA laser etching metal signs, the benefits of using a 60-watt MOPA fiber laser, and essential machine settings for optimal results.
The Art of Laser Etched Metal Signs

Laser etching involves removing the metal's top layer using a high-powered MOPA laser beam to create permanent markings. For metal signs, this technique produces durable, weather-resistant, and visually striking designs. The choice of metal, such as stainless steel, aluminum, or brass, influences the final appearance of the sign.
The Role of a 60 Watt MOPA Fiber Laser
A 60-watt MOPA fiber laser is the ideal tool for creating exceptional MOPA laser etched metal signs. Its versatility, precision, and speed make it a preferred choice for professionals and enthusiasts alike.
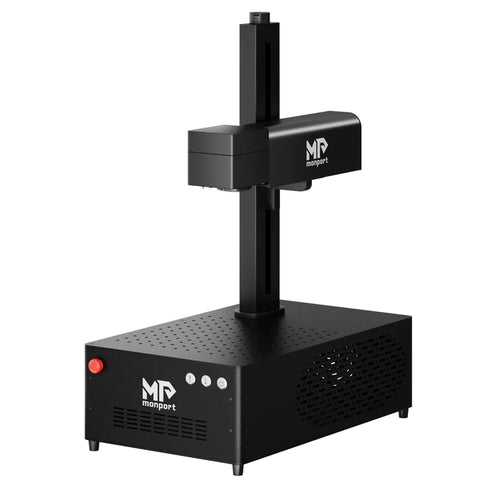
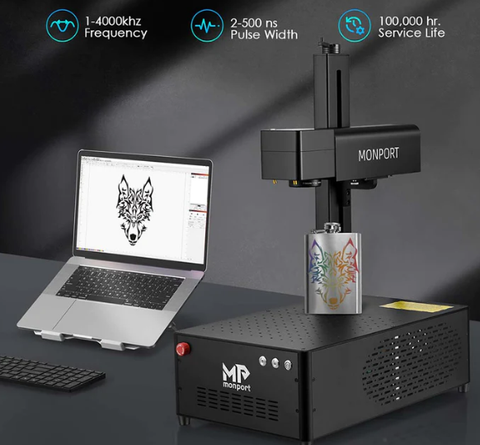
Key features of the Monport GI 60 watt fiber laser for metal sign production:
- Full Color Marking: Offers a wide range of color options for vibrant and eye-catching signs.
- Integrated Innovative Design: Compact and user-friendly for efficient workspace utilization.
- Electric Lifting Focus: Ensures precise focus for consistent engraving quality.
- LightBurn Compatibility: Seamless integration with popular design software for easy artwork transfer.
- Industry-leading Heat Dissipation: Maintains optimal performance during extended use.
Machine Guide: 60 Watt MOPA Fiber Laser Settings for Metal Signs
Achieving optimal results in MOPA laser etching metal signs requires careful consideration of laser parameters. Here's a general guide:
- Power: Adjust the laser power based on the metal thickness and desired engraving depth. Higher power levels are typically required for deeper engravings.
- Speed: Experiment with different speeds to find the ideal balance between engraving quality and efficiency. Lower speeds often produce finer details.
- Frequency: The pulse frequency influences the engraving depth and appearance. Experiment with different settings to achieve the desired effect.
- Pulse width: Control the duration of each laser pulse to fine-tune the engraving process.
- Focus: Ensure the laser beam is precisely focused on the metal surface for consistent results.
Tips for Creating Stunning Laser Etched Metal Signs
- Design considerations: Create high-contrast designs with clear lines for optimal visibility.
- Metal preparation: Clean the metal surface to remove dirt, grease, or other contaminants.
- Test runs: Experiment with different laser settings on a sample piece before working on the final sign.
- Ventilation: Ensure proper ventilation to remove fumes and particles generated during the engraving process.
- Finishing touches: Consider adding protective coatings or backlighting to enhance the sign's appearance.
Step-by-Step Guide to Laser Etching Metal Signs
- Design Creation: Create your desired sign design using graphic design software.
- Metal Preparation: Clean the metal surface to remove dirt, grease, or other contaminants.
- Laser Parameter Setup: Adjust the laser settings based on the metal type and desired engraving depth.
- Engraving Process: Start the laser engraving process, monitoring the machine's operation closely.
- Post-Processing: If necessary, apply protective coatings or finishes to enhance the sign's durability.
Troubleshooting Common Issues
- Uneven Engraving: Check the focus, adjust laser power and speed, and ensure the metal surface is clean and flat.
- Inconsistent Color: Experiment with different pulse frequency and width settings to achieve desired color consistency.
- Material Damage: Reduce laser power to prevent overheating and material damage.
Conclusion
Laser etched metal signs offer a durable and visually appealing solution for various applications. By utilizing a powerful 60-watt MOPA fiber laser like the Monport GI60 and understanding the key machine settings, you can create stunning and long-lasting signs that stand out.


