

Laser engraving is an art form that combines technology with creativity, allowing you to create stunning, personalized pieces using price cutters. One of the most popular projects in this realm is laser engraving pictures on wood. This process not only preserves memories in a unique way but also adds an elegant, rustic touch to any decor. In this guide, we will walk you through the steps, tips, and best practices for laser engraving pictures on wood. Whether you're a hobbyist or a professional, this article will equip you with the knowledge you need to create beautiful engravings.

Special Offer | Monport 60W CO2 Laser Engraver & Cutter (24" x 16") with Autofocus

Special Offer | Monport 60W CO2 Laser Engraver & Cutter (24" x 16") with Autofocus
Get 10% OFF with code BESTMP10 at checkout – Click here to shop!
Introduction to Laser Engraving
Laser engraving pictures on wood involves using a laser beam to precisely etch an image onto a surface. When it comes to wood, this method offers a distinct look that emphasizes the natural grain and texture of the material, especially when using high-quality price cutters.Using a laser engraver, such as the Monport 60W CO2 Laser Engraver & Cutter, ensures detailed and high-quality results.
Choosing the Right Wood
Selecting the right type of wood is crucial for achieving the best results. Here are some popular options:
- Birch Plywood: Smooth and light-colored, it provides excellent contrast.
- Maple: Hard and durable, ideal for fine details.
- Cherry: Rich in color, it darkens beautifully when engraved.
- Walnut: Dark and elegant, offering a luxurious finish.

Table: Wood Types and Their Characteristics
| Wood Type | Characteristics | Ideal Use |
|---|---|---|
| Birch Plywood | Smooth, light-colored | High contrast engravings |
| Maple | Hard, durable | Fine details |
| Cherry | Rich color, darkens with time | Engraving with a luxurious finish |
| Walnut | Dark, elegant | High-end, sophisticated projects |
Preparing the Photo
The quality of the photo significantly impacts the engraving result. Follow these steps to prepare your photo before using price cutters:
- Choose a High-Resolution Image: Higher resolution means more detail.
- Convert to Grayscale: This helps in focusing on the contrasts.
- Adjust Brightness and Contrast: Enhance the image to highlight details.
- Resize and Crop: Ensure the photo fits your wood piece perfectly.
High-quality preparation ensures your laser engraving pictures on wood project produces crisp and clear results.
Setting Up the Laser Engraver
Proper setup of your laser engraver is essential for a successful project. Here’s a quick guide using the Monport 60W CO2 Laser Engraver & Cutter:
- Clean the Surface: Ensure the wood is free from dust and debris.
- Focus the Laser: Use the autofocus feature to set the correct distance.
- Adjust Power and Speed Settings: Different woods require different settings. Test on a scrap piece first.
Laser engraving pictures on wood requires correct power, speed, and focus settings for the best detail.

Bullets: Key Settings to Remember
- Power: Higher power for harder woods, lower for softer woods.
- Speed: Slower speeds allow for deeper engravings.
- Resolution: Higher DPI (dots per inch) for detailed images.
Engraving Process
Once everything is set up, you can start engraving. Follow these steps:
- Import the Image: Load your prepared photo into the laser engraver software.
- Position the Image: Align it correctly on the wood piece.
- Start Engraving: Begin the engraving process and monitor it closely.

Post-Engraving Finishing
After engraving, some finishing touches can enhance the final product:
- Sand the Edges: Smooth any rough edges for a clean finish.
- Apply a Sealant: Protect the engraving and enhance the wood's appearance.
- Frame or Mount: Display your engraved photo beautifully.
FAQs
Q1: Do I need a high-powered laser engraver to engrave photos on wood?
A1: While lower-powered machines can engrave wood, a high-powered model like the Monport 60W CO2 Laser Engraver ensures better detail, faster engraving, and the ability to work on a wider variety of wood types.
Q2: How do I prevent my engraved photo from looking too light or faded?
A2: Make sure your photo has high contrast before engraving, use the correct power and speed settings for your wood type, and consider applying a sealant after engraving to enhance the depth and visibility.
Q3: Can I engrave a photo directly onto finished or varnished wood?
A3: It’s best to engrave on unfinished wood, as varnishes and finishes can interfere with the laser’s precision and cause uneven results. You can apply a finish after engraving for protection and appearance.
Q4: What safety precautions should I follow when laser engraving pictures on wood?
A4: Always work in a well-ventilated area, wear protective eyewear, keep the machine clean, and never leave the engraver unattended while in operation.
Q5: How can I make my engraved photo last longer?
A5: Protect your engraving by applying a clear sealant or lacquer after the process. This helps shield the wood from moisture, dust, and fading over time.

Important Details
- Always test settings on a scrap piece of wood.
- Ensure proper ventilation when using the laser engraver.
- Keep your laser engraver clean to maintain precision.
Takeaways
- Preparation is Key: Choosing the right wood and preparing the photo properly are crucial steps.
- Proper Settings: Adjusting power, speed, and resolution settings based on the price cutters ensures the best results.
- Finishing Touches: Post-engraving steps like sanding and sealing can significantly enhance the final product.

Elevate Your Engraving with Monport Black Laser Marking Spray
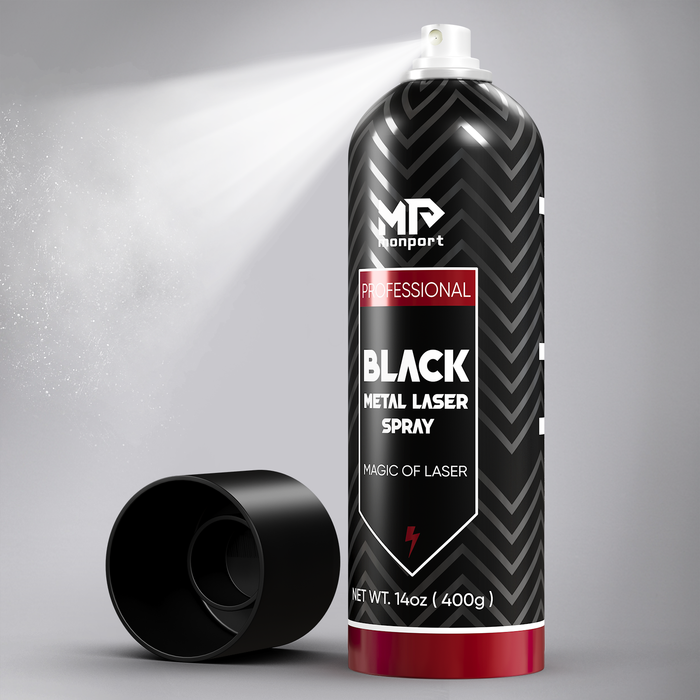
Monport black laser marking spray is an essential tool for those looking to create permanent, high-contrast markings on a variety of metals, including aluminum, stainless steel, and brass. Ideal for use with CO2 laser engraving machines of 25 watts and above, this black laser marking spray ensures deep, durable marks that withstand the test of time. With its advanced nozzle technology, the spray is applied evenly, allowing for a smooth, professional finish every time. The quick-dry formula of this black laser marking spray helps streamline your workflow by drying in just five minutes, enabling faster production. After engraving, simply rinse the surface to reveal the sharp, dark markings created by the black laser marking spray, making it perfect for a wide range of applications from custom jewelry to industrial tool marking.
Conclusion
Laser engraving pictures on wood is a rewarding process that results in beautiful, personalized pieces. By following the guidelines in this article, you can create stunning engravings that capture and preserve memories in a unique way, all while choosing the right price cutters for your needs. For the best results, consider using a high-quality laser engraver like the Monport 60W CO2 Laser Engraver & Cutter, which offers precision and ease of use. Happy engraving!
Read More: Enjoy Wood Laser Engraving and Deep Laser Engraving Wood
Don’t Miss Out!
Get 10% OFF the Monport 60W CO2 Laser Engraver with code BESTMP10 – Click here to shop now!


