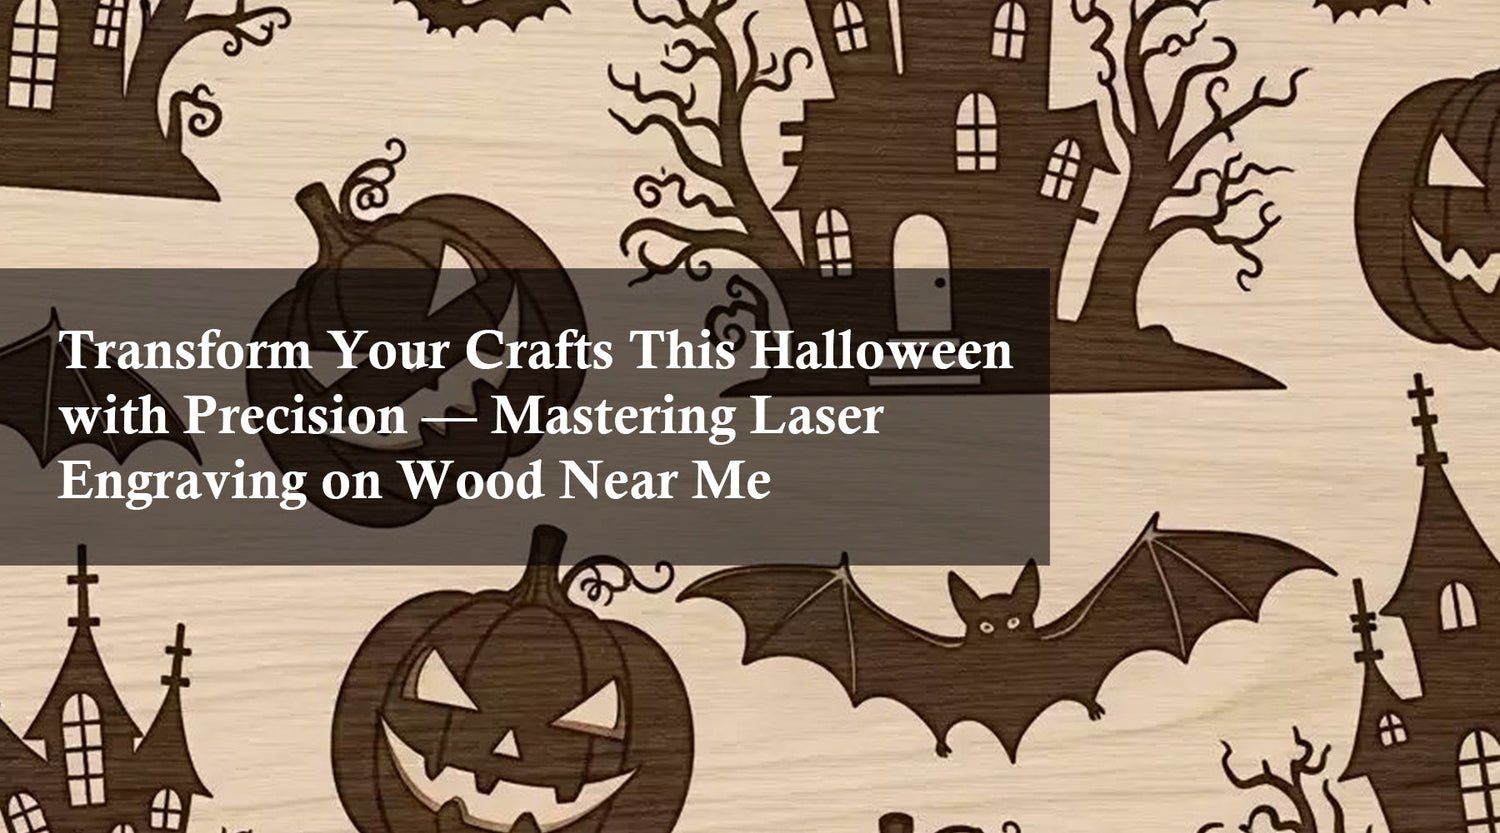
Laser engraving has revolutionized woodworking, allowing artisans and hobbyists to create intricate designs with wood engraving equipment. However, achieving the perfect contrast on wood, especially making the engraving darker, can be challenging. If you want to darken laser engraving on wood, there are effective techniques to enhance the results.In this article, we'll explore how to make laser engraving darker on wood and the process of creating a laser cut chopping board. With the right techniques and wood engraving equipment, like the MONPORT ONYX 55W Desktop CO2 Laser Engraver with Autofocus, you can elevate your woodworking projects to a new level.
Introduction: Enhancing Your Laser Cut Chopping Board with Darker Engraving

Creating a laser cut cutting board is a fantastic way to showcase your woodworking skills, but the true artistry comes in the engraving process with wood engraving equipment. A well-executed engraving can turn a simple chopping board into a personalized kitchen staple. Understanding how to darken laser engraving on wood is essential to ensuring that your designs stand out and are visually striking. With the right approach, you can achieve a deep, rich contrast that highlights the details of your work.
Techniques for Making Laser Engraving Darker on Wood

- Adjusting Laser Power and Speed
The most straightforward method for how to darken laser engraving in wood is to adjust the laser's power and speed settings of your wood engraving equipment. By increasing the power or slowing down the speed, you allow the laser to burn deeper into the wood, creating a darker engraving. However, it's important to find the right balance, as too much power can scorch the wood, while too little may result in a faint design.
- Choosing the Right Wood Type
The type of wood you use significantly impacts the darkness of your engraving. Softer woods like pine or cedar tend to burn more easily, resulting in darker engravings. Hardwoods like oak or maple may require higher power settings to achieve the same level of darkness. Experimenting with different types of wood will help you understand which one works best for your laser cut cutting board and how to darken laser engraving on wood.
- Multiple Passes with the Wood Engraving Equipment
Another technique for how to darken laser engraving in wood is to perform multiple passes with the wood engraving equipment. After the first pass, you can run the laser over the same area again to deepen the engraving. This method is especially useful for achieving consistent darkness across different sections of your design.
- Post-Engraving Finishing Techniques
After engraving, applying a dark stain or using a fine-tipped marker to fill in the engraved areas can enhance the contrast. Sealing the wood with a clear finish afterward will protect the engraving and give it a polished look. This approach is ideal for projects like a laser cut cutting board, where durability and aesthetics are both important, and it can help with how to darken laser engraving on wood.
Creating a Laser Cut Chopping Board: Step-by-Step Guide
- Selecting the Wood and Design
When creating a laser cut chopping board, start by choosing a wood that is food-safe and durable, such as maple, walnut, or cherry. Design your chopping board using software that supports vector files, ensuring that your laser wood engraving design is scaled appropriately and can also show how to darken laser engraving on wood effectively.
- Preparing the Wood for Cutting
Before cutting, make sure the wood is flat and free of any debris. Secure it firmly in the laser engraver to prevent any movement during the cutting process. Proper preparation is key to ensuring a clean and precise cut with a wood engraving equipment and helping with the process of how to darken laser engraving on wood.
- Using the MONPORT ONYX 55W Desktop CO2 Laser Engraver
The MONPORT ONYX 55W Desktop CO2 Laser Engraver with Autofocus is an excellent choice for creating a laser cut chopping board. Its powerful 55W laser can handle a variety of wood types, and the Autofocus feature ensures that the laser is always at the optimal distance from the wood, resulting in clean, precise cuts and engravings. This machine is especially effective for achieving the darker engravings desired on wooden projects and can greatly help with how to darken laser engraving on wood.
- Engraving the Design
Once the wood is cut to the desired shape, you can proceed with engraving your design. Use the techniques discussed earlier to ensure that the engraving is as dark as possible. Adjust the power, speed, and perform multiple passes if necessary. For a laser cut chopping board, consider engraving a monogram, a family name, or a unique pattern that reflects the recipient's personality while focusing on how to darken laser engraving on wood.
- Finishing the Chopping Board
After engraving, sand the edges of the laser cut cutting board to remove any rough spots. Apply a food-safe oil or finish to protect the wood and bring out its natural color. This final step will enhance the appearance of the laser cut wood design and ensure that your chopping board is ready for use, giving you the opportunity to perfect how to darken laser engraving on wood.
Key Takeaways: Perfecting Your Laser Wood Designs
- How to make laser engraving darker on wood involves adjusting laser power, speed, and considering the type of wood used.
- The MONPORT ONYX 55W Desktop CO2 Laser Engraver is the ideal tool for creating a laser cut chopping board and achieving dark, precise engravings.
- Proper wood preparation and post-engraving finishing techniques can significantly enhance the quality and durability of your projects.
- Understanding the interaction between laser settings and wood type is key to mastering the art of laser engraving.
Q&A About Monport Laser Engravers
Q: What makes the MONPORT ONYX 55W Desktop CO2 Laser Engraver the best choice for wood engraving?
A: The MONPORT ONYX 55W offers powerful performance with precise control, making it perfect for wood engraving projects. Its Autofocus feature ensures optimal laser positioning, which is crucial for achieving dark and detailed engravings.
Q: Can the MONPORT ONYX 55W handle other materials besides wood?
A: Yes, the MONPORT ONYX 55W is versatile and can engrave and cut a variety of materials, including acrylic, leather, and glass. This flexibility makes it a great investment for a wide range of creative projects.
Q: How does the Autofocus feature improve the engraving process?
A: The Autofocus feature automatically adjusts the laser's focus based on the thickness of the material, ensuring consistent engraving depth and quality. This is especially useful when working with varying wood thicknesses in projects like a laser cut cutting board.
Q: What maintenance is required for the MONPORT ONYX 55W?
A: Regular cleaning of the laser lens and mirrors is recommended to maintain optimal performance. Additionally, ensuring that the cooling system of your wood engraving equipment is functioning properly will extend the life of the laser tube.
Conclusion: Elevating Your Woodworking Projects
Mastering how to darken laser engraving on wood and creating a laser cut cutting board are valuable skills for any woodworker. With the right techniques and tools, such as the MONPORT ONYX 55W Desktop CO2 Laser Engraver, you can produce high-quality, professional-looking engravings that stand out. Whether you're crafting for personal use or creating gifts, the ability to achieve dark, detailed engravings will enhance the beauty and value of your projects.


