Halloween is just around the corner, and creating personalized decorations like laser engraved pumpkins has never been easier. If you’ve ever wondered how to make your own stamps or incorporate custom designs into your holiday décor, using a laser engraver is the perfect solution. This guide covers both how to make rubber stamps at home and tips for achieving stunning pumpkin engravings with a laser machine.
Unlock Big Savings at Monport Laser! Use code BESTMP10 at checkout for an exclusive discount – Click here to shop now!
Why Learn How to Make Rubber Stamps at Home?
Learning how do I make my own rubber stamp opens endless creative possibilities. You can:
-
Personalize gifts and cards
-
Create unique patterns for your projects
-
Combine stamp designs with laser-engraved pumpkins for a one-of-a-kind effect
DIY enthusiasts often ask how do you make your own rubber stamps for fun crafts or small businesses. Using a laser engraver alongside traditional stamp-making tools allows you to produce detailed, intricate designs efficiently.

Setting Up Your Laser Engraver for Pumpkin Carving
To start, ensure that your laser engraving machine for intricate designs is properly set up. Here’s a quick setup guide:
| Step | Instructions |
|---|---|
| Choose a Pumpkin | Select a pumpkin with a flat surface for even engraving. |
| Prepare the Stencil | Create or download a stencil of your design in a compatible format for engraving. |
| Adjust Laser Settings | Set the power, speed, and depth based on the pumpkin's thickness. |
| Secure the Pumpkin | Position the pumpkin securely on the work bed to prevent movement. |
| Test on Sample | Run a test on a piece of scrap material to ensure the settings are correct. |
Key Settings for Engraving on Pumpkins
- Power: Lower power settings work best for carving shallow designs on pumpkins.
- Speed: Use slower speeds for more control, particularly for intricate designs.
- Focus: Make sure the laser is properly focused on the pumpkin’s surface for optimal engraving quality.

Designing and Choosing Halloween Pumpkin Carving Stencils
When it comes to laser engraved pumpkins, the possibilities are endless. Here are some popular design ideas:
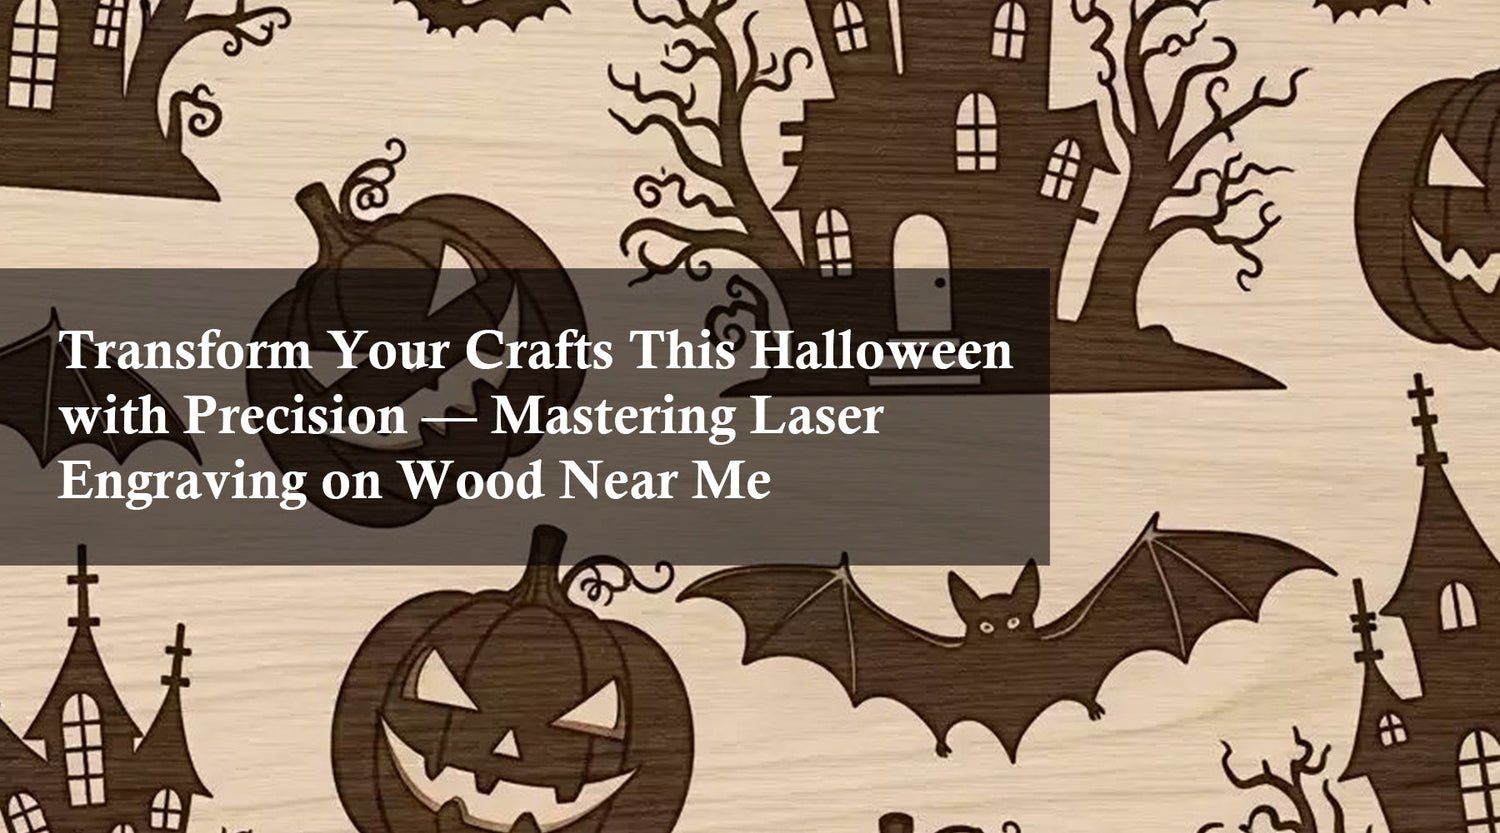
- Classic Faces: Traditional jack-o'-lantern faces with a twist, using intricate details.
- Spooky Scenes: Haunted houses, witches, and graveyards can add a spooky flair.
- Text & Fonts: Laser engraving allows you to add personalized messages or eerie quotes.
- Intricate Patterns: Consider using designs inspired by lace or filigree for a sophisticated look.
Tips for Choosing the Right Stencil
- Size: Ensure the stencil fits well within the pumpkin’s surface area.
- Complexity: Beginners may want to start with simpler patterns before advancing to more detailed designs.
- Contrast: Choose designs that balance open spaces and detailed lines for better visibility.

Carving the Pumpkin with the Monport 150W CO2 Laser Engraver
Once you have your stencil ready, it’s time to start engraving. The Monport 150W CO2 Laser Engraver is ideal for laser engraved pumpkin designs due to its large work area and fine control. Here’s how to proceed:
- Place the Pumpkin: Position your pumpkin in the center of the work area, ensuring it is secure.
- Load the Stencil: Upload your design into the engraver’s software and adjust the positioning as needed.
- Set Parameters: Adjust the power and speed settings according to the depth and detail desired.
- Engrave: Begin engraving, carefully monitoring the process to ensure the pumpkin remains in place.

Safety Tips for Laser Engraving Pumpkins
Working with a laser engraver comes with a few safety considerations. Here’s how to stay safe:
- Wear Safety Gear: Protective eyewear is essential when using a laser engraver.
- Ventilation: Carving pumpkins can release fumes, so ensure your workspace is well-ventilated.
- Keep a Clean Work Area: Clear the area of flammable materials, especially when using high-powered equipment.
FAQs About Making Rubber Stamps and Laser Engraving Pumpkins
Q: How do I make my own rubber stamp quickly?
A: Start with simple designs and carve or engrave using a laser for detailed patterns.
Q: Can I combine rubber stamps with laser engraved pumpkins?
A: Absolutely! You can stamp designs first, then add laser engraving for extra detail.
Q: How do I maintain my laser engraver after pumpkin carving?
A: Clean all surfaces, remove residue, and check the lens before storing.
Q: What materials work best for DIY rubber stamps?
A: Rubber sheets, carving blocks, and soft polymer are ideal for creating clear impressions.
Q: Is making rubber stamps at home beginner-friendly?
A: Yes! Simple tools and tutorials make how to make your own stamps accessible for beginners.

Important Details to Remember
- Power Settings: Lower power settings are generally sufficient for pumpkin carving.
- Pumpkin Selection: Opt for pumpkins with flat surfaces for the best results.
- Stencil Design: Choose or create stencils with visible lines and adequate contrast.
Key Takeaways
-
Learning how to make a rubber stamp adds creativity to DIY projects.
-
Combining rubber stamps and laser engraved pumpkins creates unique Halloween decorations.
-
Proper setup, safety, and preparation are essential for successful laser engraving.

Conclusion
Whether you’re exploring making your own rubber stamps or creating professional-looking laser engraved pumpkins, these techniques allow endless creativity for Halloween or craft projects. With the right tools and guidance, you can design, carve, and engrave memorable pieces that stand out.
Read More: How Laser Engraving Machines Are Revolutionizing Small Businesses


