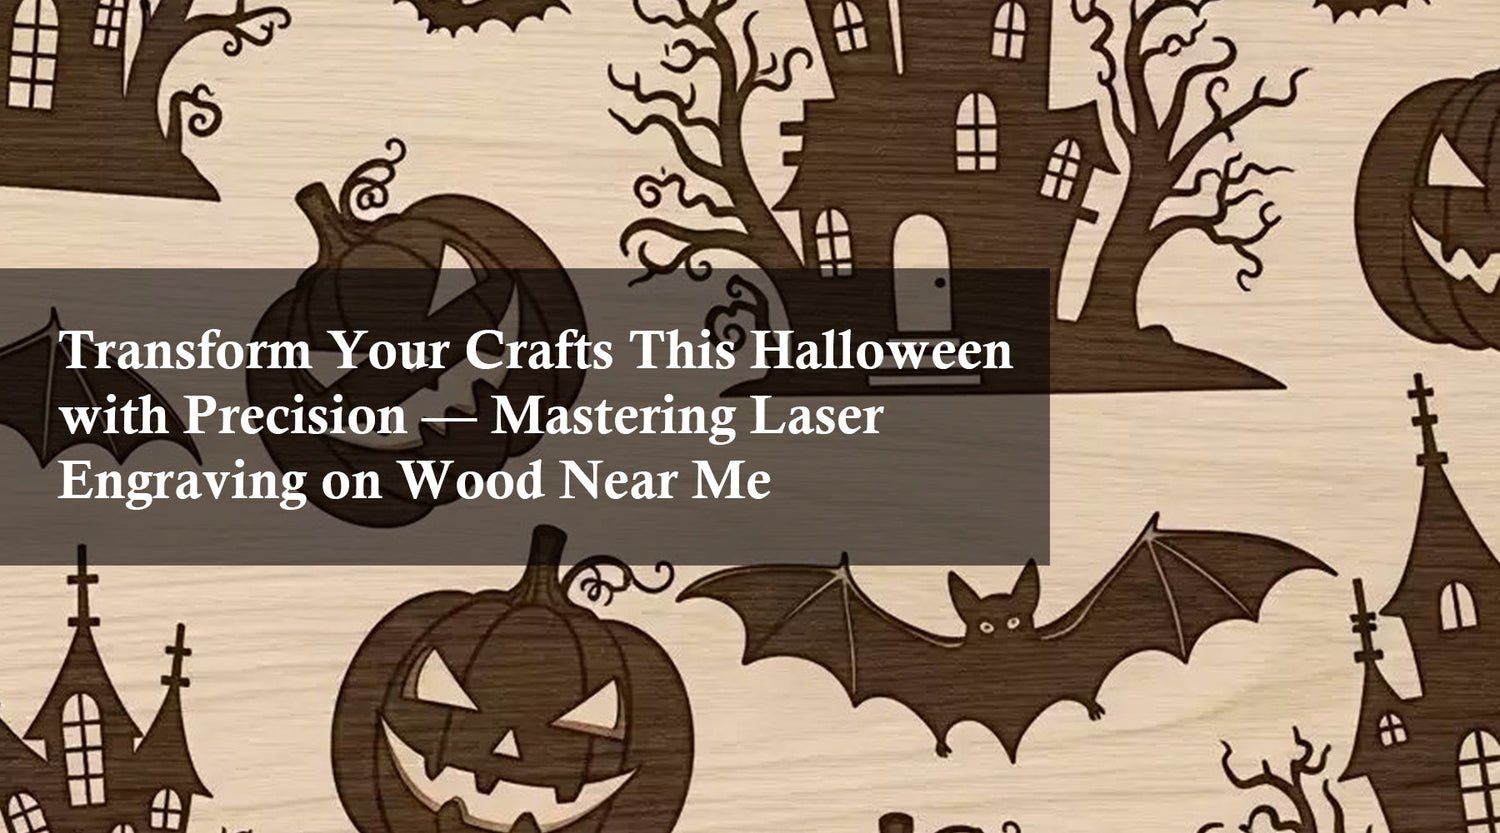
Laser engraving has become a popular technique for personalizing and creating unique laser engraved wood crafts.It allows you to etch designs, logos, and even laser engraved photos on wood with stunning detail.This opens a door to a world of creative possibilities, from personalized gifts and home décor to unique art pieces, including laser engraver photo on wood.
This blog delves into the exciting realm of "How to Laser Engrave a Photo on Wood", guiding you through the process from selecting the right tools to achieving that perfect engraved image.
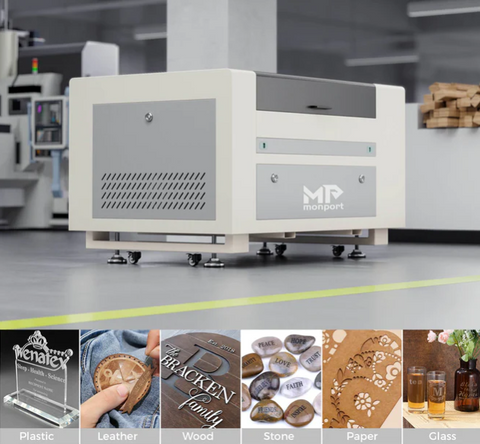
Monport 60W CO2 Laser Engraver & Cutter (24" x 16") with Autofocus
Read More : Laser Engraving a Photo on Wood: A Comprehensive Guide
Unlock Big Savings at Monport Laser! Use code BESTMP10 at checkout for an exclusive discount – Click here to shop now!
How to Laser Engrave a Photo on Wood: Safety Matters
Laser engraving involves utilizing a powerful laser beam. Safety is paramount. Ensure you thoroughly understand and follow the safety guidelines outlined in your photo engraving on wood machine’s manual. Always wear appropriate eye protection designed for the specific wavelength of your laser.
Gathering the Necessary Laser Engraved Wood Tools:

-
Etching laser machine: This is the heart of the process. Various models cater to different needs and budgets.
-
Wood: Select high-quality wood with a smooth surface. Popular choices include basswood, birchwood, and maple. Avoid wood with knots or cracks, as they can affect the photo engraving on wood outcome.
-
Computer: You'll need a computer to edit your photo and prepare it for the etching process.
-
Image editing software: Software like Adobe Photoshop or GIMP allows you to adjust your photo for optimal engraving results.
-
Laser engraving software: This software is specific to your etching laser machine and facilitates sending the image file to the machine for engraving, including photo engraving on wood.
Preparing Your Photo for Laser Engraved Wood:

- High-Resolution Image: Start with a high-resolution photo. A low-resolution image will result in a poor-quality engraving.
- Grayscale Conversion: Lasers typically work in black and white. Convert your photo to grayscale using your image editing software.
- Contrast Adjustments: Fine-tune the contrast of your image. A higher contrast image often translates better to a laser engraving.
- Image Editing (Optional): You can further enhance your photo by adjusting brightness, sharpening details, or even adding text if desired.
Software and Image Optimization:

-
Dithering: This process creates a variation in the laser power based on the different shades of gray in your image. Dithering software helps achieve a more accurate tonal representation in the photo engraving on wood.
-
Thresholding: This defines the grayscale levels that will be translated into engraved areas. Experiment with different thresholds to find the optimal setting for your image and desired outcome.
How to Laser Engrave a Photo on Wood – Bringing the Image to Life:

-
Test Material: Before engraving your final photo engraving on wood piece, it's crucial to perform a test on scrap wood. This allows you to fine-tune the laser settings like speed and power to achieve the best results for your chosen wood type and image.
-
Laser Settings: Consult your laser engraver's manual or manufacturer's recommendations for specific settings based on the wood material and desired engraving depth.
-
Engraving Process: Once you've finalized the settings, secure your wood in the laser engraver and initiate the engraving process.
Post-Engraving Touches:
- Cleaning Up: After laser wood engraving, gently remove any smoke residue or debris from the engraved surface using a soft brush or compressed air.
- Finishing Touches (Optional): You can further enhance your engraved wood creation by applying a clear coat, stain, or paint for a polished look.
Additional Tips:
- Wood Selection: Lighter-colored wood generally yields better engraving results compared to darker wood.
- Start Simple: For beginners, it's recommended to start with simpler images with high contrast.
- Experimentation is Key: Don't be afraid to experiment with different settings and techniques to achieve your desired outcome.
- Safety First: Always prioritize safety when working with laser engraving equipment.
Laser Engraved Photo on Wood Resources:
- Online forums and communities dedicated to laser engraving offer valuable insights and troubleshooting tips.
- Consulting the manufacturer's resources and tutorials specific to your laser engraver model is recommended.
The Monport CO2 Laser: A Powerful Tool for Laser Engraved Photo on Wood
This guide has explored the captivating world of laser engraved photos on wood, equipping you with the knowledge and steps to create personalized masterpieces. While various CO2 laser options exist, the Monport CO2 laser stands out as a compelling choice for wood engraving enthusiasts due to its:

- User-Friendly Interface: The accompanying software allows for intuitive design creation, image manipulation, and laser control, making it ideal for beginners and experienced users alike.
- Precise Engraving: The Monport CO2 laser boasts exceptional precision, ensuring your photo engravings capture the intricate details and subtle tones of your chosen image.
- Wide Working Area: The engraving area on the Monport CO2 laser caters to projects of various sizes, offering the flexibility to tackle smaller photo engravings on keychains or coasters, or larger engravings on wall art or custom signs.
Incorporating the Monport CO2 Laser into Your Laser Engraved Photo on Wood Process:
Here's a brief overview of how the Monport CO2 laser integrates into the laser engraving process for photos on wood:
- Software Design and Image Adjustments: Utilize the Monport laser software to import your grayscale photo and apply any necessary dithering effects.
- Material Preparation: Secure the wood piece onto the laser's workbed and ensure proper calibration for optimal engraving results.
- Laser Settings and Test Run: Consult the Monport CO2 laser's user manual for specific settings recommendations for wood engraving. Conduct a test run on scrap wood to fine-tune the settings for engraving depth, speed, and power.
- The Engraving Process: Initiate the engraving process with the chosen settings, closely monitoring the progress to ensure the desired outcome.
Monport CO2 Laser: Additional Considerations
- Material Compatibility: The Monport CO2 laser is compatible with various wood types, making it versatile for your creative projects.
- Safety Features: The Monport CO2 laser prioritizes safety by incorporating features like an enclosed working area and emergency stop buttons. Always adhere to the manufacturer's safety guidelines when operating the laser.
The Enchantment of Laser Engraved Photo on Wood
Laser engraving photos on wood opens a treasure trove of creative possibilities. From personalized gifts and keepsakes to unique art pieces, this technique allows you to transform ordinary wood into extraordinary creations. With careful preparation, the right tools, and a touch of creativity, you can embark on this rewarding journey and bring your cherished memories to life on beautiful wooden keepsakes, including laser engraved photos on wood.
Creative Woodworking Inspiration and Beyond:

- Wooden engraved Portraits and Family Photos: Engrave cherished family photos or portraits onto wooden plaques for a unique and personalized gift.

- Wooden Engraved Wedding or Anniversary Photos: Commemorate special occasions by engraving your wedding photo or a romantic image onto a wooden keepsake box.

- Custom Wall Art: Create personalized wall art by laser engraving a landscape photo or a meaningful quote onto a larger wooden panel.

- Photo Gifts: Engrave photos onto wooden coasters, keychains, or phone cases for unique and thoughtful gifts.

- Incorporate Text: Personalize your engraved photos further by adding names, dates, or special messages alongside the image using the laser engraver.
Conclusion
The Monport CO2 laser empowers you to unlock the potential of etching laser machine engraving for wood and transform your cherished memories into unique and personalized keepsakes. By combining the versatile features of the Monport CO2 laser with the valuable knowledge and techniques outlined in this guide, you can embark on a fulfilling artistic journey, breathing life into your treasured moments and creating lasting pieces that will be cherished for years to come, including laser engraved photo on wood.


