Clear acrylic, with its sleek and transparent nature, has become a popular material in various crafting and DIY projects. With the advancement of technology, diode lasers have emerged as a valuable tool for cutting acrylic with precision and ease. In this comprehensive guide, we will figure out how to cut clear acrylic with diode laser, ensuring that you unlock the full potential of this versatile material for engraving machines.
Understanding Diode Lasers and How to Cut Clear Acrylic
Diode lasers are a type of laser that utilize a diode as the laser source. They are known for their high energy efficiency and compact size, making them a popular choice for hobbyists and small-scale DIY enthusiasts. Clear acrylic, also known as plexiglass, is a transparent thermoplastic material widely used due to its durability and versatility. Engraving machines equipped with diode lasers provide an ideal method for cutting and engraving acrylic with incredible detail and precision.
Step 1: Preparing the Diode Laser:
Before you begin cutting clear acrylic, it's essential to prepare your diode laser. Ensure that the laser's power supply is connected, and the laser head is correctly aligned. Diode lasers typically come with specific settings and parameters for different materials. Consult your laser's user manual to ensure you have the appropriate settings for cutting clear acrylic.
Step 2: Designing Your Project:
A crucial aspect of any laser cutting project is designing your desired shape or pattern. Begin by creating a digital design using graphic design software such as Adobe Illustrator or CorelDRAW. Take into account the dimensions and intricacy of your design to ensure it fits within the limitations of your diode laser's cutting area.
Step 3: Securing the Clear Acrylic:
Prepare the clear acrylic sheet for cutting by securing it onto the laser cutting bed. Use masking tape or clamps to hold the acrylic in place, ensuring it remains stable throughout the cutting process. This prevents any unwanted movement that could affect the accuracy of the cut.
Step 4: Adjusting Laser Settings:
Diode lasers provide control over power, speed, and frequency. Begin by adjusting the power setting, starting at a lower power level to prevent melting or charring of the acrylic. Gradually increase the power until you achieve the desired depth of cut without compromising the material's integrity. Additionally, adjust the speed and frequency settings based on the thickness and density of the clear acrylic.
Step 5: Executing the Cut:
With the laser settings optimized and the acrylic sheet securely in place, it's time to initiate the cutting process. Start the diode laser and ensure you closely monitor its progress. Clear acrylic tends to cut faster than colored acrylic, so exercise caution to avoid overcutting or damaging the material. For complex designs, it may be helpful to run a test cut on a scrap piece of acrylic to confirm your laser settings before proceeding with the final cut.
Step 6: Post-Cutting Measures:
After completing the cut, allow the clear acrylic to cool down before handling it. Once cooled, remove any residue or debris left on the acrylic, ensuring a clean and professional finish. If necessary, use sandpaper or a flame polisher to refine the edges and remove any burrs. Remember to take adequate safety precautions and wear appropriate protective gear throughout the process.
Expanding Your Creativity

Cutting clear acrylic with a diode laser opens up a myriad of possibilities for your creative endeavors. Here are a few additional tips to push the boundaries of your clear acrylic projects:
-
Engraving and Etching: Diode lasers can also be used for engraving and etching designs onto clear acrylic. Experiment with different laser settings and patterns to add depth and intricacy to your creations.
-
Layering: Combine multiple layers of laser-cut clear acrylic to create unique and dimensional designs. By stacking and bonding the layers, you can achieve stunning three-dimensional effects.
-
Adding Color: Clear acrylic can be transformed with the addition of color. Consider using acrylic paint or acrylic ink to add vibrant hues to your laser-cut acrylic pieces. Painting the back or edges of the acrylic can create a striking contrast and enhance your designs.
The Monport 40W Pro CO2 Laser Engraver - the Best Acrylic Laser Engraver in 2024

The Monport 40W Pro CO2 Laser Engraver utilizes state-of-the-art CO2 laser technology, delivering unrivaled performance in acrylic engraving machines. With a power output of 40W, this engraver offers superior cutting and engraving capabilities, ensuring clean and precise results on acrylic materials of varying thicknesses. The CO2 laser technology allows for faster engraving speeds while maintaining exceptional accuracy, making it ideal for both intricate and large-scale acrylic designs.
Enhanced Precision and Control:
One of the standout features of the Monport 40W Pro CO2 Laser Engraver is its exceptional precision and control. The engraver boasts advanced laser control software, providing users with unparalleled control over the engraving process. With adjustable laser power, speed, and resolution settings, you can achieve extraordinary detail and clarity in your acrylic engravings. Whether you're creating intricate designs or bold lettering, this engraver ensures that every stroke is executed perfectly.
Versatility for Various Acrylic Types:
Acrylic comes in various forms, including clear, colored, and textured. The Monport 40W Pro CO2 Laser Engraver is designed to handle the unique characteristics of each type with ease. Its intelligent operating system allows for precise control of the laser parameters, enabling you to adjust the engraving settings based on the specific properties of the acrylic material. Whether you're working with clear acrylic that requires delicate engraving or textured acrylic that demands deeper etching, this engraver can handle it all.
User-Friendly Interface:
The Monport 40W Pro CO2 Laser Engraver is designed with user-friendliness in mind. Its intuitive interface allows even novice users to quickly grasp the engraving process. The engraver comes equipped with a high-resolution LCD screen, providing a clear and concise overview of the engraving parameters, artwork layout, and process status. With its easy-to-use controls and comprehensive software, operating this engraver becomes a seamless and enjoyable experience.
Elevate Your Engraving with Monport Black Laser Marking Spray

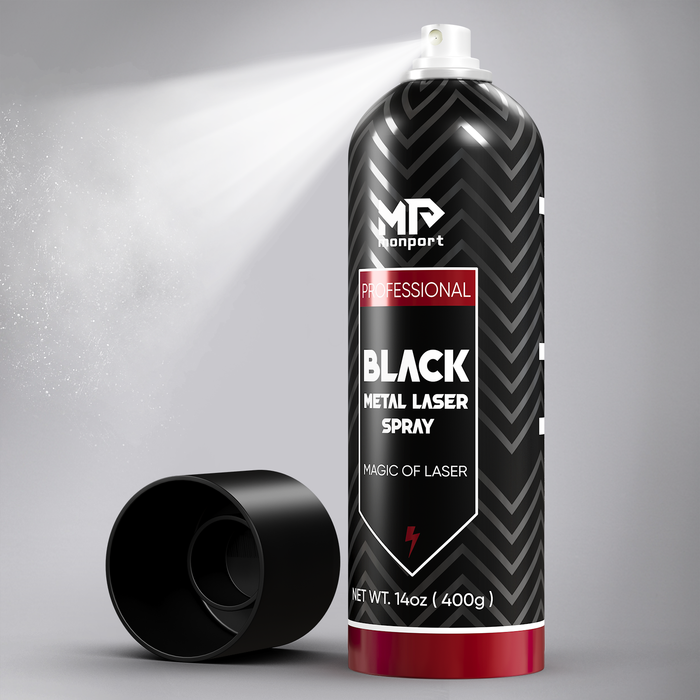
Monport black laser marking spray is an essential tool for those looking to create permanent, high-contrast markings on a variety of metals, including aluminum, stainless steel, and brass. Ideal for use with CO2 laser engraving machines of 25 watts and above, this black laser marking spray ensures deep, durable marks that withstand the test of time. With its advanced nozzle technology, the spray is applied evenly, allowing for a smooth, professional finish every time. The quick-dry formula of this black laser marking spray helps streamline your workflow by drying in just five minutes, enabling faster production. After engraving, simply rinse the surface to reveal the sharp, dark markings created by the black laser marking spray, making it perfect for a wide range of applications from custom jewelry to industrial tool marking.
Conclusion
In 2024, the Monport 40W Pro CO2 Laser Engraver has established itself as the premier choice for acrylic engraving machines. With its cutting-edge CO2 laser technology, unparalleled precision, versatility, user-friendly interface, and comprehensive safety features, this engraver sets the benchmark for excellence in the industry. Whether you're an aspiring artist, a skilled crafter, or a professional engraver, the Monport 40W Pro CO2 Laser Engraver will elevate your acrylic engraving projects to new heights. Embrace this exceptional engraver and witness the seamless fusion of technology and art as you bring your acrylic creations to life like never before.
By following the steps outlined in this guide, you'll be well on your way to mastering the art of creating precise and captivating designs with your diode laser. Remember to carry out thorough preparations, adjust laser settings carefully, and handle the clear acrylic with care. With practice, experimentation, and a touch of creativity, you'll be able to unlock the brilliance of laser-cut clear acrylic, transforming your ideas into stunning works of art using engraving machines.
Unleash your imagination and take your DIY projects to a whole new level by embracing the power and precision of cutting clear acrylic with a diode laser. Visit Monport Today!
Want to experience professional-grade results at home?
Use code BESTMP10 at checkout – click here to shop the Monport 40W Pro now!


