The warmth and natural beauty of laser engraved wood products have captivated crafters for centuries. But what if you could elevate your woodworking projects to a whole new level? Enter the fascinating world of CO2 laser engravers DIY! These versatile machines allow you to create intricate designs, personalized messages, and stunning artwork directly onto wood, unlocking a treasure trove of creative possibilities for DIY enthusiasts.
This guide delves into the exciting world of CO2 laser engravers DIY and their application in crafting unique laser engraved wood products. We'll explore the benefits of CO2 laser engraving for wood, delve into the DIY considerations, and showcase the advantages of the Monport 80W CO2 Laser Engraver with Built-in Chiller.
Monport 80W Built-in Chiller CO2 Laser Engraver & Cutter (36" x 24")
CO2 Laser Engravers DIY: Transforming Wood with Precision
CO2 laser engravers DIY utilize a focused beam of light to etch permanent designs onto a variety of materials, including wood. As the laser beam interacts with the wood surface, it removes material, creating the desired laser engraved wood products. This technology offers several advantages over traditional wood engraving methods:
- Unmatched Precision: CO2 lasers deliver incredibly fine details, allowing you to create complex designs and small lettering with exceptional accuracy.
- Unparalleled Versatility: These machines can engrave a wide range of wood types, from softwoods like pine to hardwoods like maple and cherry.
- Repeatability and Consistency: The digital control of the laser ensures consistent results every time, making it ideal for creating multiple identical wood products.
- Speed and Efficiency: Laser engraving is a fast process, allowing you to complete projects quickly and efficiently.
Building Your DIY CO2 Laser Engraving Setup
While pre-built CO2 laser engravers are readily available, the DIY spirit thrives on building your own setup. Here's a breakdown of the essential components to consider:
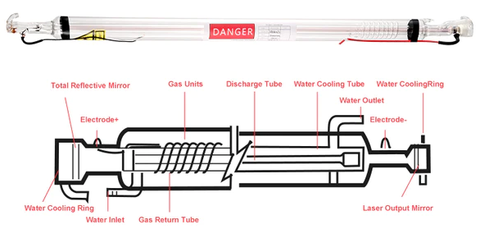
- Laser Tube: The heart of the engraver, the CO2 laser tube generates the focused beam of light. Consider factors like power output (40 watts or higher is recommended for wood projects) and lifespan.
- Moving Gantry: This framework houses the laser tube, mirrors, and other components, guiding the laser beam across the engraving surface with precision.

- Control System: This system allows you to control the laser power, speed, and movement of the gantry. Popular options include open-source control boards and software like GRBL.
- Working Table: Choose a stable and heat-resistant surface for holding the wood pieces during engraving.
- Safety Features: Laser safety is paramount. Ensure your setup includes a fireproof viewing window and certified laser protective glasses to safeguard yourself from laser radiation.
The Monport 80W CO2 Laser Engraver: A Pre-Built Solution for Aspiring DIYers
If building your own CO2 laser engravers DIY seems daunting, pre-built options like the Monport 80W CO2 Laser Engraver offer a compelling alternative. Packed with features that enhance safety, performance, and ease of use, it's an ideal choice for DIY enthusiasts:

- High Laser Power: The 80-watt laser power delivers deep engravings and tackles even challenging wood projects.
- Built-in Water Chiller: This integrated chiller ensures optimal laser performance and extends the lifespan of the laser tube. (3.7%)
- Enclosed Aeronautical Aluminum Rail: Protects the rail from dust and debris, minimizing maintenance.
- Ruida Digital Controller: Compatible with popular design software like LightBurn, RDworks, AutoCAD, and CorelDRAW, providing intuitive operation and precise laser control.
A World of Possibilities: Laser Engraved Wood Products Beyond Your Imagination
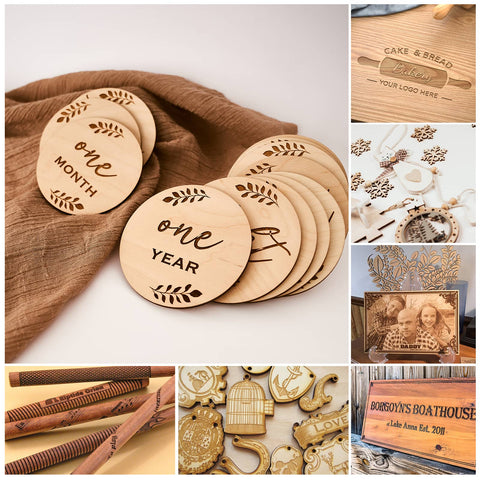
With a CO2 laser engraver at your disposal, the possibilities for creating unique and beautiful wood products are endless. Here are some inspirational laser engraved wood product ideas to get you started:

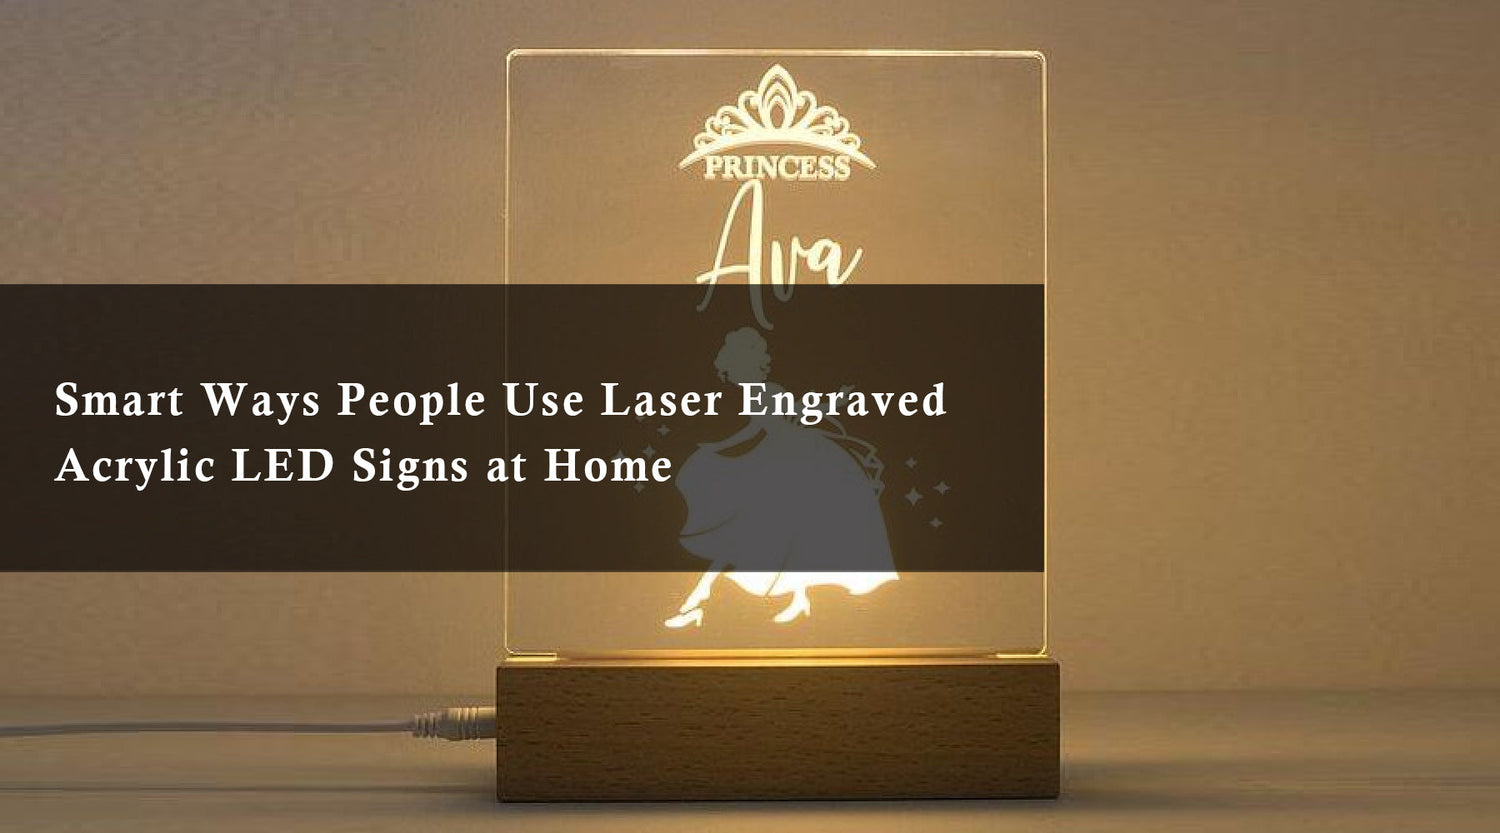
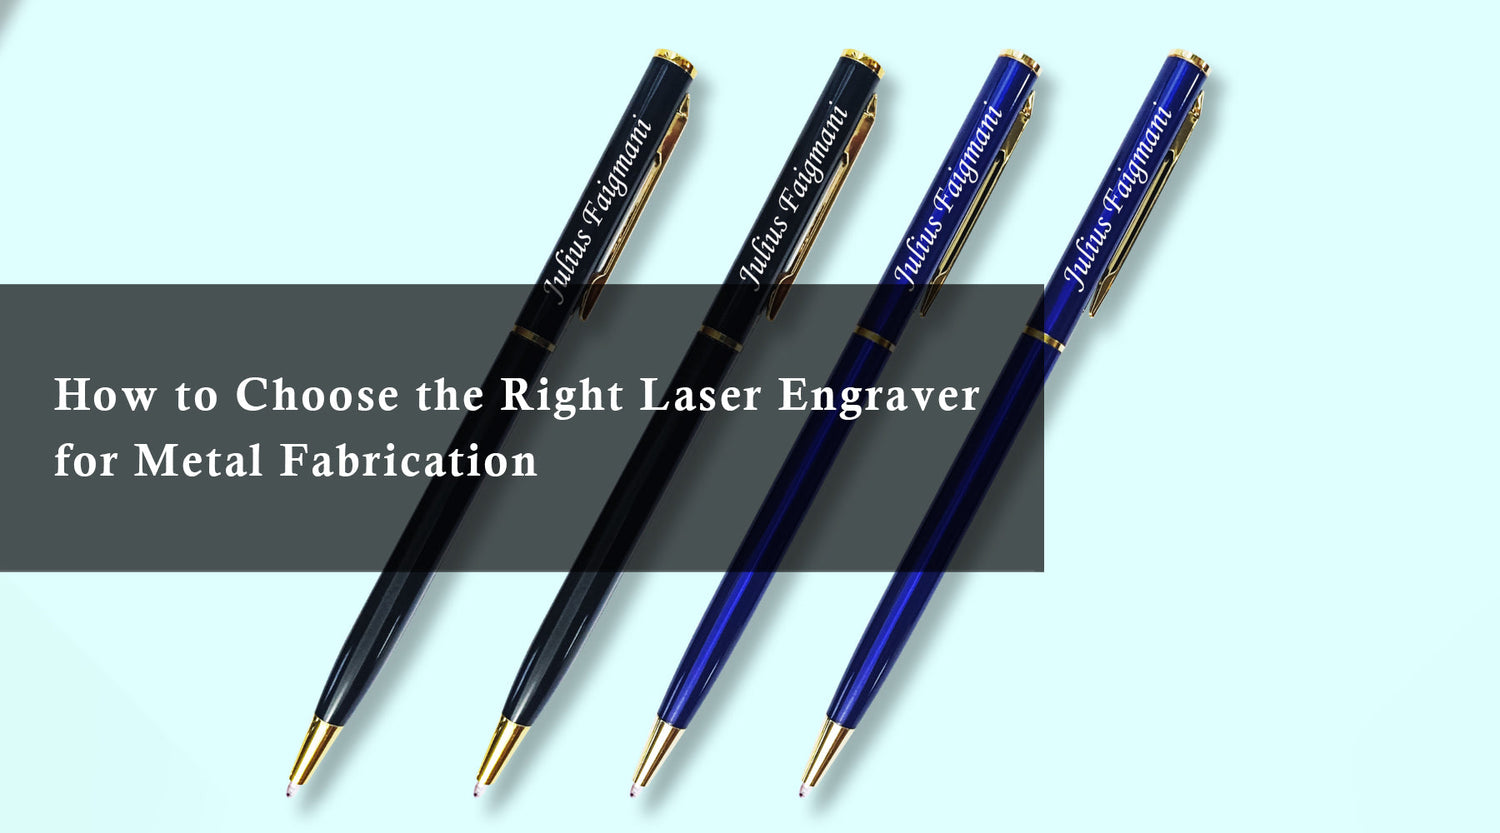
- Personalized Wooden Engraved Gifts and Keepsakes: Craft one-of-a-kind gifts like engraved cutting boards, photo frames, or jewelry boxes with heartfelt messages or names.

- Wooden Engraved Home Décor: Create decorative signs, wall hangings, or coasters with intricate designs or inspirational quotes to add a personal touch to your living space.

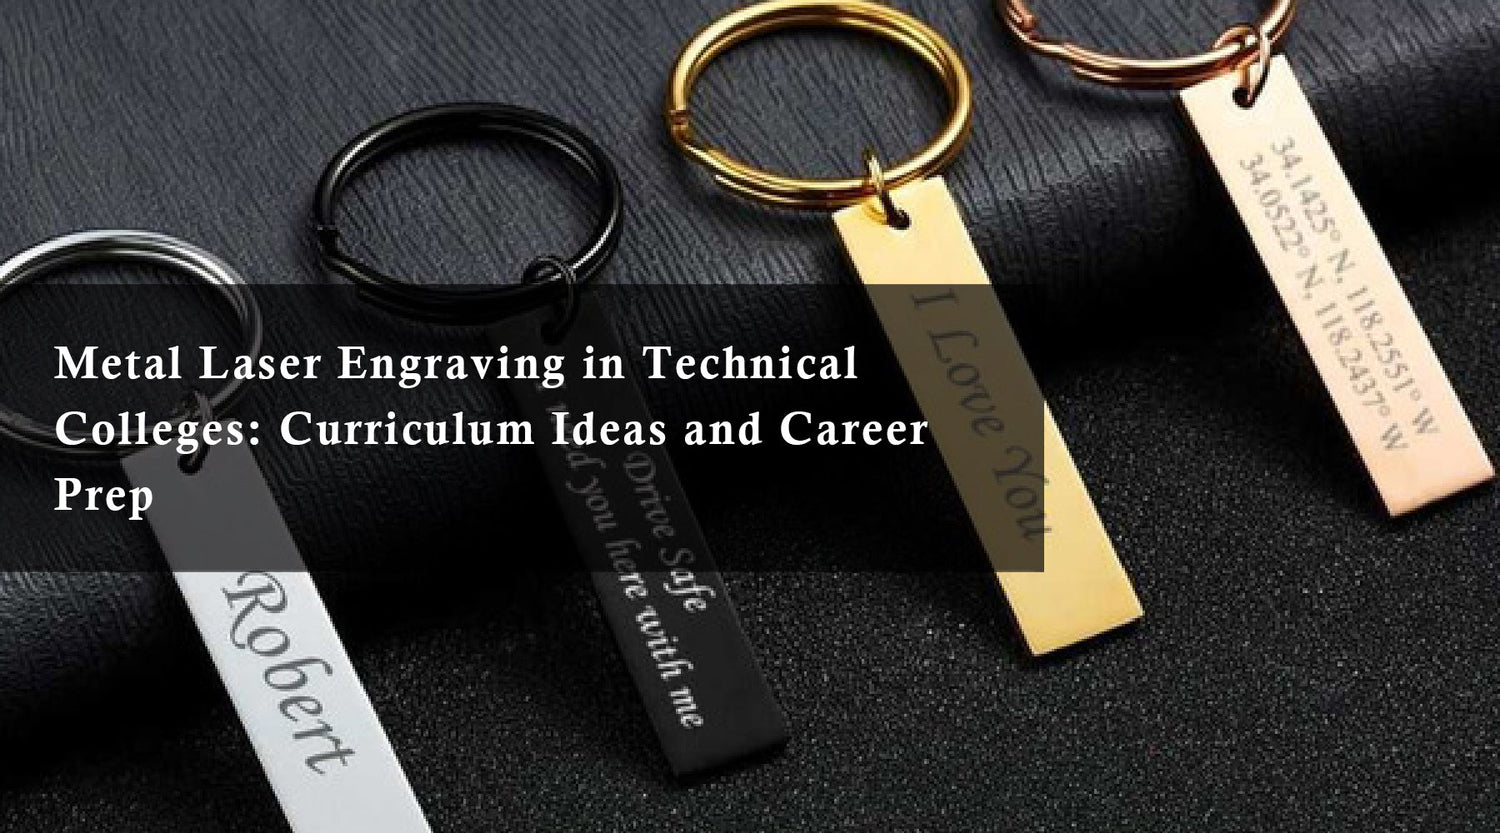
- Wooden Engraved Organizational Tools: Design and engrave labels for storage containers, keychains, or personalized toolboxes.

- Art and Craft Wooden Engraved Projects: Experiment with creating unique artwork, puzzles, or decorative elements for other craft projects.
FAQ: Expanding Your CO2 Laser Engraving Knowledge
This blog has explored the exciting world of CO2 laser engravers and their potential for creating stunning wood products. To further empower your DIY journey, here are some frequently asked questions (FAQs) to address any lingering concerns:
Q. Is CO2 laser engraving safe for DIY use?
Laser safety is paramount. When operating a CO2 laser engraver, always prioritize these safety measures:
- Fire Safety: Utilize a fireproof viewing window (3.7%) to observe the engraving process and have a fire extinguisher readily available.
- Eye Protection: Always wear certified laser protective glasses (3.7%) that block the specific wavelength of your laser to shield your eyes from radiation.
- Fumes and Dust: The engraving process can generate fumes and dust. Ensure proper ventilation in your workspace and wear a mask to avoid inhalation.
Q. What types of wood are best for laser engraving?
A wide variety of woods can be laser engraved. Here's a breakdown of some popular options:

- Hardwoods: Maple, cherry, walnut, and oak offer a clean engraving surface and rich aesthetic.
- Softwoods: Pine, basswood, and balsa wood are good for beginners due to their softer nature, but they might require lower laser power settings to avoid burning.
- Plywood: Offers a cost-effective option for creating layered or multi-dimensional engraved pieces.
Q. How do I prepare wood for laser engraving?
Proper wood preparation ensures clean and precise engraving results. Here are some key steps:
- Sanding: Sand the wood surface to create a smooth and even texture for optimal laser beam interaction.
- Cleaning: Remove any dirt, dust, or oils from the wood surface using a clean cloth to avoid unwanted marks during engraving.
- Coating (Optional): For lighter-colored woods or intricate designs, consider applying a thin coat of artist's masking tape to create a contrasting background for the engraving.
Q. What design software can I use with a CO2 laser engraver?
Many design software options are compatible with CO2 laser engravers. Popular choices include:

- LightBurn: A user-friendly and powerful option with a free trial available.
- RDworks: Often included with pre-built laser engravers, offering basic design and control functionalities.
- AutoCAD: Industry-standard software for creating technical drawings and vector graphics that can be imported for laser engraving.
- CorelDRAW: A versatile graphic design software that allows for creating vector graphics suitable for laser engraving.
Q. Where can I find resources to learn more about CO2 laser engraving?
The internet offers a wealth of resources for learning about CO2 laser engraving. Here are some helpful starting points:
- Online Forums and Communities: Dedicated forums and online communities connect hobbyists and professionals who share knowledge, tips, and project ideas.
- Laser Engraver Manufacturer Resources: Many CO2 laser engraver manufacturers offer instructional videos, tutorials, and compatibility guides on their websites.
- YouTube Tutorials: A vast library of YouTube tutorials exists, demonstrating various techniques, project ideas, and safety practices for CO2 laser engraving.
By exploring these resources and familiarizing yourself with the safety protocols, you can confidently embark on your DIY CO2 laser engraving journey and unlock a world of creative possibilities for working with wood.
Investing in Your Creativity: Owning the DIY Laser Engraving Experience
Owning a CO2 laser engraver, whether built from scratch or pre-built like the Monport 80W CO2 Laser Engraver, opens a world of creative possibilities for working with wood. From personalized gifts to stunning home décor pieces, laser engraving allows you to transform simple laser engraved wood products into treasured keepsakes or functional items. With the right tools, safety measures in place, and a touch of creativity, you can embark on a rewarding DIY journey of laser engraving and elevate your laser engraved wood products to a whole new level.
This guide has explored both building your own CO2 laser engravers DIY setup and the advantages of opting for a pre-built solution like the Monport 80W CO2 Laser Engraver. Whichever path you choose, ensure you prioritize safety measures and equip yourself with the necessary knowledge to operate your laser responsibly.
Ready to Take the First Step?
Don't let the technical aspects hold you back. The resources mentioned in the FAQ section and the wealth of information available online can equip you with the knowledge to confidently navigate the world of CO2 laser engraving.
Visit the Monport website today to explore the Monport 80W CO2 Laser Engraver and discover how it can transform your creative vision into reality! With its built-in water chiller, user-friendly interface, and compatibility with various design software, the Monport 80W CO2 Laser Engraver is an ideal choice for DIY enthusiasts looking to embark on their laser engraving adventure.
So, unleash your creativity, embrace the possibilities, and start crafting unique and personalized wood products that will be cherished for years to come. Happy laser engraving!


