Introduction
When it comes to personalized keepsakes and memorable gifts, few options offer the timeless appeal and enduring quality of bricks for engraving making engraved slate coasters. These sleek and sophisticated coasters, crafted from natural slate, provide the perfect canvas for intricate designs, heartfelt messages, and custom artwork. Powered by the precision of laser engraving technology, the art of engraving slate coasters has become increasingly popular for commemorating special occasions, showcasing company logos, or adding a personal touch to home decor.

Bricks for Engraving: Understanding the Foundation
Bricks for engraving refer to the materials used as the foundation for laser engraving projects. In the context of slate coasters, the term "bricks" alludes to the individual pieces of natural slate that serve as the base for engraving. These bricks come in various shapes, sizes, and thicknesses, allowing for versatility in design and customization. Understanding how to engrave bricks made of slate involves knowing the right material textures and settings to achieve sharp, lasting results. The smooth, flat surface of slate provides an ideal substrate for laser engraving, ensuring precise and detailed results with every etched design.
Engraving Slate Coasters: A Step-by-Step Guide
Engraving slate coasters using a laser engraver is a straightforward process that yields stunning results. Here's a step-by-step guide to engraving slate coasters with precision and finesse:
-
Prepare the Slate Coasters:
Start by selecting high-quality slate coasters with a smooth, even surface. Ensure that the coasters are clean and free from dust or debris before engraving. -
Design Your Artwork:
Use design software to create or import your desired artwork, text, or logo for engraving. Adjust the dimensions and positioning of the design to fit the surface of the coaster. These same techniques are foundational when learning how to engrave bricks of varying materials. -
Set Up the Laser Engraver:
Configure the laser engraver settings based on the type of slate coaster and the desired engraving depth. Adjust parameters such as laser power, speed, and resolution for optimal results.
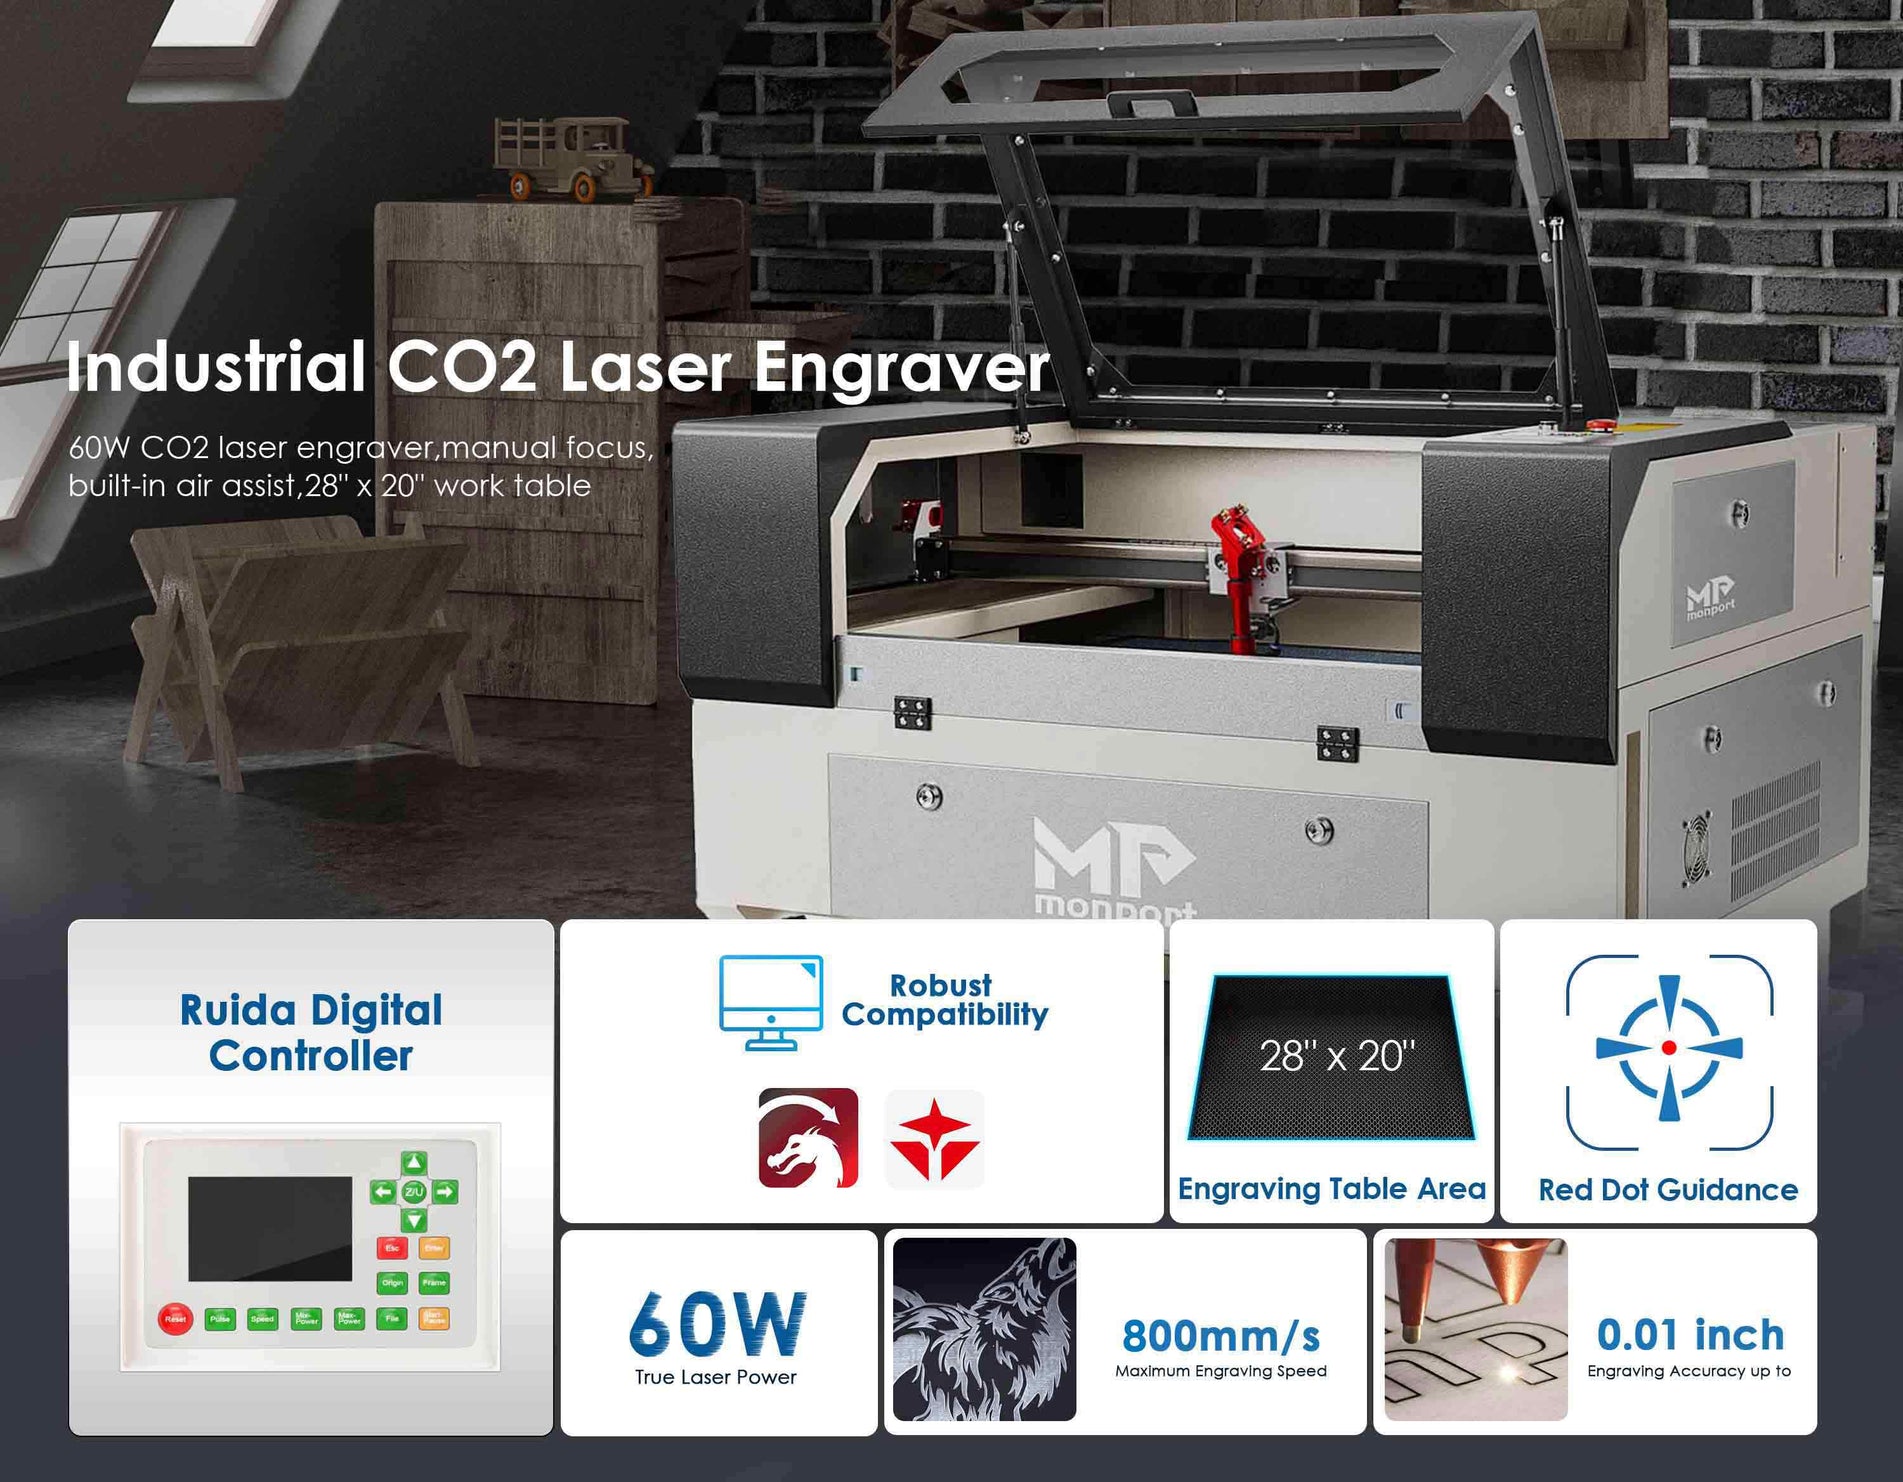
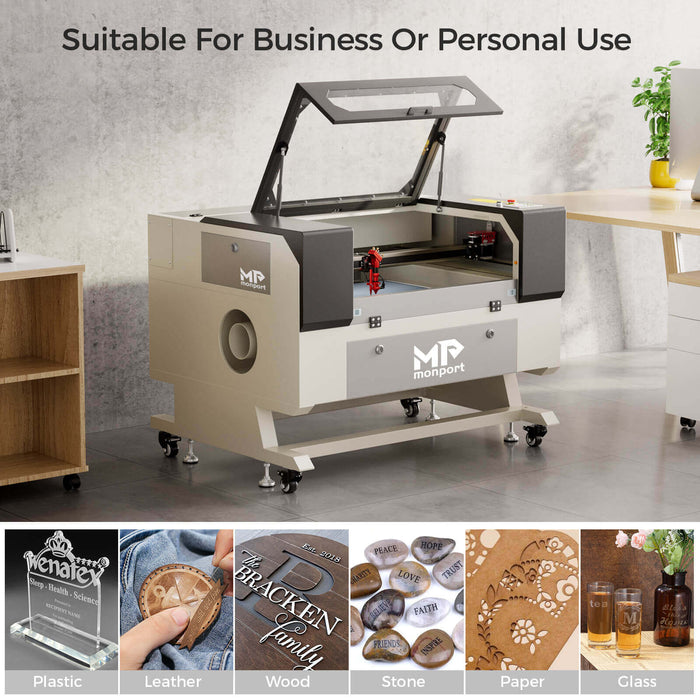
Monport 60W CO2 Laser Engraver & Cutter (28" x 20") with Autofocus
 Read More : The Art of Stone Engraving: Engravable Rocks and Laser Cutter Materials for Exquisite Stone Art
Unlock Big Savings at Monport Laser! Use code BESTMP10 at checkout for an exclusive discount – Click here to shop now!
Monport 60W Laser Engraver Features
Fireproof Viewing Window
Constructed from specialized fire-resistant polyester with iron frames, this viewing window ensures safety during laser operations. With a melting point ranging from 432° to 488° and an ignition temperature exceeding 1000°, it significantly reduces the risk of fire accidents caused by laser heat.
Enclosed Aeronautical Aluminum Rail
Featuring X and Y stepper motors, this rail ensures efficient power transmission and high precision. Its enclosed design prevents smoke and debris accumulation, prolonging the lifespan of rail units.
Laser Protective Glasses Included
Shield your eyes from harmful radiation emitted by class 4 lasers with certified protective glasses. Designed to safeguard against radiation damage, they offer comprehensive eye protection during laser usage.
Ruida Digital Controller
Compatible with popular software like LightBurn, RDworks, AutoCAD, and CorelDRAW, the Ruida digital controller supports various platforms. With a digital display, it enables precise control over laser functions, including power and speed adjustments.
High Speed and Resolution
Achieve engraving speeds of up to 800 mm/s and cutting speeds of up to 400 mm/s, with a resolution of up to 4500 dpi. Three LED light strips provide illumination for precision work, while a 2.0" focal distance ensures high-resolution etching of small fonts.
Autofocus
Effortlessly correct the focus with the touch of a button using the control panel, eliminating the need for manual testing and adjustments.
Built-in Air Assist
An integrated air assist system channels pressurized air through the laser head nozzle, effectively removing debris, heat, and combustible gases from the engraving surface and beam path for enhanced precision.
Multiple Connectivity Options
Connect to your PC via two USB ports for flash drive connectivity or USB-to-USB connection, along with an Ethernet port for additional connectivity options.
Red Dot Guidance
The red dot feature indicates the laser head position, outlines the working path, and frames project sizes, providing convenient guidance and alignment.
Automatic Safety Sensor
Equipped with a safety shutdown sensor, the machine halts operation even with the window cover closed. Simply press "Enter" to resume once the cover is reopened, ensuring user safety at all times.
-
Secure the Coasters: Place the slate coasters securely within the engraving area of the laser machine, ensuring they are level and properly aligned for accurate engraving.
-
Initiate Engraving: Start the engraving process using the laser engraver software. Monitor the progress of the engraving closely to ensure precision and clarity in the etched design.
-
Inspect and Finish: Once the engraving is complete, carefully remove the slate coasters from the laser machine. Inspect the engraved design for any imperfections or inconsistencies. If desired, apply a sealant or protective coating to enhance the durability and longevity of the engraved slate coasters.
-
Enjoy and Share: Admire the beautifully engraved slate coasters and share them as thoughtful gifts, promotional items, or decorative accents for your home or office space.
Engraving slate coasters with a laser engraver offers endless possibilities for creativity and personalization. Whether you're commemorating a special occasion, promoting your brand, or adding a touch of elegance to your home decor, engraved slate coasters are sure to make a lasting impression.

Conclusion
In conclusion, the art of engraving slate coasters exemplifies the marriage of craftsmanship and technology, transforming humble pieces of slate into cherished mementos and functional works of art. Whether you're crafting personalized gifts or learning how to engrave bricks for larger-scale commemorations, the precision and versatility of laser engraving technology open up endless creative possibilities. With the right tools and techniques, even the simplest piece of slate or stone can become a beautiful, lasting memory.


