Introduction
Replacing the laser autofocus sensor on a high powered laser can be a challenging task for a newbie, especially if you are not familiar with the inner workings of the machine.
When it comes to laser engraver replacement parts, especially if you have no experience, it is always better to get some professional help. But if you follow the instructions carefully and spend some time researching for advice on forums like this one, or in online articles, there are higher chances of success.
Ready to upgrade your laser engraver? Use code BESTMP10 at checkout for exclusive savings – Click here to shop!
What is an autofocus sensor?

A laser autofocus sensor is a component in a high powered laser such as a CO2 laser engraver that helps to ensure that the laser head is at the correct distance from the material being engraved. The sensor measures the distance between the laser head and the material and provides feedback to the engraving machine, which adjusts the focus of the laser beam accordingly.
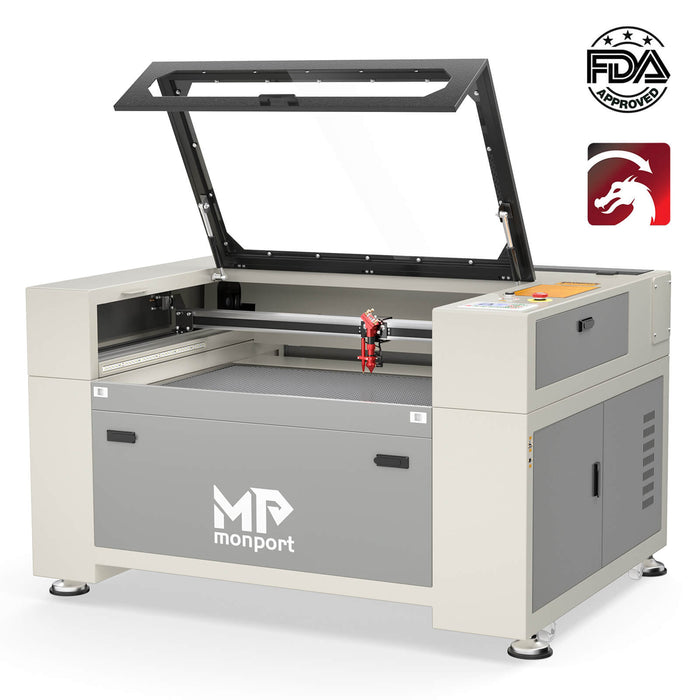
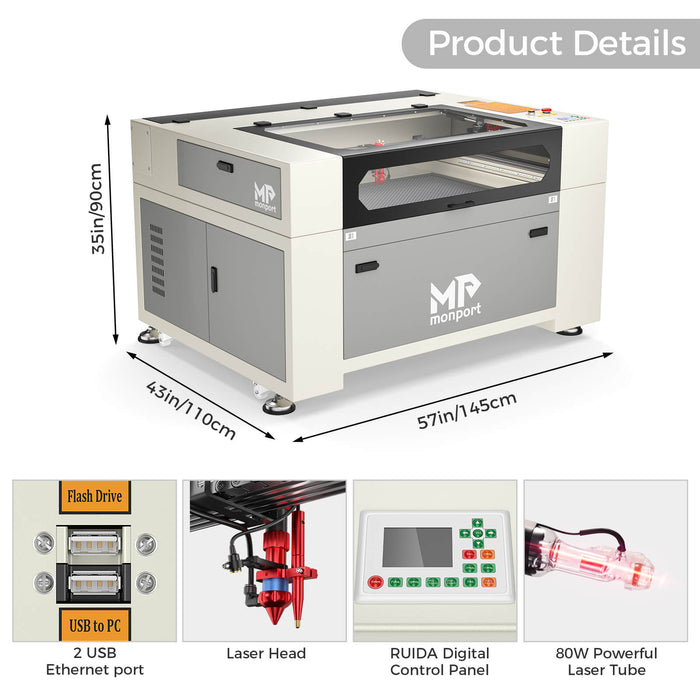
In order to improve the efficiency of processing, the high powered laser - Monport 60W autofocus laser engraver lasers can automatically focus on the workpiece during processing by adjusting the distance between them and adjusting the focal length of the lens according to changes in distance between them due to changes in working conditions
The autofocus sensor typically uses a small laser beam to measure the distance between the laser head and the material being engraved. The sensor is mounted near the laser head and is designed to move up and down along with the laser head as it engraves the material. It works with the z-axis motor to sense the workpiece and lower the workbench, the perfect focal distance without a working autofocus sensor you will have to focus the high powered laser manually which adds extra time to each project today.
The high powered laser autofocus sensor is a critical component in ensuring that the laser beam is focused properly on the material, which is necessary for achieving accurate and consistent engraving results. Over time, the laser autofocus sensor may become damaged or worn out due to normal wear and tear or exposure to dust, debris, or other contaminants, which may require replacement.

Why need to replace the autofocus sensor?
The autofocus sensor is a device that is used to measure the distance between the laser head and the material being engraved. It is a critical component in ensuring that the laser beam is focused properly on the material, which is necessary for achieving accurate and consistent engraving results.
Over time, the autofocus sensor may become damaged or worn out due to normal wear and tear or exposure to dust, debris, or other contaminants. When this happens, the sensor may start to malfunction or provide inaccurate readings, which can result in a variety of issues such as:
Uneven or inconsistent engraving depth: If the autofocus sensor is not functioning properly, the laser may not be focused at the correct distance from the material, which can lead to uneven or inconsistent engraving depth across the surface.
Poor engraving quality: A damaged or malfunctioning autofocus sensor may cause the laser beam to be improperly focused, resulting in poor engraving quality with blurry or fuzzy edges.
Inability to maintain consistent focal length: If the autofocus sensor is unable to maintain a consistent focal length, the high powered laser beam may drift out of focus during the engraving process, resulting in poor quality or incomplete engraving.
How to replace the autofocus sensor?
Tools you need:
- 2.5 millimeter Allen wrench
- Wire cutters
- Wire strippers
- Electrical tape
- Butt connector

Step 1: Open the work bed cover and locate the red autofocus pen attached to the laser head.
Step 2: Remove the single hex screw that holds the autofocus plunger in place.
Step 3: Use wire cutters to cut the autofocus cord, leaving around 4 inches of cord. Take caution not to cut any other cords.
Step 4: Cut the sensor cable about 4 inches from the sensor. Use a knife or razor blade to open the insulation or rubber housing around the wire. Pull apart the insulation to remove about 1.5 inches of the wire, revealing three internal wires.
Step 5: Cut away the extra insulation using wire cutters. Then, use wire strippers to remove the inner layer of insulation from each internal cable.
Step 6: Repeat the above step for the old autofocus wire. Once both cables' ends are ready, connect them.
Step 7: Insert the wires from the new autofocus sensor into each end of their butt connectors.
Step 8: Use crimpers to crimp both sides of the butt connector. Ensure that the metal tube is crimped on both sides. You can use heat shrink tubing or electrical tape to protect the new wiring.
Step 9: Test the new autofocus sensor. When the plunger rises, a red light on the top of the plunger should turn on, indicating that the autofocus is working.
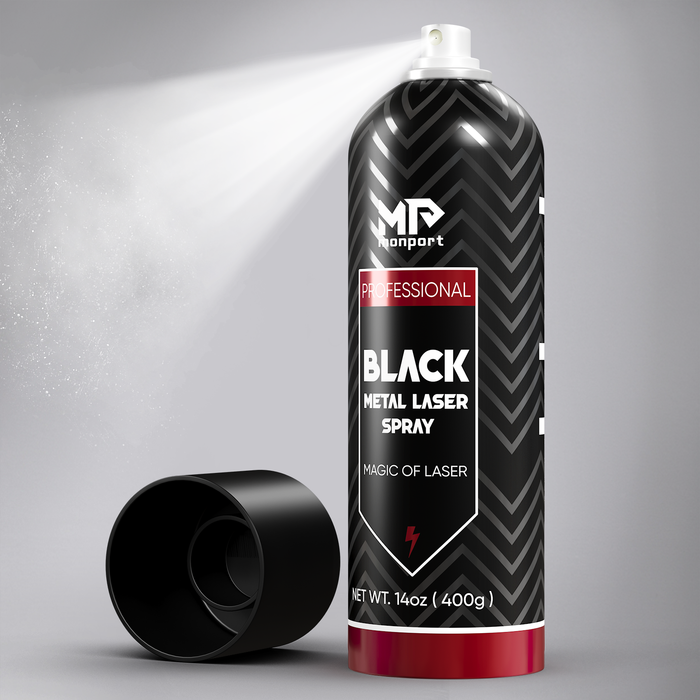
Effortless Laser Marking with Monport Black Laser Marking Spray
Looking to elevate your laser engraving projects? Monport Black Laser Marking Spray is the solution you’ve been waiting for. This high-performance aerosol spray is designed for use with CO2 laser engraving machines, ensuring easy and precise results with every application. Whether you're personalizing jewelry, customizing glassware, or serializing tools, this spray provides you with high-contrast, permanent marks that stand out.
Don’t let a faulty sensor slow you down! Use code BESTMP10 at checkout – Click here to order your replacement parts today!
The Benefits of Using Black Laser Marking Spray
-
Compatible with CO2 Laser Engraving Machines Designed for use with CO2 laser engraving machines of 25 watts and above, Monport Black Laser Marking Spray is the ideal companion for your engraving needs. It transforms your metal surfaces into highly legible, permanent black marks after laser engraving, making it perfect for a wide range of applications from metalwork to custom art pieces.
-
Permanent, High-Contrast Marks When you apply Monport Black Laser Marking Spray, the result is a high-contrast, dark black mark on your metal surface that is permanent and durable. This spray works on various metals, including aluminum, stainless steel, and brass. The fine-grained formula ensures deep penetration into the metal, producing heat-resistant markings that will last for years, even under challenging conditions.
-
Even and Powerful Application With the advanced spray technology in Monport Black Laser Marking Spray, you can achieve a smooth, even application every time. The 14 oz can features an anti-clog nozzle that guarantees no blockages, making the spray process both easy and efficient. The nanoparticle formula delivers more coverage with a thinner coating, which results in a professional-quality finish for all your metal marking projects.
-
Easy to Use and Quick Drying Using Monport Black Laser Marking Spray couldn’t be simpler. Just shake the can for 2 minutes, spray from a distance of 6 to 8 inches, and let the surface dry for 5 minutes. Once it’s dry, you’re ready to engrave, saving you valuable time. After engraving, rinse and wipe away the residue to reveal your crisp, dark black markings without any fuss.
-
Effortless Cleanup and Maintenance After marking your metal pieces, simply rinse and wipe the surface to reveal your high-contrast engraving. The black laser marking spray ensures there is no residue left behind, so your workpieces remain clean and ready for immediate use. The easy cleanup means that you can maintain a smooth and efficient workflow, whether you’re working on a small DIY project or a larger-scale production.
Why Choose Monport Black Laser Marking Spray?
Monport’s Black Laser Marking Spray is a game-changer for anyone looking to create durable, precise, and high-quality laser marks on metal surfaces. Its compatibility with CO2 lasers, combined with its easy application and cleanup, makes it an indispensable tool for professionals and hobbyists alike. With Monport Black Laser Marking Spray, you can be confident that your metal engraving projects will have permanent, high-contrast results every time.
Add this versatile spray to your toolkit today and experience effortless laser marking like never before!
FAQs: Laser Lens Replacement & Focal Lens
1. How often should I replace a CO2 laser lens?
Replace the lens when you notice visible scratches, reduced engraving quality, or after heavy usage. Proper cleaning may delay replacement.
2. Can I replace the lens myself?
Yes, if you have experience handling electronics and follow proper safety steps. Otherwise, seek professional help to avoid injury or damage.
3. What is the difference between a focal lens and an autofocus sensor?
The focal lens concentrates the laser beam for precision, while the autofocus sensor measures the distance to the material for proper focus. Both are essential for accurate laser engraving.
4. Are all CO2 laser lenses interchangeable?
No. Always use lenses compatible with your laser engraver model and verify specifications before purchasing.
5. How do I clean a laser lens safely?
Use a soft, lint-free cloth with lens cleaning solution. Avoid alcohol or abrasive materials that can scratch the surface.
Conclusion
Replacing a laser lens or maintaining your laser focal lens is crucial for achieving high-quality engraving results. While some tasks require professional assistance, careful handling and following step-by-step instructions allow experienced users to perform replacements safely. Regular lens inspection, cleaning, and proper calibration maximize laser efficiency and extend the life of your CO2 laser engraver.
Unlock precise engraving results today with the right lens maintenance and ensure your CO2 laser operates at peak performance.


