

How to engrave a mirror and create beautiful, customized engraved mirrors is a question that many DIY enthusiasts and professional engravers ask. With the right tools and techniques, you can master mirror engraving easily and transform a plain mirror into a stunning piece of art.
In this article, we will explore the process of laser engraving mirror, focusing on how the Monport 70W MEGAS Desktop Laser can help you achieve the best results.

Creating an engraved mirror is a rewarding process that combines precision and creativity. Learning how to laser engraving mirror involves understanding the tools and techniques required to achieve clean, professional results. The Monport 70W MEGAS Desktop Laser is an excellent tool for this purpose, offering precision, versatility, and user-friendly features that make producing a laser engraving mirror simple and effective.
Setting Up MEGAS for Mirror Engraving
Unlock Big Savings at Monport Laser! Use code BESTMP10 at checkout for an exclusive discount – Click here to shop now!
Read More : How to Make the Most of Your Laser Engraved Mirror in CO2 Machines Blog
Unpacking and Assembly
To begin with, carefully unpack your Monport 70W MEGAS Desktop Laser and assemble it according to the manufacturer's instructions. Ensuring that all components are properly secured and the machine is placed on a stable surface is crucial for achieving accurate results on a laser etched mirror.
Connecting to LightBurn Software
The Monport 70W MEGAS Desktop Laser is compatible with LightBurn software, a powerful and intuitive tool for creating and managing laser engraving mirror designs. Connect your lazer engravers to your computer via USB and install LightBurn to get started. This software will allow you to design, edit, and optimize your projects for the best results in laser engraving mirror.
Initial Calibration
Calibrating your lazer engravers are essential step to ensure precision. LightBurn offers various calibration tools to help you adjust the laser settings for optimal performance. Proper calibration is crucial when learning how to engrave a mirror to achieve consistent and high-quality results.
Designing Your Mirror Engraving
Creating a Design in LightBurn
Open LightBurn and create a new project for your engraved mirror. You can design your project from scratch or import an existing design. When designing for a mirror, consider using elements like text, patterns, or images. LightBurn provides various tools to adjust and perfect your design, ensuring it fits well on the mirror surface and enhances the final laser etched mirror.
Setting Engraving Parameters
Once your design is ready, you need to set the engraving parameters in LightBurn. Adjust the power, speed, and number of passes based on the thickness and type of mirror you are using. For an engraved mirror, lower power settings with multiple passes often work best to prevent cracking and achieve clean engravings.
Test Engravings
Perform test engravings on a small piece of a mirror or a less visible area to fine-tune the settings. Testing helps ensure that your final engraved mirror meets your expectations and avoids any potential damage to the mirror surface.
Engraving the Mirror
Preparing the Mirror
Before starting the engraving process, clean the mirror thoroughly to remove any dust, fingerprints, or debris. Secure the mirror on the laser engraver's work area using clamps or weights to prevent any movement during engraving. Proper preparation is key when learning how to engrave a mirror.
Engraving Process
Start the engraving process through LightBurn. Monitor the progress closely to ensure that the settings are producing the desired effect. For detailed designs, you may need to make multiple passes. The Monport 70W MEGAS Desktop Laser's precision and control will help you achieve the best engraved mirror results.
Using Air Assist
The Monport 70W MEGAS Desktop Laser comes with an Air Assist feature, which blows away debris and smoke from the engraving area. This feature is particularly useful for laser engraving mirror as it helps achieve cleaner engravings and protects the laser lens from residue buildup.
Post-Engraving Care
Cleaning the Engraved Mirror
After engraving, carefully clean the mirror to remove any remaining residue. Use a soft brush or cloth to gently wipe away debris. For more stubborn residues, a damp cloth or a mild cleaning solution can be used. Proper cleaning ensures that your engraved mirror looks professional and is ready for display.
Finishing Touches
Consider applying a protective coating to the engraved areas to enhance the appearance and durability of the engraved mirror. This step is especially important if the mirror will be handled frequently or exposed to environmental elements.
Key Takeaways
- Learning how to engrave a mirror involves understanding the right tools, techniques, and preparation steps to achieve high-quality results.
- The Monport 70W MEGAS Desktop Laser, with its compatibility with LightBurn software and Air Assist feature, is ideal for creating engraved mirrors.
- Proper setup, calibration, and testing are crucial for successful mirror engraving.
- Post-engraving care, including cleaning and applying protective coatings, enhances the appearance and longevity of the engraved mirror.
FAQs: Laser Engraving Mirrors
How do you engrave a mirror without breaking it?
Use low power with multiple passes and ensure proper calibration to avoid overheating.
Can all mirrors be laser engraved?
Most standard glass mirrors can be laser etched mirror designs successfully, but thickness and coating quality matter.
What software is best for laser engraving mirrors?
LightBurn is commonly used due to precise control and compatibility with mirror engraver systems.
How durable are laser engraved mirrors?
Laser engraved mirrors are permanent and resistant to fading when handled properly.
Is a mirror engraver beginner-friendly?
With correct setup and testing, beginners can learn how to engrave a mirror safely and effectively.
Effortless Laser Marking with Monport Black Laser Marking Spray
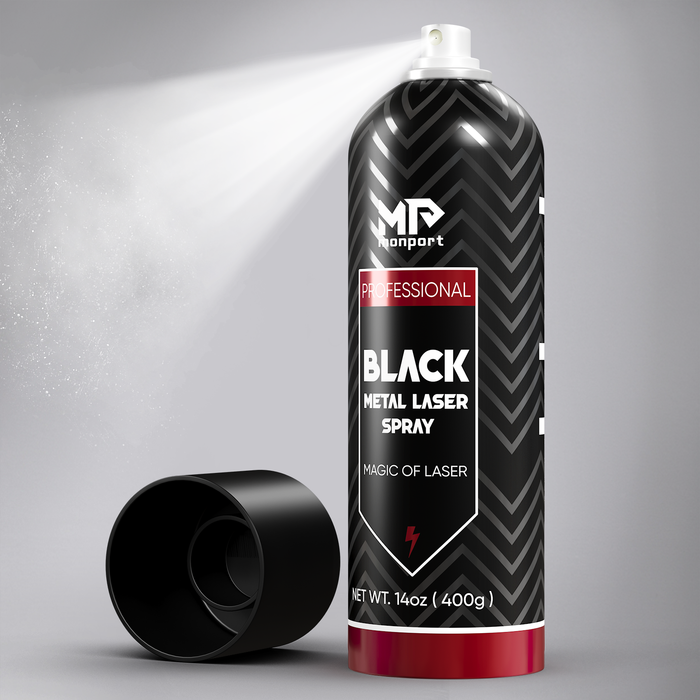
Looking to elevate your laser engraving projects? Monport Black Laser Marking Spray is the solution you’ve been waiting for. This high-performance aerosol spray is designed for use with CO2 laser engraving machines, ensuring easy and precise results with every application. Whether you're personalizing jewelry, customizing glassware, or serializing tools, this spray provides you with high-contrast, permanent marks that stand out.
The Benefits of Using Black Laser Marking Spray
-
Compatible with CO2 Laser Engraving Machines Designed for use with CO2 laser engraving machines of 25 watts and above, Monport Black Laser Marking Spray is the ideal companion for your engraving needs. It transforms your metal surfaces into highly legible, permanent black marks after laser engraving, making it perfect for a wide range of applications from metalwork to custom art pieces.
-
Permanent, High-Contrast Marks When you apply Monport Black Laser Marking Spray, the result is a high-contrast, dark black mark on your metal surface that is permanent and durable. This spray works on various metals, including aluminum, stainless steel, and brass. The fine-grained formula ensures deep penetration into the metal, producing heat-resistant markings that will last for years, even under challenging conditions.
-
Even and Powerful Application With the advanced spray technology in Monport Black Laser Marking Spray, you can achieve a smooth, even application every time. The 14 oz can features an anti-clog nozzle that guarantees no blockages, making the spray process both easy and efficient. The nanoparticle formula delivers more coverage with a thinner coating, which results in a professional-quality finish for all your metal marking projects.
-
Easy to Use and Quick Drying Using Monport Black Laser Marking Spray couldn’t be simpler. Just shake the can for 2 minutes, spray from a distance of 6 to 8 inches, and let the surface dry for 5 minutes. Once it’s dry, you’re ready to engrave, saving you valuable time. After engraving, rinse and wipe away the residue to reveal your crisp, dark black markings without any fuss.
-
Effortless Cleanup and Maintenance After marking your metal pieces, simply rinse and wipe the surface to reveal your high-contrast engraving. The black laser marking spray ensures there is no residue left behind, so your workpieces remain clean and ready for immediate use. The easy cleanup means that you can maintain a smooth and efficient workflow, whether you’re working on a small DIY project or a larger-scale production.
Why Choose Monport Black Laser Marking Spray?
Monport’s Black Laser Marking Spray is a game-changer for anyone looking to create durable, precise, and high-quality laser marks on metal surfaces. Its compatibility with CO2 lasers, combined with its easy application and cleanup, makes it an indispensable tool for professionals and hobbyists alike. With Monport Black Laser Marking Spray, you can be confident that your metal engraving projects will have permanent, high-contrast results every time.
Add this versatile spray to your toolkit today and experience effortless laser marking like never before!
Conclusion
Creating an engraved mirror with the Monport 55W Onxy Desktop Laser is a rewarding process that combines precision and creativity. By understanding how to do laser etched mirror and following the steps outlined in this article, you can achieve stunning and professional results. Whether you're a beginner or an experienced engraver, the Monport 70W MEGAS Desktop Laser offers the tools and features needed to bring your mirror engraving projects to life. With its user-friendly interface, superior build quality, and advanced features, the Monport 70W MEGAS Desktop Laser is the ideal choice for anyone looking to create beautiful engraved mirrors.
Unlock Big Savings at Monport Laser! Use code BESTMP10 at checkout for an exclusive discount – Click here to shop now!


