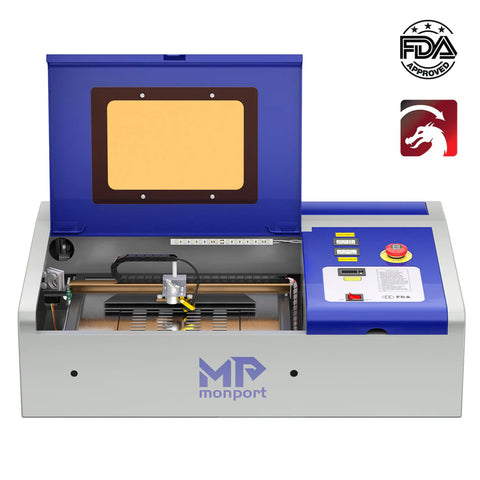
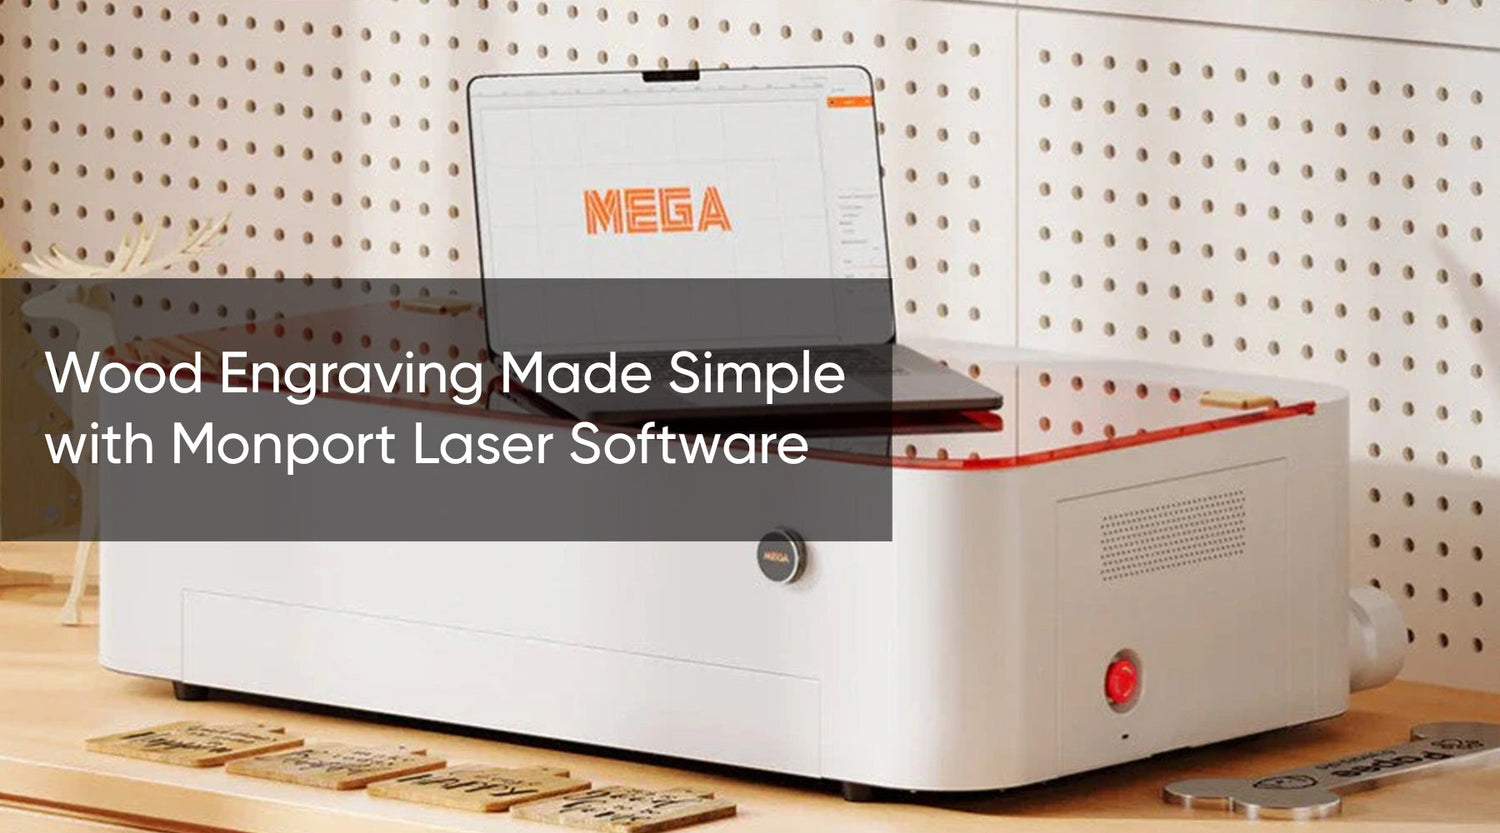
In the world of laser engraving, software plays a crucial role. The right laser cutting machine software can make your engraving projects easier, more accurate, and more creative. One such software that stands out is LightBurn. This guide will help you understand how to use LightBurn to engrave photos and highlight the features of the Monport 40W Pro Lightburn-Supported CO2 Laser Engraver & Cutter.
Introduction to Laser Cutting Machine Software
Laser cutting machine software is designed to control laser engravers and cutters. It allows users to create designs, set parameters, and manage the engraving process. LightBurn is a popular choice for many users due to its versatility and user-friendly interface.
Why Choose LightBurn?
- User-Friendly Interface: LightBurn's interface is intuitive, making it accessible for beginners and powerful for professionals.
- Compatibility: It supports a wide range of laser engravers, including the Monport 40W Pro.
- Comprehensive Features: LightBurn offers extensive features such as image tracing, node editing, and advanced cut settings.

Getting Started with LightBurn
- Download and Install: Visit the LightBurn website and download the software. Install it on your computer.
- Connect Your Laser Cutter: Connect your Monport 40W Pro to your computer. Ensure all drivers are installed.
- Setup Your Device: In LightBurn, add your device. Select the Monport 40W Pro from the list of supported devices.

How to Engrave a Photo in LightBurn
Engraving a photo can be a rewarding project. Here’s a step-by-step guide to help you get started:
- Import the Photo: Open LightBurn and import the photo you want to engrave. You can do this by clicking on the ‘Import’ button.
- Resize and Position: Resize the photo to fit your material. Use the move tool to position it on the workspace.
- Convert to Bitmap: Convert the photo to a bitmap image. This can be done by selecting the photo, right-clicking, and choosing ‘Trace Image’.
- Adjust Settings: Fine-tune the settings. Adjust the speed, power, and DPI (dots per inch) to get the best results.
- Preview and Engrave: Use the preview function to see how your engraving will look. Once satisfied, start the engraving process.

Tips for Perfect Photo Engraving
- High-Quality Photos: Use high-resolution photos for better engraving quality.
- Contrast and Brightness: Adjust the contrast and brightness of the photo for clearer engraving.
- Test Runs: Always do a test run on scrap material to ensure the settings are correct.
Key Features of Monport 40W Pro
- Precision: Offers high-precision engraving, perfect for detailed photo engravings.
- Air Assist: Keeps the work area clean and cool, resulting in better engraving quality.
- User-Friendly: Easy to set up and use, especially when paired with LightBurn software.
FAQ
Q: What is the best laser cutting machine software for beginners?
A: LightBurn is highly recommended due to its user-friendly interface and comprehensive features.
Q: How do I connect my laser cutter to LightBurn?
A: Use a USB cable to connect your Monport 40W Pro to your computer. Install any necessary drivers and add your device in LightBurn.
Q: Can I engrave any photo using LightBurn?
A: Yes, but high-resolution photos with good contrast work best.

Important Details
- Software Compatibility: Ensure your laser cutter is compatible with LightBurn.
- System Requirements: Check that your computer meets the minimum system requirements for LightBurn.
- Regular Updates: Keep your software updated for the latest features and improvements.

Takeaways
- LightBurn is an excellent choice for laser cutting machine software.
- Monport 40W Pro is a reliable and precise laser engraver.
- Engraving photos in LightBurn is straightforward with the right settings and preparation.
Conclusion
Mastering LightBurn and understanding how to engrave a photo can elevate your laser engraving projects. The Monport 40W Pro, supported by LightBurn, offers a perfect combination for both beginners and professionals. With the right techniques and settings, you can create stunning engravings that capture every detail of your photos.


