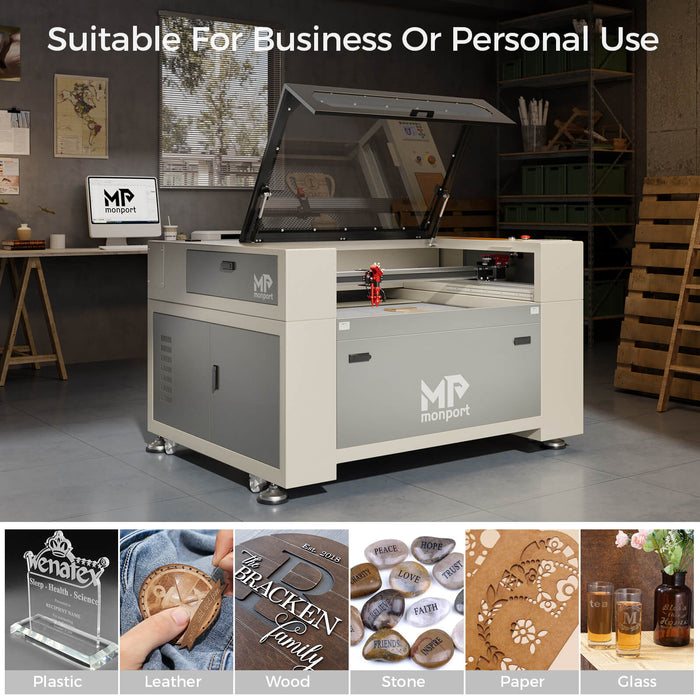
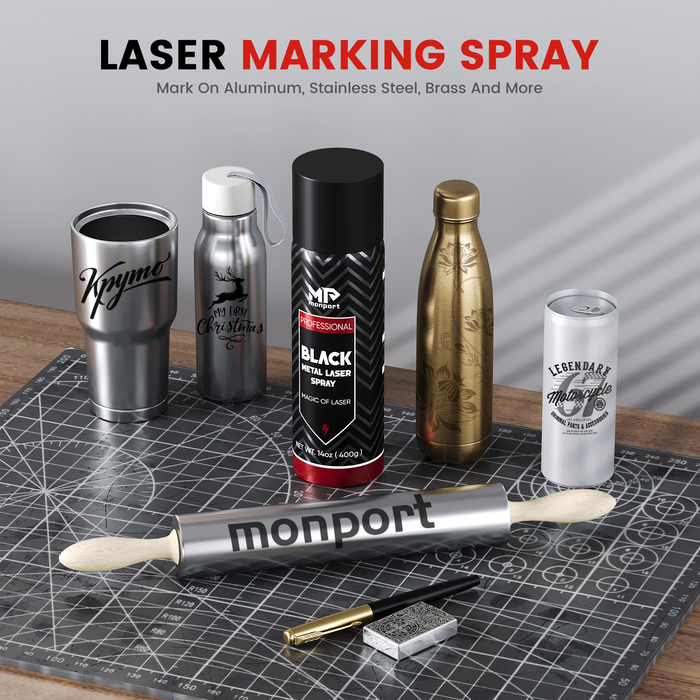
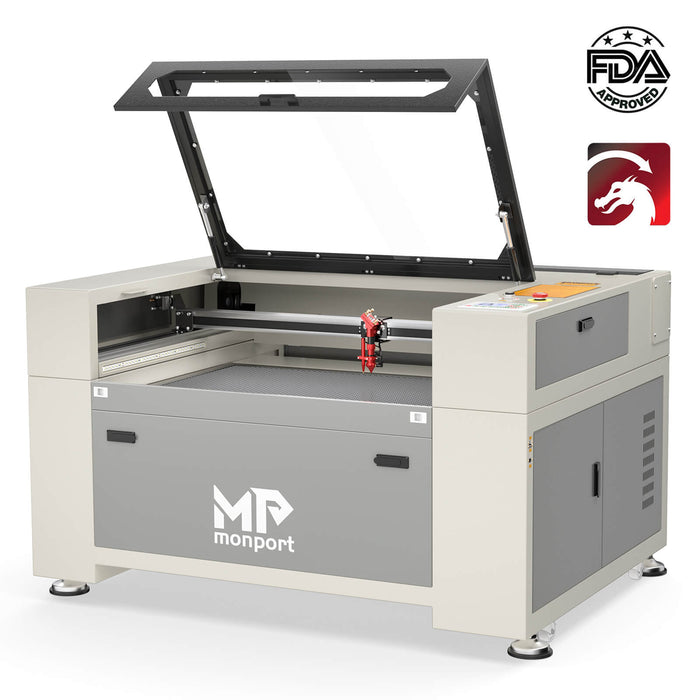
Etching a portrait on a mirror is a fantastic way to create a unique and personalized piece of art. With the help of a laser etching ideas machine, you can create stunning etched mirrors that will impress everyone who sees them, especially when enhanced with black laser marking spray for added depth and contrast. In this blog, we will discuss the benefits of using laser etching for mirrors, how to create a laser-etched mirror, and how to etch on a mirror to achieve success with your laser engraved mirror projects. We will also introduce you to the Monport CO2 laser cutting machine and fiber laser, which are perfect tools for how to etch on a mirror.
Unlock Big Savings at Monport Laser! Use code BESTMP10 at checkout for an exclusive discount – Click here to shop now!
Why Choose Laser Etching for Mirrors?

There are several reasons why laser etching is the ideal method for creating etched mirrors:
Precision: Laser etching offers unparalleled precision, allowing you to create intricate designs and detailed portraits on your mirrors.
Speed: Etching a mirror is a fast process, enabling you to create your etched mirror in a short amount of time.
Durability: Etching a mirrir is long-lasting, as the etching is permanent and will not fade or wear away over time.
Customization: With laser etching, you can create a wide variety of designs and personalize your etched mirror to your exact specifications.
How to Create a Laser Etched Mirror

Creating a laser etched mirror is a simple process when using the Monport CO2 laser etching ideas engraving machine or a fiber laser. Here is a step-by-step guide on how to etch on a mirror:
Step 1: Choose Your Mirror
Select a high-quality mirror that will serve as the canvas for your etched portrait. Ensure that the mirror is clean and free of any imperfections, as these can affect the final result of your laser engraved mirror.
Step 2: Prepare Your Design
Create a digital design of the portrait you want to etch onto the mirror. You can use a photo editing software or a vector graphics program to create your design. Ensure that the design is in a format compatible with your laser etching ideas machine.
Step 3: Set Up Your Laser Etching Machine
Follow the manufacturer's instructions to set up your Monport CO2 laser cutting machine or fiber laser. Ensure that the machine is properly calibrated and that all safety precautions are in place. Mastering how to etch on a mirror includes understanding your equipment.
Step 4: Etch Your Mirror
Place your mirror in the laser etching machine, ensuring that it is correctly aligned with the machine's guidelines. Upload your design to the machine and start the etching process. The machine will use a laser to engrave your design onto the mirror, creating a stunning etched mirror.
Step 5: Clean and Inspect Your Etched Mirror
Once the etching process is complete, carefully remove your etched mirror from the machine. Clean the mirror to remove any residue or dust, and inspect your laser etching ideas mirror to ensure that the design is flawless.
How to Etch a Mirror Successfully
To achieve success with your etched mirror projects, follow these tips:
Choose the right equipment: Invest in a high-quality laser etching machine, such as the Monport CO2 laser cutting machine or a fiber laser, to ensure precise and accurate results.
Practice your skills: Before etching a portrait onto a mirror, practice your skills on less expensive materials or smaller mirrors to perfect your technique. Practicing how to etch on a mirror can save time and money.
Select the right settings: Experiment with different settings on your laser etching machine to find the best combination for your specific mirror and design.
Be patient: Laser etching a mirror can be a time-consuming process, so be patient and give yourself plenty of time to complete your etched mirror project.

Frequently Asked Questions (FAQs)
What kind of mirror is best for etching a mirror?
Flat glass mirrors with smooth backing coatings work best, as they produce cleaner results during etching mirrors.
Is etching a mirror permanent?
Yes, etching a mirror permanently removes part of the backing layer, creating a lasting design.
Can beginners learn how to etch a mirror?
Yes. With proper setup and testing, beginners can learn how to etch a mirror effectively.
How long does etching mirrors take?
The time depends on design complexity, but most mirror etching projects are completed within minutes.
Does etching a mirror weaken the glass?
No, etching mirrors affects only the backing layer and does not compromise structural strength.
Conclusion
In conclusion, laser etching is an excellent method for creating beautiful and personalized etched mirrors. By following the steps outlined in this blog and using the Monport CO2 laser etching ideas cutting machine or a fiber laser, you can create stunning laser engraved mirrors that will be cherished for years to come. For even bolder and more striking designs, consider using black laser marking spray to enhance your creations. Happy etching and keep mastering how to etch on a mirror.
Read More: How to Engrave a Mirror: Achieving Perfect Engraved Mirrors with the Monport 55W Onxy Desktop Laser


