A wood laser cutter can turn a flat sheet of wood into a personalized sign, a layered wall decoration, a gift box, or even a small batch of products for a handmade business. The possibilities become much wider when you have the right design and reliable laser cutting files to work from.
For beginners, choosing a project can actually be harder than choosing a machine. A design may look simple on a computer but become fragile after cutting. A box may fit perfectly in the original tutorial but not fit your own sheet of plywood. Even two pieces of wood that look similar can react differently under a laser.
That's why a good project starts with more than a design file. You also need to consider the material, its thickness, the size of your work area, and how the finished piece will be used.
This guide covers 10 practical wood projects, along with tips for choosing files, preparing materials, testing your settings, and avoiding common mistakes.


What Makes a Good Wood Laser Cutter Project?
A good project is not necessarily the most complicated one. In many cases, a simple design with clean lines will produce a better result than an extremely detailed file.
Before opening your machine, look at the design, material, and finished product together.
Start With a Suitable File
Cutting and engraving use designs differently.
Vector paths are commonly used for cutting because they define the lines the laser follows. Raster images are commonly used for engraving because they contain areas of different shades or tones.
Your exact workflow depends on the software and machine you use, so check file compatibility before starting.
If you don't want to create every design yourself, Monport has a Free DIY Laser Files collection that can give you a starting point for different creative projects.
Match the Design to Your Material
Wood is not one uniform material.
Basswood, plywood, bamboo, and other wood-based sheets can differ in density, grain, adhesive, and surface treatment. These differences can affect cutting and engraving results.
For that reason, don't treat an online setting as a guaranteed setting for every sheet of wood. Use it as a reference and test your own material.
Keep Early Projects Manageable
A design with tiny gaps and narrow bridges may look impressive but can be frustrating for a beginner.
For your first few projects, look for:
- Clear outlines
- Reasonable spacing
- Strong connection points
- Limited layers
- Straightforward assembly
Once you know how your material behaves, you can gradually move toward more detailed designs.
10 Wood Laser Cutter Projects to Try
You don't need a complicated workshop project to get useful results from a laser machine.
The following ideas range from small personalized products to larger decorative pieces, so you can choose something that matches your experience, material, and available workspace.
1. Personalized Wooden Signs
Wooden signs are one of the easiest projects to personalize.
A single design can become a family name sign, welcome sign, workshop plaque, nursery decoration, or small-business display simply by changing the text.
For engraved lettering, leave enough space between characters and avoid extremely thin fonts. The appearance of the final text also depends on the wood surface and engraving settings.
If you want to explore the engraving side of the process, Monport's guide on how to laser engrave wood provides additional information about working with wood.

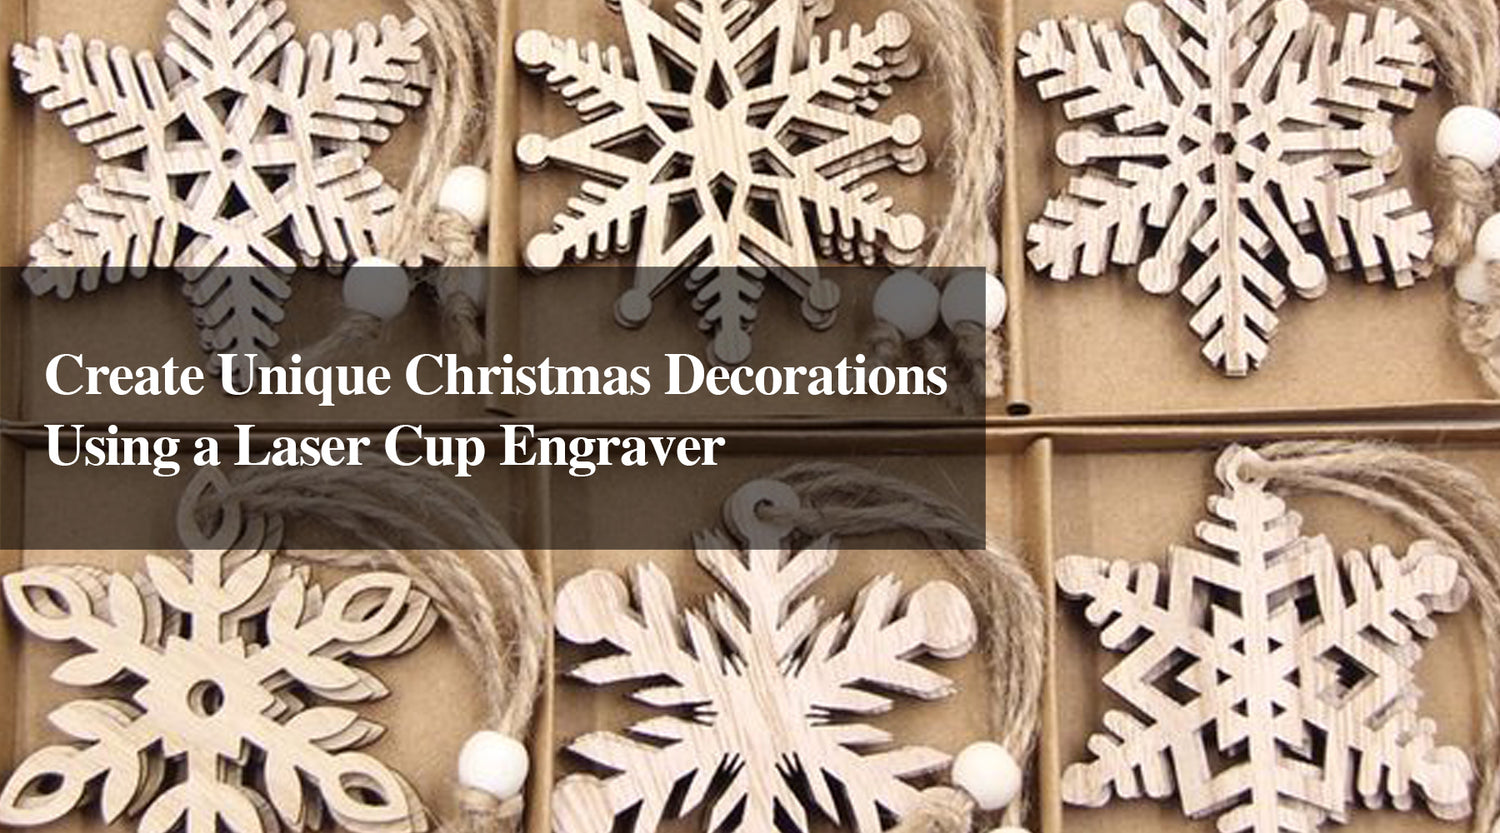
2. Wooden Christmas Ornaments
Small ornaments are a practical way to experiment with both cutting and engraving.
Snowflakes, stars, trees, houses, initials, names, and simple seasonal shapes can all be adapted into ornaments.
When preparing the design, leave enough material around the hanging hole. A very narrow connection can make the ornament more fragile than expected.
One useful feature of digital designs is how easy they are to customize. You can create several versions by changing a name, date, message, or decorative element while keeping the basic layout.
For example, you can:
- Change the name
- Add the year
- Replace a short message
- Change the outer shape
- Combine engraving with cutting

3. Layered Wall Art
Layered wood art gives a flat material more depth without requiring complicated carving.
You can divide an image into several layers and cut each layer separately. Mountains, forests, maps, animals, and geometric patterns are popular choices because their shapes can be separated into distinct sections.
Alignment becomes more important as the number of layers increases. Make sure the design includes enough reference points or mounting areas to keep the pieces positioned correctly.

4. Wooden Keychains
Small projects are useful when you're testing a new material because they require relatively little wood.
Try simple designs such as:
- Initials
- Pet silhouettes
- Business logos
- Names
- Geometric shapes
- Travel-themed icons
Pay attention to the area around the key ring hole. If the connection is too narrow, the finished piece may break more easily during everyday use.

5. Wooden Gift Boxes
A laser cutter can turn flat sheets into functional objects.
A press-fit box is a good example. Individual panels can be designed to connect through tabs and slots, creating a box without relying on conventional woodworking joints.
The fit is highly dependent on the material.
Before cutting a complete box, test the joint on scrap material. Factors such as material thickness, kerf, wood type, and design tolerance can all affect the result.
A file made for one thickness of plywood may need to be adjusted before it works properly with another sheet.

6. Personalized Photo Engraving
Not every project needs the laser to cut all the way through the material.
Photo engraving creates different shades on the wood surface to reproduce an image. Family portraits, pet photos, landscapes, and special occasions can all become personalized wood pieces.
The quality of the original image matters. Start with a clear, high-resolution photo and prepare it appropriately for engraving.
It's also worth testing the image on a small piece of the same wood before using your final material.
For another look at wood engraving, see Monport's guide to wood engraving techniques and tools.

7. Wooden Coasters
Coasters are small, useful, and easy to customize.
A basic round or square design can be changed with a logo, illustration, pattern, initials, or short message.
If you plan to make several pieces at once, arrange the designs efficiently on the material sheet. Consistent spacing also makes the finished batch look more professional.
For more inspiration, take a look at Monport's wooden coaster project.

8. Wooden Puzzles
Laser-cut puzzles can turn a simple sheet into an interactive project.
You can create animal shapes, alphabet puzzles, geometric designs, maps, or more advanced adult puzzles.
The design should match the intended user. Small loose pieces may not be appropriate for young children, and material choice matters when a product is intended for children's use.
For any product intended for children, select materials and finishes appropriate for the intended application and follow applicable safety requirements.

10. Custom Layered Name Décor
Personalized name décor combines simple cutting with creative design.
A name can be cut from one sheet and attached to a larger background. Additional shapes such as stars, flowers, animals, or leaves can create a layered composition.
This style works well for:
-
Nursery décor
- Birthday decorations
- Wedding signs
- Family rooms
- Personalized gifts
Keep the composition balanced. Adding more details isn't always an improvement.

How to Choose Laser Cutting Files for Wood
A file can look perfect in a preview and still require changes before it works for your project.
Before downloading or purchasing a design, check these details.
Check the Design Type
If you plan to cut a shape, look for a vector-based design with clean paths.
If the project is primarily engraving, raster artwork may be more appropriate.
Also check whether the file contains overlapping or duplicate lines. Unnecessary lines can cause unwanted processing during a job.
Monport's Free DIY Laser Files collection is another place to find designs for laser engraving and cutting projects.
Check the Material Thickness
Material thickness matters particularly for designs with tabs, slots, or press-fit joints.
A file created for a 3 mm sheet may not fit correctly when used with a thicker or thinner material.
Before cutting a full-size project, test a small joint if the design depends on precise fitting.
Check the License
A free download is not automatically a free commercial license.
If you plan to sell products made from a design, check the file's license and usage terms first.
This matters whether you sell through an online marketplace, your own website, or local craft events.
A Simple Workflow for Your Next Wood Laser Cutter Project
Once you have a suitable design, the process can remain fairly straightforward.
Step 1 — Inspect the File
Check for open paths, overlapping lines, very small details, and fragile sections.
Step 2 — Prepare the Wood
Use a reasonably flat, clean sheet that matches the design.
If the material is warped or uneven, maintaining consistent focus can be more difficult.
Step 3 — Test the Material
Do not assume an online setting will work exactly the same on your machine.
Wood varies by species, thickness, density, adhesive, moisture, and surface treatment.
Run a small test using the same material before starting the final project.
Step 4 — Process the Design
Once the test gives you an acceptable result, process the final design.
Follow the machine manufacturer's instructions for ventilation, air assist, focusing, and other operating procedures.
Step 5 — Inspect the Finished Piece
After processing, check the edges, engraved areas, and any small connecting sections.
Depending on the project, you may sand the edges or apply an appropriate finish.
For additional wood-processing guidance, see Monport's wood laser engraving guide.
Which Monport Wood Laser Cutter Fits Your Project?
The right machine depends on the size of your projects, the amount of material you process, and the type of work you want to make.
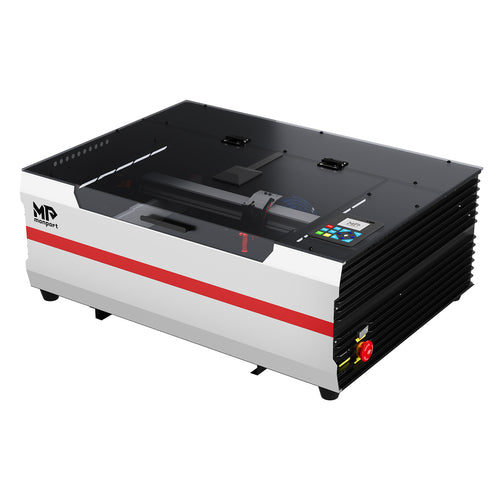
For smaller desktop projects, the Monport 40W Pro CO2 Laser Engraver & Cutter has 40W laser power, an 8" × 12" engraving area, and a maximum engraving speed of 350 mm/s. The machine uses manual focus and includes built-in air assist.
For a larger desktop work area, the Monport Reno45 45W CO2 Laser Engraver & Cutter provides a 16" × 12" working area, 45W laser power, magnetic assisted focus, and a maximum engraving speed of 500 mm/s.
For larger projects and small-batch production, the Monport MEGAS 70W CO2 Laser Engraver & Cutter has a 27.56" × 13.78" work area, 70W CO₂ laser power, an integrated 8MP camera, and autofocus. Its specifications list a maximum engraving speed of 1000 mm/s and a maximum working speed of 600 mm/s, with the product page noting optimal results at 300 mm/s or below.
That distinction is worth remembering: maximum engraving speed and maximum working speed are not the same specification.
Instead of choosing solely by wattage, consider:
- The size of your typical projects
- Available workspace
- Material dimensions
- How frequently you'll use the machine
- Whether you make individual pieces or batches
- The features you actually need

Common Mistakes to Avoid When Using a Wood Laser Cutter
A few small mistakes can waste an entire sheet of material.
Skipping the Test
An online setting is a starting point, not a guarantee.
Always test the actual material you're using.
Ignoring Material Thickness
Press-fit projects depend heavily on material thickness and design tolerance.
Choosing an Overly Detailed File
Very narrow bridges and tiny gaps may not survive cutting.
If necessary, simplify the design before processing.
Treating All Wood the Same
Two sheets can look nearly identical but behave differently because of grain, density, glue, or surface treatment.
Forgetting Ventilation and Safety
Laser processing can produce smoke, fumes, and other byproducts.
Follow the machine's operating and safety instructions, use appropriate exhaust or ventilation, and never leave an operating laser unattended.
For more information, review Monport's laser safety operation guide.
FAQs
What can I make with a wood laser cutter?
You can make signs, ornaments, keychains, coasters, boxes, layered wall art, puzzles, personalized gifts, product tags, and many other decorative or functional projects.
The actual possibilities depend on the machine, material, project size, and design.
Where can I find laser cutting files?
You can find laser cutting files through design marketplaces, creator communities, software resources, and Monport's Free DIY Laser Files collection.
Always check the file format and licensing terms before using a design.
Are laser cutting files free to use commercially?
Not necessarily. A file being free to download does not automatically mean that products made from it can be sold commercially. Check the creator's license and usage terms before selling finished products.
What wood is easiest for beginners?
Relatively flat and consistent wood sheets are generally easier to learn with.
Basswood is commonly used for detailed laser projects, while plywood can be useful for structural designs. However, plywood can vary between manufacturers, so testing is still recommended.
Can the same laser cutting file work on different machines?
Often, yes, provided the file format is compatible with your software and the design fits the machine's working area.
However, processing settings are not universal. You may need to adjust them for your specific machine and material.
Is a higher-wattage wood laser cutter always better?
No. Higher power can be useful for certain cutting and production requirements, but machine selection should also consider working area, speed, focusing method, workflow features, ventilation, and the projects you plan to make.
Conclusion
A good wood laser cutter project doesn't have to start with a complicated design.
Choose an idea that matches your experience, select a suitable material, check your laser cutting files, and test before committing to the final piece.
Once you understand how your material responds, you can move from simple ornaments and signs to layered artwork, boxes, personalized gifts, and small-batch products.
The real advantage of digital laser designs is flexibility. A basic file can often be adapted with different names, shapes, patterns, or dimensions to create something that feels completely different.
Start with one project, learn from the result, and build from there.
Ready to Start Your Next Wood Laser Project?
Explore Monport's CO2 laser engraving and cutting machines and find a machine that fits the projects you want to make.
You can also browse Monport's Free DIY Laser Files for ideas and ready-to-use designs.
Use code BESTMP10 for 8% OFF.