Have you ever dreamt of creating beautiful and personalized wood craft projects? Perhaps you've envisioned a set of engraved coasters for a friend or a stunning piece of wall art featuring a cherished family photo. But the question lingers: how do you engrave on wood and bring these ideas to life?
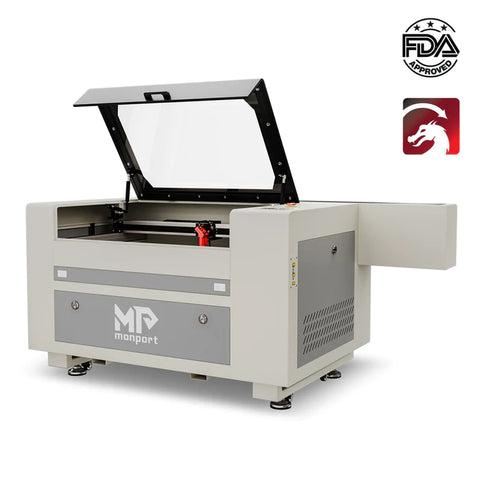
The answer lies in the exciting world of engraving in wood with laser engraving and cutting machines! A powerful laser engraver, such as the Monport 80W CO2, empowers you to elevate your woodcraft projects with intricate designs, personalized touches, and precision that traditional methods can’t match. Dive deeper into this guide to explore how to wood engrave using plywood sheets and discover inspiring project ideas that unleash your inner artist. You’ll also learn the best way to engrave wood using these machines and how they can tackle other materials like acrylic, leather, and even laser etched stone to expand your creative potential. Imagine creating engraved coasters or decorative pieces that match your custom airpods apple design.
Monport 80W CO2 Laser Engraver & Cutter (24" x 16") with Autofocus
Read More : Carve Your Creativity: Tips & Tricks on How to Engrave Wood
The Beauty of Wood Engraving
Wood, with its natural grain patterns and warm tones, is one of the most satisfying materials to work with. The art of how to wood engrave brings out both texture and contrast, making your designs come to life. Whether you're creating intricate calligraphy, wildlife scenes, or personalized gifts, the possibilities are endless. Learning the best way to engrave wood can make all the difference in achieving professional results.

-
Manual Engraving: This traditional technique utilizes handheld tools like chisels and gouges to carve designs into the wood. It requires a steady hand and practice to achieve desired results.

-
Dremel Rotary Tool Engraving: A Dremel rotary tool with various engraving bits allows for precise control and a wider range of depths compared to manual engraving.

-
Laser Engraving: If you're wondering how to wood engrave with efficiency and precision, laser engraving is the answer. Laser engravers utilize a focused beam of light to etch designs onto the wood surface. This method is widely regarded as the best way to engrave wood for detailed and repeatable designs. You could even add engraving patterns inspired by your custom airpods apple to create cohesive gift sets.
The Power of Laser Cutting and Engraving Machines:
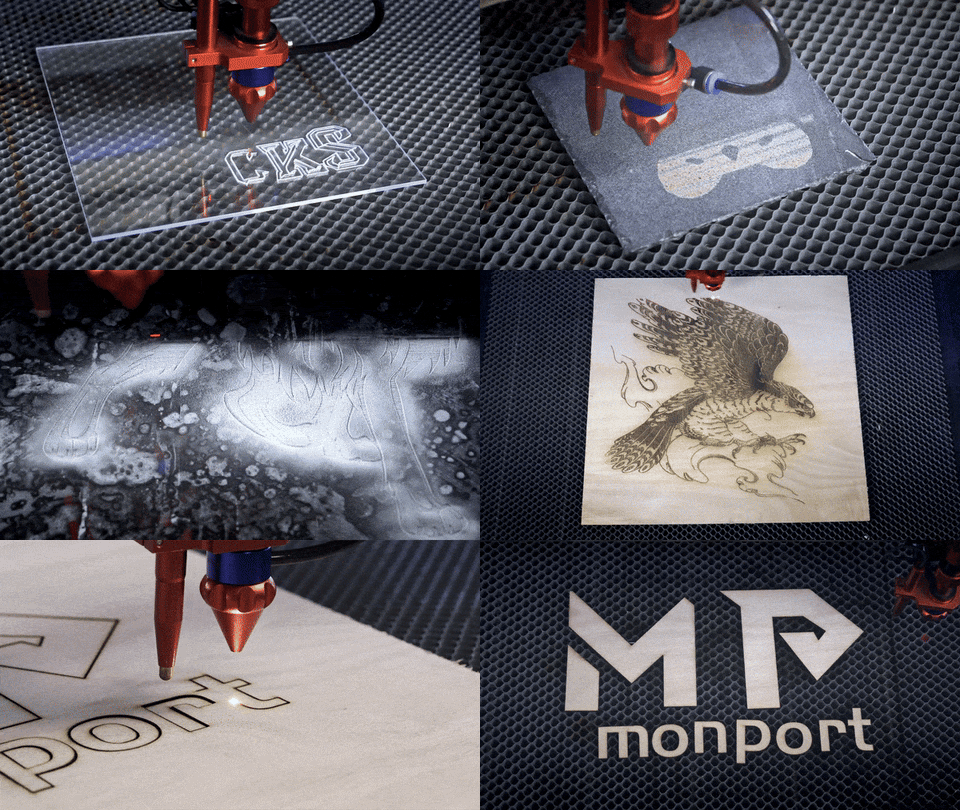
Laser cutting and engraving machines have transformed crafting. They make how to wood engrave an accessible skill, even for beginners. Machines like the Monport 80W CO2 Engraver allow you to engrave or cut intricate designs on:
-
Wood: From personalized cutting boards to engraved signs, wood remains a popular choice for laser engraving projects. Following proper guidelines ensures the best way to engrave wood every time. Think about engraving holders or stands for your custom airpods apple.
-
Glass and Acrylic: Laser engraving creates stunning frosted effects on glass and acrylic, perfect for glassware, awards, or decorative pieces. [laser engrave stone]
-
Leather: Wallets, belts, and keychains adorned with personalized designs become truly unique with laser engraving on leather.
-
Stone: While not all laser engravers can handle stone, some specialized machines offer the ability to etch designs onto softer stones like slate or marble.
Choosing the Right Machine for Laser Engrave Wood
When selecting a laser cutting and engraver on wood machine, consider factors like:

-
Work Area: The Monport 80W CO2 Engraver boasts a spacious 16” x 24” work area, ideal for larger projects.
-
Material Compatibility: Ensure the machine supports the materials you plan to work with, such as wood, glass, or acrylic.

-
Laser Power: Higher laser power translates to faster engraving speeds and the ability to cut thicker materials.
-
Ease of Use: Look for user-friendly interfaces and software like RDWorks or LightBurn that the Monport 80W CO2 Engraver is compatible with.
-
Safety Features: Safety should be paramount. Look for features like emergency stop buttons, cover protection, and water flow monitoring systems, all of which the Monport 80W CO2 Engraver offers.
Beyond the Basics: Wood Craft Project Ideas
With a laser engraver in your arsenal, wood craft project ideas take on a whole new dimension. Here are a few inspiring ideas on how to engrave wood to get you started:

-
Personalized Coasters: Engrave names, initials, or meaningful quotes onto wooden coasters for a thoughtful and unique gift. Pair with custom airpods apple to complete the set.

-
Custom Cutting Boards: Laser engraving allows you to incorporate intricate designs, logos, or recipes onto cutting boards, transforming them into functional works of art.

-
Decorative Wall Art: Wooden wall hangings engraved with landscapes, wildlife, or inspirational messages add a touch of personalization and rustic charm to your home.

-
Engraved Puzzles: Challenge your loved ones with custom-made puzzles featuring family photos, favorite artwork, or motivational quotes.
Tips for Parameters and Settings
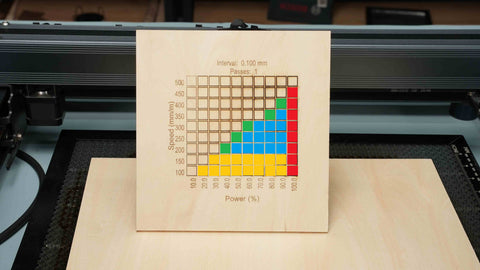
While specific settings of your engraver on wood like plywood sheets will vary depending on your machine model and the material you're working with, here are some general tips to get you started with how to engrave wood:
-
Start with Low Power and High Speed: Begin with a low laser power setting and a high speed to create a light engraving. Gradually increase the power or decrease the speed for a deeper engrave. Experiment on scrap wood to find the optimal settings for your desired effect.
-
Wood Type Matters: Different wood types react differently to laser engraving. Denser hardwoods like maple or walnut generally require higher power settings compared to softer woods like pine or basswood. Experimentation is key to achieving the best results for your chosen wood.
-
Image Optimization: Ensure your digital image for engraving is high-resolution and converted to a black and white format. This ensures clean lines and optimal contrast during engraving. You can even incorporate designs that complement custom airpods apple.
-
Test Runs are Your Friend: Before engraving your final project, perform a test run on a scrap piece of wood with similar characteristics. This allows you to fine-tune your settings and avoid any mistakes on your main piece.
Step-by-Step Guide to Wood Engraving
-
Prepare Your Workspace: Ensure a clean and well-ventilated workspace. Have safety gear like goggles and a dust mask readily available.
-
Select Your Wood: Choose wood with a smooth, flat surface and appropriate thickness for your project. Popular options include basswood, maple, or cherry.
-
Design and Prepare Your Artwork: Create your design using graphic design software or choose a pre-made design. Convert it to a black and white image with high resolution.
-
Transfer the Design: Several engraving wood methods exist for transferring your design onto the wood. You can use laser-compatible transfer paper, trace the design directly with a pencil, or utilize specific engraving software features for direct transfer.
-
Machine Setup and Settings: Consult your laser engraver's user manual for specific instructions on installing the laser head and setting the focal length. Following the tips above, choose appropriate power, speed, and resolution settings for your wood type and desired engraving depth to achieve the best way to engrave wood.
-
Engraving Process: Secure your wood piece in the laser engraver's work area. Initiate a test run on a small corner of the wood to confirm your settings. Once satisfied, proceed with the actual engraving process.
-
Cleaning and Finishing: After engraving wood, gently remove any residual ash or debris with a soft brush or compressed air. Depending on your desired finish, you can sand the engraved area lightly and apply a coat of wood stain, varnish, or paint.
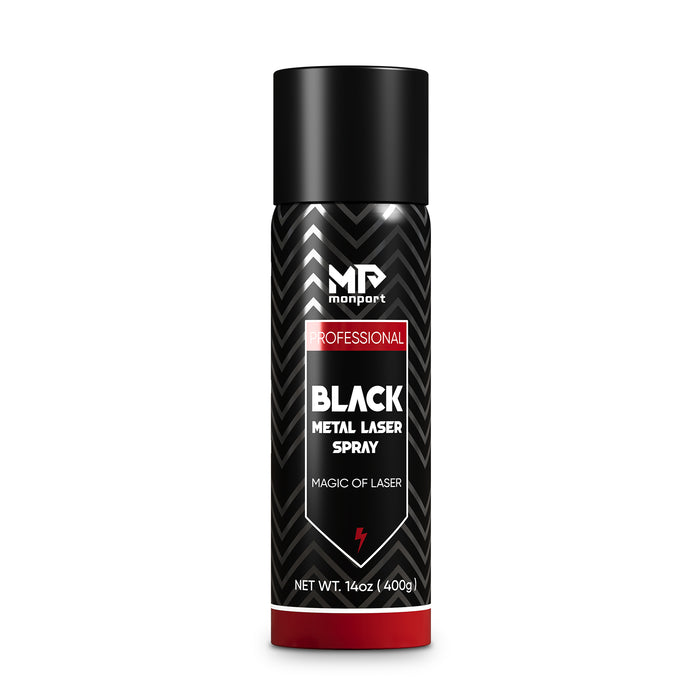
Achieve Flawless Results with Monport Black Laser Marking Spray
If you're looking to upgrade your metal engraving projects, the Monport black laser marking spray is the perfect companion. Specially formulated for CO2 laser engraving machines (25W and above), this spray ensures your metal markings are sharp, permanent, and highly visible. Whether you're engraving aluminum, stainless steel, or brass, this spray delivers impressive results every time.
Frequently Asked Questions About Engraving Wood
How do you engrave wood as a beginner?
Start with soft wood, simple designs, and test settings before engraving the final piece.
What is the easiest way to engrave on wood?
Using beginner-friendly tools and clean designs makes engraving on wood more manageable.
How deep should you engrave wood?
Depth depends on the project, but shallow engraves are ideal for beginners.
Can engraving on wood damage the material?
Proper settings and testing prevent burning or cracking.
Why Choose Monport Black Laser Marking Spray?
This black laser marking spray is designed for effortless application. Simply clean the metal surface with alcohol, shake the can for two minutes, and spray from 6 to 8 inches away. The ultra-fine mist provides an even coating thanks to its anti-clog nozzle, and it dries within five minutes, helping you maintain a smooth and efficient workflow.
After laser engraving, all you need to do is rinse off the surface to reveal bold, high-contrast black marks. There’s no mess, no residue—just clean, permanent results. The formula is free of alcohol in the package, ensuring safe and clean use.
Key Benefits
-
Permanent and durable markings
The fine-grained formula penetrates deeply into metal surfaces, creating marks that are heat-resistant and long-lasting. -
High compatibility
Works seamlessly with CO2 laser engraving machines, making it ideal for customizing tools, jewelry, glassware, and more. -
Even, precise spray
The nanoparticle formula and anti-clog nozzle provide consistent coverage, even for detailed designs. -
Quick application and cleanup
No waiting, no hassle. Spray, engrave, rinse—and your design is ready to shine.
The black laser marking spray comes in a 14 oz aluminum can, offering plenty of product for multiple projects. Its compact size and strong performance make it a go-to tool for both professionals and DIY creators.
Conclusion
Learning how to engrave on wood opens the door to creative and practical projects for beginners. With the right tools, wood selection, and techniques, engraving becomes an enjoyable skill that grows with practice. Start small, experiment often, and enjoy the creative freedom that comes with engraving on wood.
Ready to take the plunge? Research different laser engraving machines to find one that suits your needs and budget. With some practice and these helpful tips, you'll be well on your way to creating stunning engraved wood projects in no time!
Read More: Engraving Made Easy: A Beginner's Guide to Wood Engraving Machines


