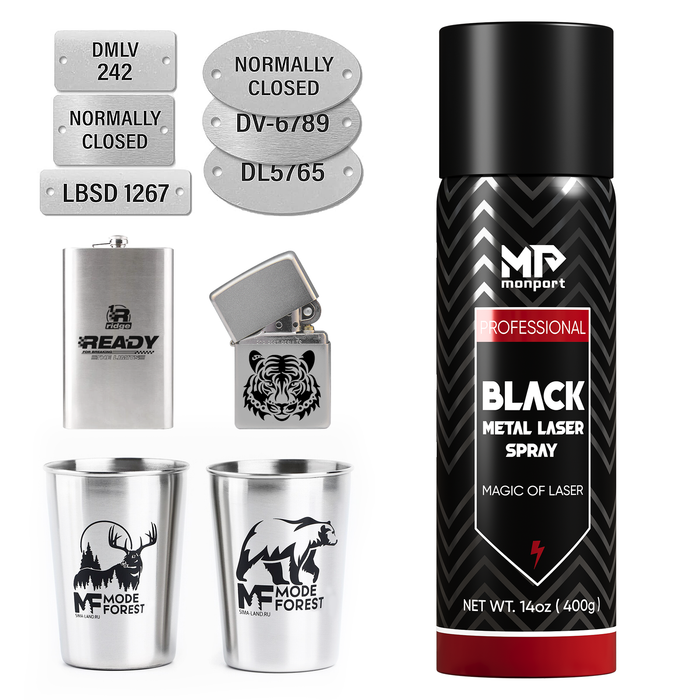
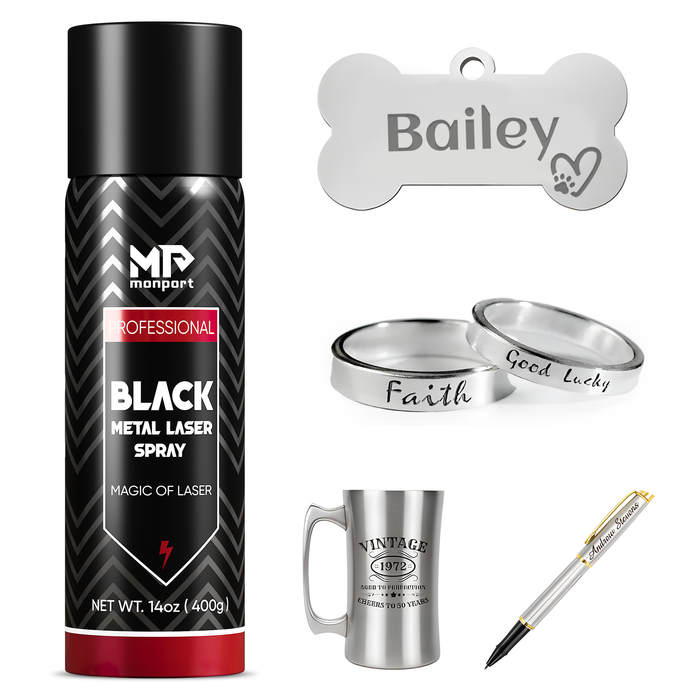
Have you ever considered learning how make a stamp? Stamps – those versatile tools that add a personalized touch to letters, cards, and craft projects. With a 60W CO2 laser cutter, like the Monport 60W CO2 Laser Cutter, You can unlock a world of creative possibilities and design unique stamps that reflect your style. This guide empowers you to embark on this exciting journey, transforming simple materials into personalized stamping tools. Additionally, using black laser marking spray can enhance the details of your stamp designs, ensuring that every engraved line is sharp and clear, making your personalized stamps even more striking and precise.
Monport 60W CO2 Laser Engraver & Cutter (28" x 20") with Autofocus
The All-Star Cast: Unveiling the 60W CO2 Laser Cutter
The magic of crafting custom stamps lies in utilizing a 60W CO2 laser cutter, like the Monport 60W CO2 Laser Cutter and Engraver. This machine boasts a range of features that make it perfect for this creative endeavor:

- Fireproof Viewing Window: Safety first! This window, made from special fire-resistant polyester, provides a clear view of your work area while minimizing the risk of fire accidents during laser operation.
- Enclosed Aeronautical Aluminum Rail: The enclosed design ensures efficient power transmission and high precision while protecting the rail units from smoke and debris, extending their lifespan.
- Laser Protective Glasses (Included): Your eyes are precious! The Monport 60W CO2 Laser Cutter comes with a complimentary pair of certified laser protective glasses, safeguarding your eyes from potential laser radiation damage.
The Brains Behind the Brawn: Ruida Digital Controller & User-Friendly Interface
The Ruida digital controller acts as the brain of the Monport 60W CO2 Laser Cutter. This versatile controller offers seamless compatibility with various design software programs, including LightBurn, RDworks, AutoCAD, and CorelDRAW. The user-friendly interface allows you to control the laser head, adjust cutting/engraving speeds and power settings, and even monitor project progress through the digital display. Additionally, using black laser marking spray can help achieve more defined and visible results, particularly when working with materials that require higher contrast or fine detailing.

Speed, Resolution & Precision: The Hallmarks of Quality
The Monport 60W CO2 Laser Cutter delivers exceptional performance for stamp making:

- High-Speed & Resolution: Experience engraving speeds of up to 800 mm/s and cutting speeds of up to 400 mm/s. Combined with a resolution of 4500 dpi, this translates to crisp, clean engravings for your stamp designs.
- 3 LED Light Strips & Autofocus: The built-in LED light strips provide optimal illumination of the work area, aiding in precise placement and alignment of your stamp design. Additionally, the autofocus function eliminates manual adjustments, ensuring consistent engraving quality.
Built-in Features for Optimal Results
Several features of the Monport 60W CO2 Laser Cutter enhance the stamp-making process:
- Air Assist System: This system directs a pressurized air stream through the laser head nozzle, removing debris, heat, and flammable gases from the engraving area. This keeps your engravings clean and precise while protecting the laser beam path.
- Multiple Connectivity Options: Connect your computer to the laser cutter using the provided USB ports or the ethernet port for flexible working preferences.
- Red Dot Guidance: The red dot pointer precisely shows the laser head's position and working path, ensuring accurate placement of your stamp design.
Safety First: Essential Considerations
Always prioritize safety when operating a laser cutter. Here are some key points to remember:
- Always wear the provided laser protective glasses.
- Never leave the laser cutter unattended while in operation.
- Ensure proper ventilation in your workspace to remove fumes generated during laser cutting/engraving.
- Follow the manufacturer's safety instructions and guidelines.
From Design to Reality: How to Make a Stamp
- Design Your Stamp: Get creative! Use design software like LightBurn or CorelDRAW to create your desired stamp image. Remember to mirror your design as the stamp will print the mirrored version.
- Material Selection: Choose a suitable material for your stamp. Acrylic and red rubber are popular choices due to their laser cutting compatibility and ability to create clear impressions.
- Laser Cutting & Engraving Settings: Experiment on scrap material to determine the ideal laser settings for cutting and engraving your chosen material. These settings will depend on factors like material thickness and desired engraving depth. Generally, lower power and slower speeds are preferred for engraving details, while higher power and speed settings are used for cutting the stamp outline.
- Finishing Touches: Once the laser cutting and engraving are complete, you may need to sand the edges of your stamp for a smooth finish. Depending on the material, you may also choose to add a mounting block for easier handling.
The Monport 60W CO2 Laser Cutter: Your Gateway on How to Make a Stamp
With its exceptional features, user-friendly operation, and safety considerations, the Monport 60W CO2 Laser Cutter empowers you to embark on a journey of personalized stamp making. Here are some additional tips and considerations on how to make a stamp:
- Start Simple: For beginners, it's best to start with basic designs. As you gain experience, you can explore more intricate details and techniques.
- Test & Experiment: Always test your laser settings on scrap material before using your final stamp material. This helps you achieve the desired results without wasting materials.
- Software Tutorials: Numerous online tutorials and resources can guide you through specific design software programs and laser settings for stamp making.
- Cleaning & Maintenance: Regularly clean the laser cutter's lens and mirrors to ensure optimal laser performance and engraving quality. Refer to the manufacturer's instructions for proper cleaning procedures.
Beyond the Basics: Unleashing Your Creative Potential
The beauty of this DIY approach lies in its endless creative possibilities. Here are some inspiring ideas to personalize your custom stamps:

- Incorporate Hand-Drawn Elements: Scan a hand-drawn sketch or design into your software for a unique touch.

- Embrace Text & Fonts: Create custom stamps with personalized messages, monograms, or even your own logo.
- Explore Decorative Borders: Add decorative borders or flourishes to your stamp design for an elegant touch.
- Experiment with Multi-Layered Stamps: For complex designs, consider creating multiple stamp pieces that layer together to create the final image.
A World of Possibilities Awaits
By following this guide and unleashing your creativity, you can transform a 60W CO2 laser cutter like the Monport 60W into a tool for crafting unique and personalized stamps. These custom stamps can add a special touch to your stationery, packaging, invitations, and even craft projects. So, embrace your inner artist, explore the world of laser stamp making, and leave your lasting impression on the world! Additionally, using black laser marking spray can enhance the detail and clarity of your stamp designs, ensuring that every impression is sharp and stands out beautifully on any surface.
Ready to embark on your DIY stamp-making journey? Visit our website to explore the Monport 60W CO2 Laser Cutter and discover the endless possibilities of creative laser cutting!


