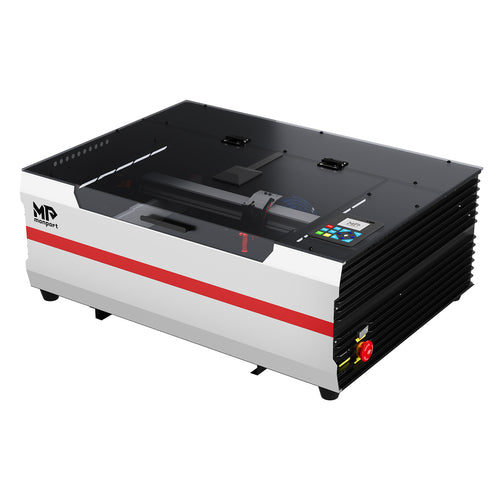
Learning wood engraving for beginners starts with understanding how a laser interacts with different types of wood. Unlike traditional carving, laser engraving uses a focused beam to remove or darken the surface, creating text, images, patterns, and other designs.
A co2 laser desktop machine can make this process accessible for home workshops, small businesses, and hobby projects. However, good results depend on choosing suitable wood, setting the correct speed and power, focusing the laser properly, and testing the material before engraving the finished piece.


What Is Wood Engraving With a CO2 Laser?
CO₂ laser engraving uses a 10.6-micrometer laser wavelength that is well suited to many non-metal materials, including wood. The focused beam heats the surface and removes a controlled amount of material to produce the design.
For wood engraving for beginners, the process is relatively straightforward. A design is created in compatible software, the wood is positioned on the workbed, the laser is focused, and the machine follows the design according to the selected settings.
The appearance of the engraving can range from a light surface mark to a deeper, darker finish. Power, speed, focus, wood type, grain, and moisture can all affect the result.
Choosing Wood for Your First Project

The type of wood you use has a major effect on the final engraving.
For wood engraving for beginners, flat and untreated wood is generally easier to work with than heavily coated or uneven materials. Balsa, birch plywood, maple, and other suitable wood products can produce different engraving results depending on their density and surface characteristics.
Softwood can engrave quickly but may produce darker areas where the grain absorbs heat differently. Plywood can also work well, although the layers and adhesives may cause variations in color and engraving depth.
Before using a material with a co2 laser desktop machine, check that it is appropriate for laser processing. Avoid materials that contain unknown coatings, treatments, or plastics.
Preparing Your Design
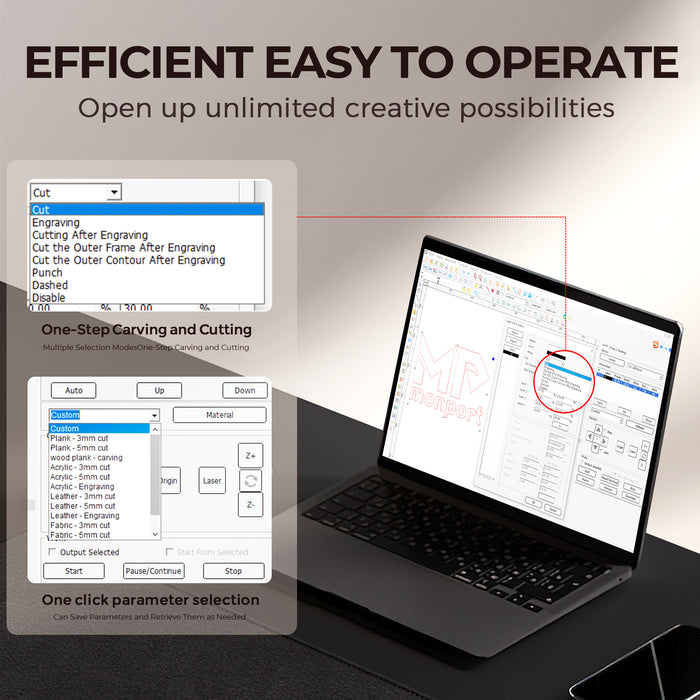
A simple design is a good starting point.
Names, initials, basic illustrations, geometric patterns, and short messages are suitable for wood engraving for beginners. These designs make it easier to identify problems with focus or settings.
Use compatible laser software to position the artwork and define the engraving area. The Monport Reno65 Pro works with LightBurn, Autolaser, and TopwisdomLaser, giving users several software options for preparing and controlling projects.
The design should also fit comfortably within the available work area. The Reno65 Pro provides a 600 × 400 mm engraving area, which allows space for larger signs and decorative pieces as skills develop.
Understanding Laser Power and Speed
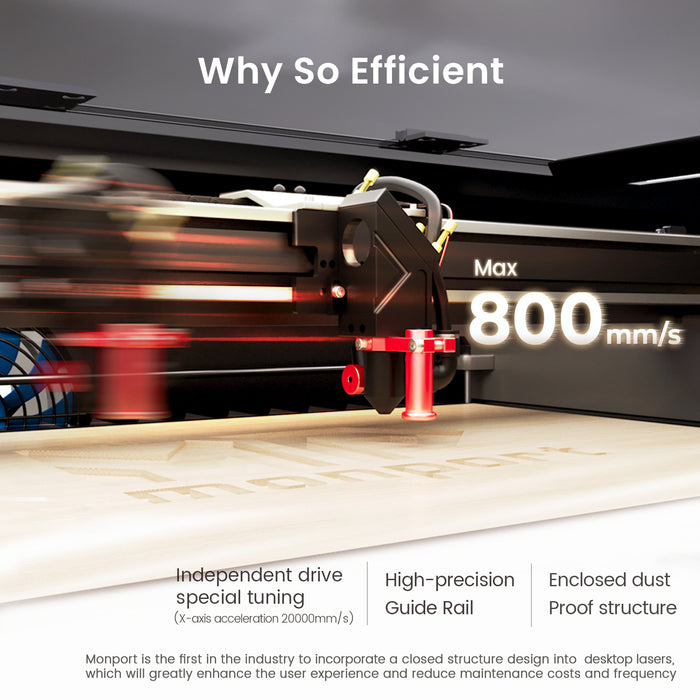
Power and speed determine how much energy reaches the wood.
Increasing the power generally increases the amount of energy applied to the surface. Reducing the speed allows the laser to spend more time over a particular area, which can also produce a darker or deeper mark.
There is no single setting that works for every type of wood. Even different sheets of the same material can produce slightly different results.
For wood engraving for beginners, testing is more reliable than copying a setting from another project. Use a scrap piece of the same wood and test several combinations of power and speed before engraving the final product.
Getting the Focus Right
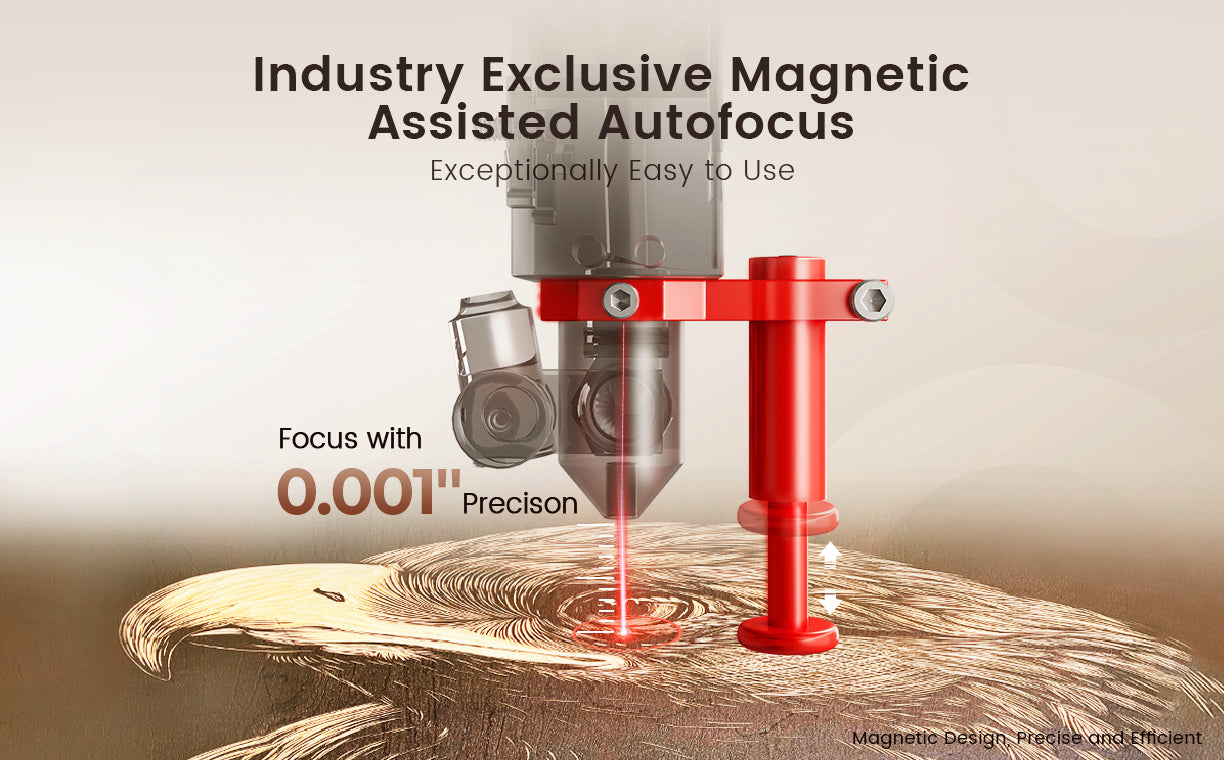
Correct focus helps produce clean and detailed engraving.
The laser needs to be positioned at the appropriate focal distance from the surface. If the material is too high or too low, fine details may appear soft or inconsistent.
The Monport Reno65 Pro uses magnetic-assisted focus and has up to 100 mm of Z-axis movement. This allows the working height to be adjusted for different material setups.
A beginner should check the focus before every new material or setup rather than assuming the previous position will work.
Using Air Assist
Air assist directs air toward the laser's working area.
It helps manage smoke and debris generated during engraving and cutting. The amount of airflow can also affect the appearance of the finished work.
The Reno65 Pro has adjustable air assist with airflow of up to 18 L/min. Adjustable airflow allows users to change the air volume depending on the project and material.
When using a co2 laser desktop machine, air assist should be operated according to the manufacturer's instructions.
A Simple First Wood Engraving Project
A personalized wooden nameplate is a practical first project.
Start with a flat piece of suitable wood and create a simple name or short phrase. Position the design in your laser software and use a scrap section of the same material to test the settings.
Once the test produces the desired contrast, prepare the final piece. Check the material position, focus, power, speed, airflow, exhaust, and other machine settings before starting.
This type of project allows beginners to practice the basic steps without requiring a complicated design.
What Makes the Monport Reno65 Pro Suitable for Larger Projects?
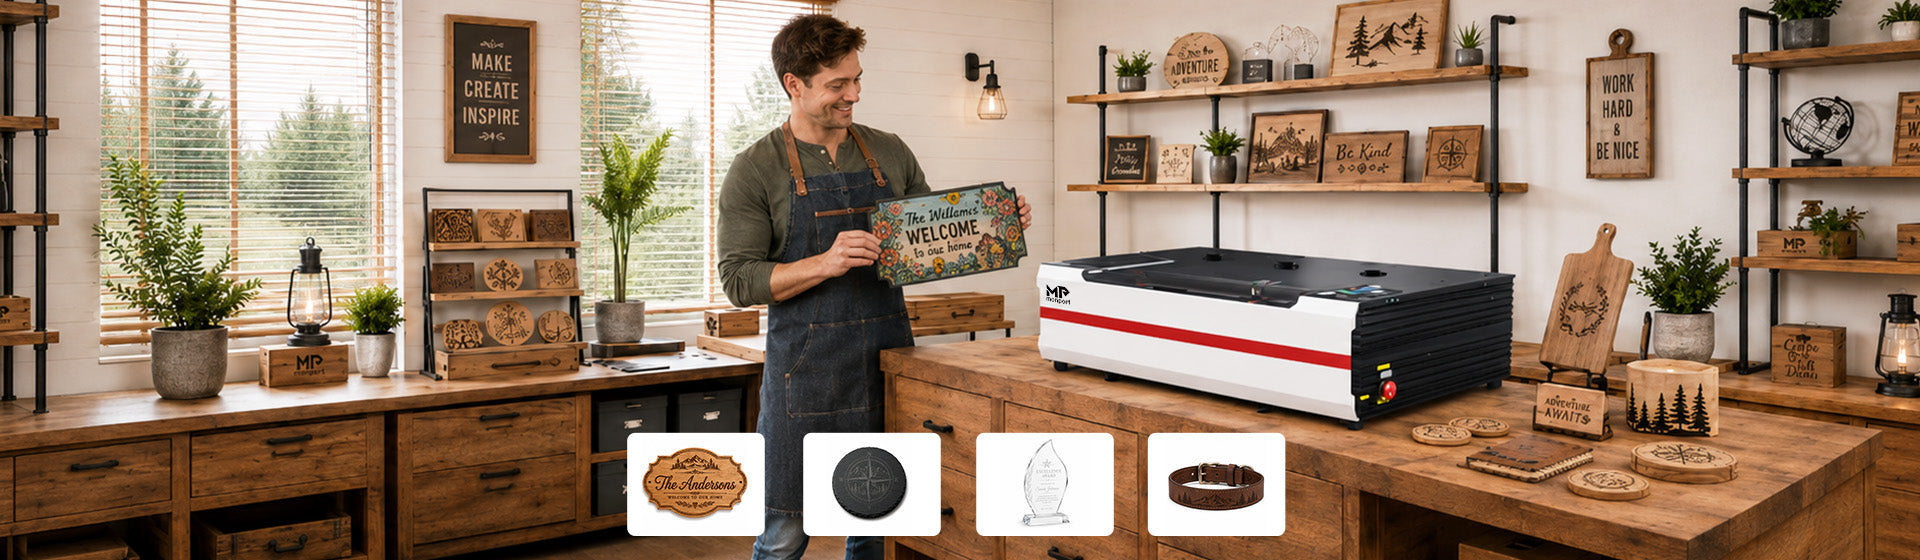
The Monport Reno65 Pro is a 65W CO₂ laser engraver and cutter with a 600 × 400 mm working area.
Its maximum engraving speed is 800 mm/s, while the maximum listed resolution is 1000 dpi. The machine also has a honeycomb workbed and blade workbed for different applications.
The 100 mm Z-axis movement provides additional working-height adjustment. A front pass-through opening also allows longer materials to extend beyond the standard working area when the project and machine setup permit it.
For wood engraving for beginners, these features provide room to start with smaller projects and move toward larger designs without immediately needing a different machine.
The Reno65 Pro supports USB cable, Wi-Fi, and U-disk data transmission. Its control panel includes functions for positioning, previewing, starting, pausing, and adjusting machine parameters.
Wood Engraving Safety
A laser should never be operated without appropriate preparation.
Wood produces smoke and particles when exposed to the laser. Proper exhaust and ventilation are therefore important when operating a co2 laser desktop machine.
Keep the surrounding area clear of unnecessary combustible materials and follow the manufacturer's instructions for cooling, exhaust, air assist, electrical connections, and machine operation.
The Reno65 Pro uses an external water pump for its cooling system and specifies an operating ambient temperature of 5–30°C.
Never leave an active laser machine unattended. Stop the machine if you notice unexpected flames, smoke buildup, unusual sounds, or other abnormal behavior.
Common Beginner Mistakes

Skipping Material Tests
Using a new type of wood without testing it first can result in excessive darkening, inconsistent engraving, or unwanted charring.
A small test piece can prevent damage to the finished project.
Using Excessive Power
Higher power is not always better.
Too much energy can produce darker marks than intended and reduce the clarity of small details. Adjust power and speed based on the material and the appearance you want.
Forgetting the Wood Grain
Natural wood has variations in color and grain.
These differences can make some parts of an engraving appear darker than others. Choosing consistent wood and positioning the design carefully can help produce a more uniform result.
Ignoring Focus
Incorrect focus can affect both detail and consistency.
Check the material height and focusing system before beginning the engraving job.
Wood Engraving Projects for Beginners
Once you understand the basic settings, several simple projects can provide useful practice.
Wooden Nameplates

Names and initials are easy to design and provide a clear way to evaluate engraving contrast.
Personalized Coasters

Coasters are small enough to test different designs and settings without using much material.
Gift Tags

Wooden gift tags can combine text with simple decorative patterns and can be produced in batches.
Decorative Signs

Larger signs provide an opportunity to use more of the Reno65 Pro's 600 × 400 mm work area while practicing alignment and positioning.
Key Takeaways
- Wood engraving for beginners starts with suitable wood, simple designs, and material testing.
- Power and speed should be adjusted according to the specific wood being used.
- Proper focusing is important for sharp and consistent engraving.
- Air assist and adequate exhaust help support cleaner laser operation.
- A co2 laser desktop machine can handle both small crafts and larger wooden projects.
- The Monport Reno65 Pro offers 65W power, a 600 × 400 mm work area, magnetic-assisted focus, adjustable air assist, and multiple connection options.
- Always follow the manufacturer's safety and operating instructions.
Conclusion
Successful wood engraving for beginners comes from understanding the relationship between the material and the laser settings. Start with suitable wood, use a simple design, test your settings on scrap material, and make adjustments before working on the final piece.
A co2 laser desktop machine such as the Monport Reno65 Pro provides the working space and adjustment options needed for a wide range of wooden projects. Its 65W CO₂ laser, 600 × 400 mm working area, 800 mm/s maximum engraving speed, magnetic-assisted focus, and adjustable air assist can support both basic engraving and more advanced projects.
With regular testing and careful machine operation, wood engraving for beginners can develop into a practical skill for personalized gifts, home décor, signs, and small-scale creative work. Choosing suitable materials and using the correct settings will help you get more consistent results from your co2 laser desktop setup.
Frequently Asked Questions
What is the best wood for laser engraving beginners?
Untreated, flat wood such as suitable plywood, balsa, birch, or maple can be good starting materials. Always test the specific wood before engraving the final product.
What settings should I use for engraving wood with a CO2 laser?
There is no universal setting. Start with the manufacturer's recommended settings and use a test grid or scrap piece to find the appropriate power and speed for your wood.
Is a CO2 laser good for engraving wood?
Yes. CO₂ lasers are commonly used for engraving wood because the laser wavelength is well absorbed by many non-metal materials.
Do you need air assist for wood engraving?
Air assist is useful for directing airflow toward the engraving area and managing smoke and debris. The appropriate airflow depends on the machine, material, and type of work.
Can a beginner use a desktop CO2 laser?
Yes. Beginners can use a desktop CO₂ laser after learning the machine's controls, preparing the workspace properly, selecting suitable materials, and following the manufacturer's operating and safety instructions.