

Are you interested in adding a personal touch to your wooden products? Wood engraving is a fantastic way to make your creations stand out and leave a lasting impression. In this article, we will guide you through the process of how to wood engrave using a laser.

Understanding Laser Engraving
Before we dive into the steps, let’s first understand what laser engraving on wood actually means. It is a process that uses a high-powered laser beam to burn or etch designs, patterns, or text onto the surface of wood. With laser engraving on wood, the process becomes highly accurate, clean, and repeatable compared to traditional engraving methods.

Choosing the Right Laser Engraver
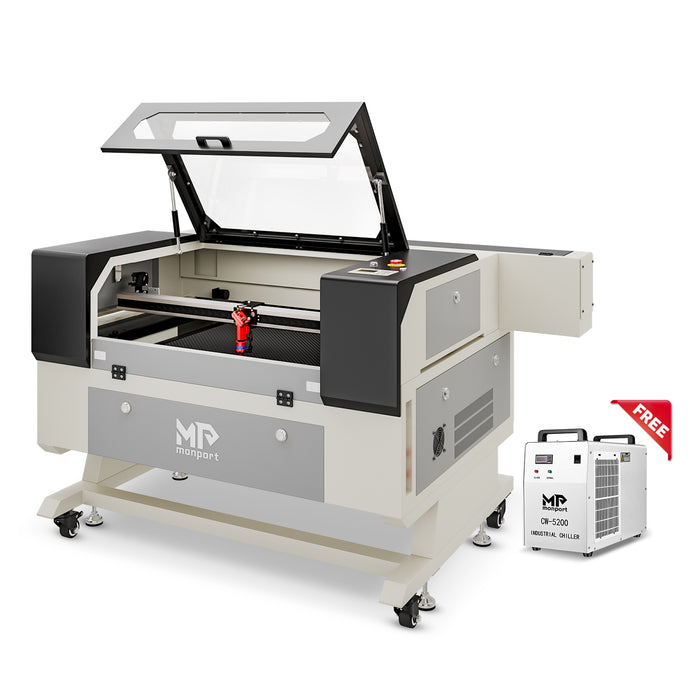
To get started with laser engraving on wood, you need the right equipment. One highly recommended option is the Monport 100W CO₂ Laser Engraver & Cutter. With its large 28" x 20" working area, autofocus feature, and sturdy frame, this machine is ideal for laser engraving on wood projects of all sizes.
Preparing Your Design
Once your machine is ready, the next step is preparing your artwork for laser engraving on wood. You can use design software or online tools to create your layout. Make sure your design fits the wood dimensions properly.
Whether it’s logos, text, or detailed graphics, laser engraving on wood allows you to achieve highly detailed and professional-looking results.
Securing the Wood Piece
Before starting the laser engraving on wood process, always secure your material properly. Use clamps or double-sided tape to ensure the wood does not move during engraving.
A stable setup is essential for clean and accurate laser engraving on wood results.

Adjusting the Engraving Settings
To achieve the best laser engraving on wood output, adjust your machine settings carefully. Power, speed, and focus should be tuned based on the wood type and engraving depth.
It is always recommended to start with lower power settings when performing laser engraving on wood, then gradually increase until the desired result is achieved.
Test Engraving
Before final production, perform a test run on scrap material. This step is very important for perfecting laser engraving on wood settings.
Testing ensures that your final laser engraving on wood project comes out clean, sharp, and free of errors.
Engraving the Wood
Now that you have tested your engraving settings, it's time to engrave the wood piece. Ensure that the laser engraver is properly focused and aligned with the design. Start the engraving process and monitor it closely to ensure everything is going smoothly. With the right approach, laser engraving wood can deliver flawless results.

FAQs
1. What type of wood is best for laser engraving?
Hardwoods like maple, cherry, and oak generally produce cleaner and more detailed engravings compared to softwoods. However, softwoods can still be engraved but may require more adjustments in power and speed due to their resin content.
2. Do I need to prepare the wood surface before engraving?
Yes, it’s best to sand the wood surface smooth and ensure it’s clean from dust or oils. A smooth surface helps the laser create more precise details and prevents uneven burns.
3. How do I choose the right engraving settings?
The settings depend on the type of wood and the depth you want. Start with lower power and higher speed, then gradually adjust. Running test engravings on scrap wood helps fine-tune the perfect settings.
4. Can I engrave colored or painted wood?
Yes, but results may vary. Painted or coated wood can produce fumes and affect the engraving quality. It’s recommended to engrave on bare wood for the best results and safety.
5. Is the Monport 100W CO2 Laser Engraver suitable for beginners?
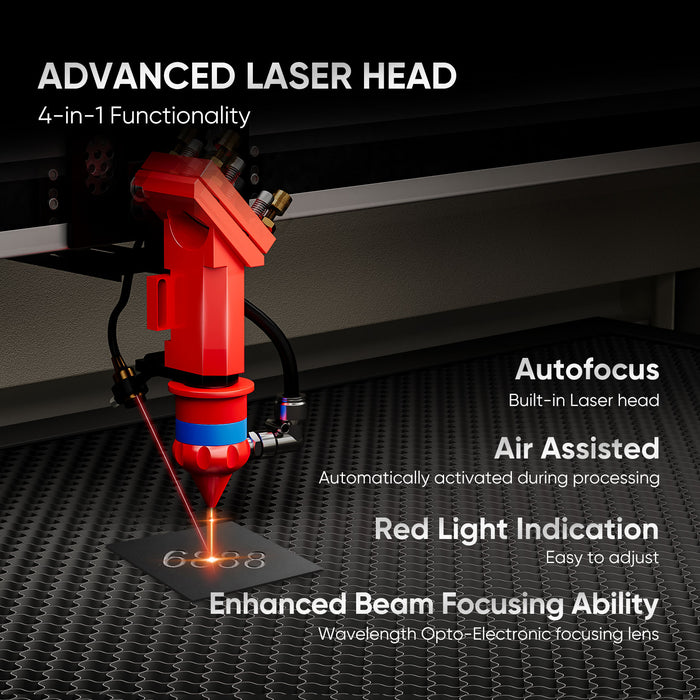
Yes, the Monport 100W CO2 Laser Engraver is user-friendly, equipped with autofocus and a large working area. These features make it ideal for both beginners and advanced users who want precision and flexibility in wood engraving projects.
Important Details
When wood engraving, it's crucial to consider a few important details:
- Ventilation: Ensure that the engraving area is well-ventilated to remove any fumes that may be produced during the process.
- Safety gear: Wear protective goggles and gloves to protect yourself from potential hazards.
- Cleaning: After completing the engraving, clean the wood piece thoroughly to remove any debris or residue.
Takeaways
Wood engraving with a laser engraver offers many benefits:
- Precision and accuracy: Laser engraving provides intricate details and precise results.
- Versatility: Laser engraving can be used to engrave various designs, including text, graphics, and photographs.
- Efficiency: Compared to traditional wood engraving methods, laser engraving is faster and more efficient.

Conclusion
Laser engraving on wood is one of the most effective ways to create personalized and professional-quality wooden products. With the Monport 100W CO₂ Laser Engraver & Cutter, you can achieve precise and beautiful results in every laser engraving on wood project.
By following the steps above, you can confidently start your journey in laser engraving on wood, unlock your creativity, and produce stunning wooden designs.
Read More: Wood Laser Engraving Tips and Tricks for Beginners


