Introduction
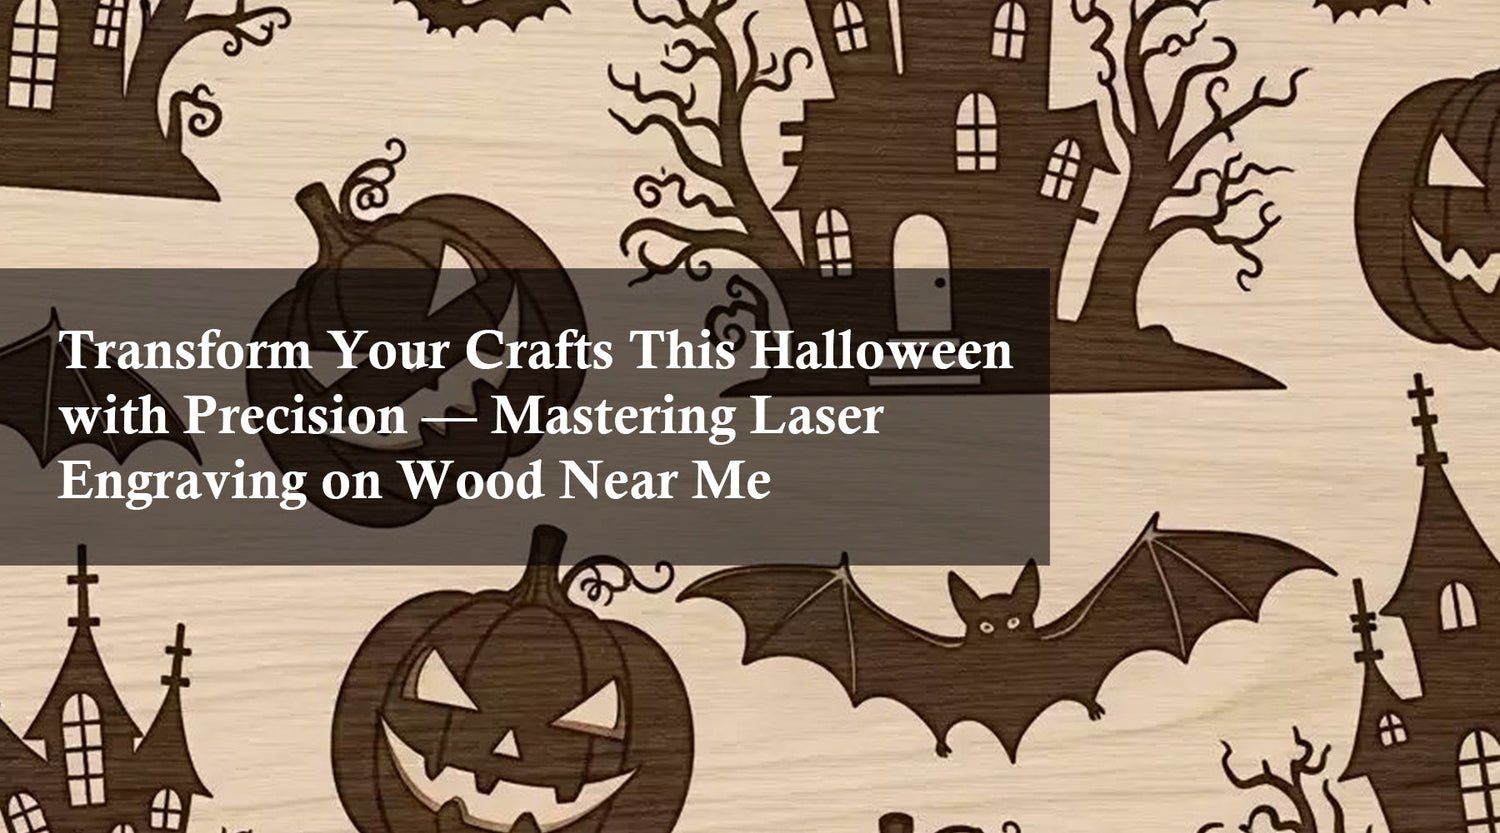
Wood engraving is a beautiful and artistic way to personalize and add unique touches to various wooden items. While traditional methods can be time-consuming and require a high level of skill, laser engraving provides a faster and more precise alternative. In this article, we will walk you through the process of laser engraving wood using the Monport 80W CO2 Laser Engraver & Cutter with Autofocus and Bracket.
Monport 80W CO2 Laser Engraver & Cutter (28" x 20") with Autofocus and Bracket
Important details about the Monport 80W CO2 Laser Engraver & Cutter
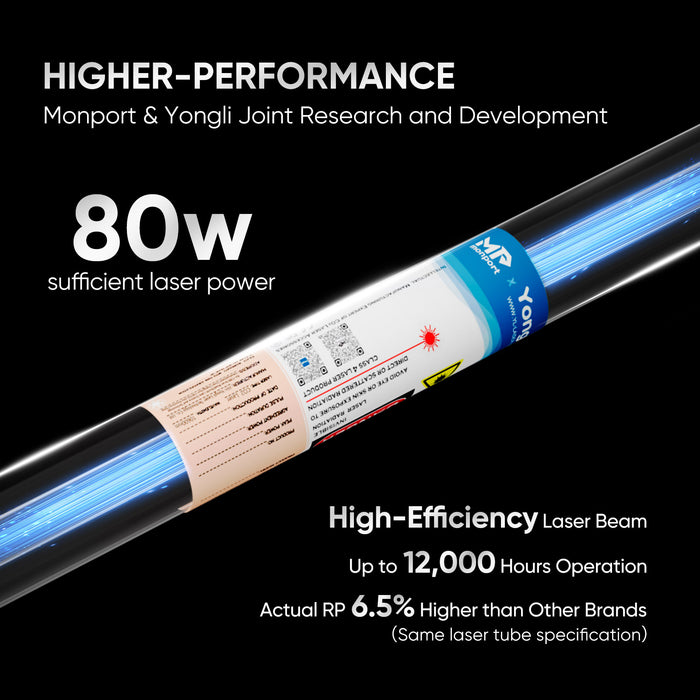
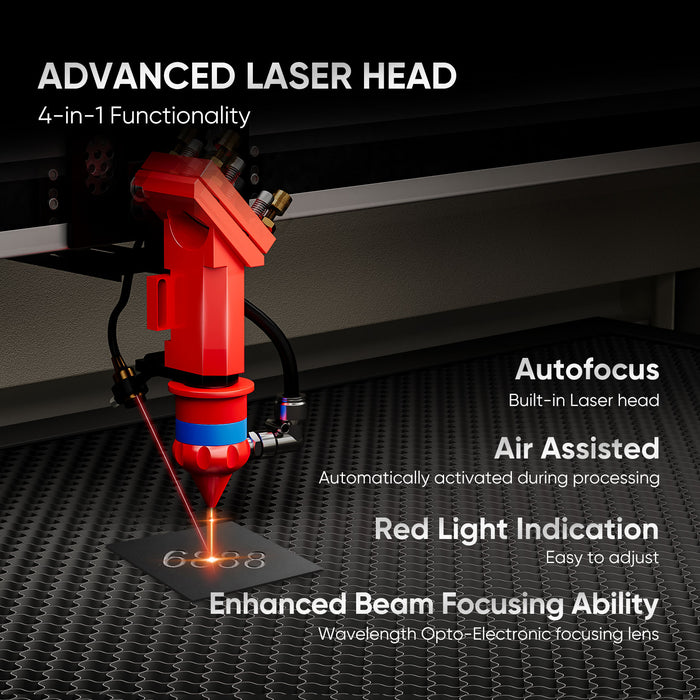
Before we dive into the step-by-step guide, let's briefly discuss the key features of the Monport 80W CO2 Laser Engraver & Cutter. This machine is equipped with an 80W CO2 laser, providing high power and accuracy for engraving on various materials, including wood. It comes with an autofocus feature and a bracket, ensuring that the laser remains focused on the surface, resulting in crisp and precise engravings.
Prepare the wood surface
Before you begin engraving, make sure to prepare the wood surface properly. Start by selecting a piece of wood with a smooth and clean surface. Sand down any rough edges or imperfections on the wood to ensure an even engraving. Additionally, wipe away any dust or debris from the surface using a clean cloth.
Set up the Monport 80W CO2 Laser Engraver & Cutter
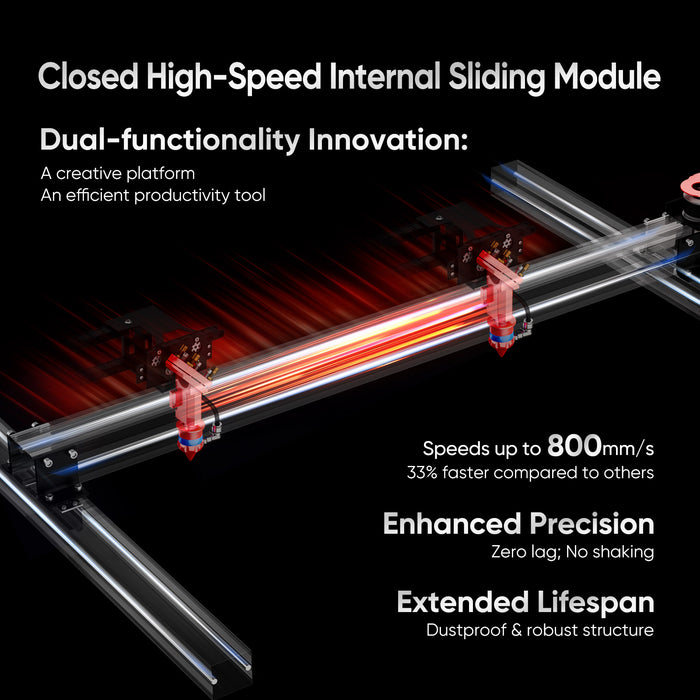
Next, set up the Monport 80W CO2 Laser Engraver & Cutter according to the manufacturer's instructions. Ensure that the machine is properly connected to a power source and that the ventilation system is in place to remove any smoke or fumes generated during the engraving process.

Create your design
Now it's time to create your design. You can use graphic design software such as Adobe Illustrator or CorelDRAW to design your artwork or text. Make sure the design is the right size and format for the laser engraver.
Adjust the laser settings
Before starting the engraving process, adjust the laser settings based on the type of wood you are working with. Different woods require different laser power settings to achieve optimal results. Consult the user manual of the Monport 80W CO2 Laser Engraver & Cutter for recommended settings.

Position and secure the wood
Place the wood piece onto the laser engraver's bed, ensuring that it is properly positioned and secured. Use clamps or tape to hold the wood in place, preventing any movement during the engraving process. This will ensure that the engraving remains accurate and doesn't shift.

Start the engraving process
Once everything is set up, start the engraving process by sending your design to the laser engraver. The autofocus feature of the Monport 80W CO2 Laser Engraver & Cutter will ensure that the laser remains focused on the surface, resulting in precise and detailed engravings.
FAQs
Q: Can I engrave on any type of wood?
A: While laser engraving can be done on various types of wood, some woods yield better results than others. Hardwoods like maple, cherry, and oak provide excellent contrast and detail in engravings. Softer woods like pine may result in less pronounced engravings.
Q: Can I engrave curved surfaces?
A: The Monport 80W CO2 Laser Engraver & Cutter comes with a bracket that allows for engraving on curved surfaces. However, it is important to ensure that the surface is properly secured to avoid any movement during the engraving process.
Important takeaways
- Laser engraving offers a fast and precise way to engrave wood.
- The Monport 80W CO2 Laser Engraver & Cutter provides high power and accuracy for wood engraving.
- Proper preparation of the wood surface is essential for optimal results.
- Adjusting the laser settings based on the type of wood is crucial.
Securely positioning the wood is important to prevent any movement during the engraving process.

Conclusion
Engraving in wood has never been easier with the Monport 80W CO2 Laser Engraver & Cutter. By following these step-by-step instructions and considering the important details, you can create beautiful and personalized engravings on various wooden items. Explore your creativity and enjoy the precision that laser engraving offers.


