

Introduction
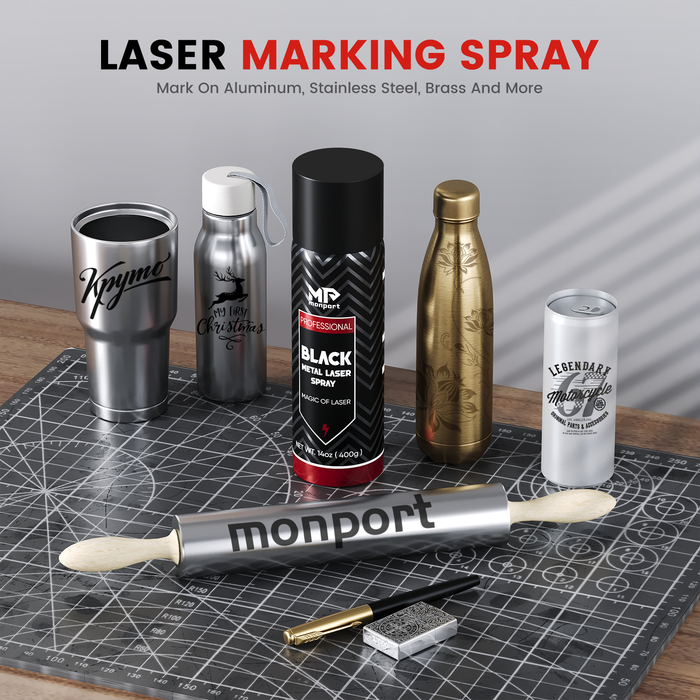
In the realm of personalized keepsakes and custom memorabilia, laser engraved coins stand out as unique and cherished items. Using advanced technology, these coins can be crafted with precision and detail that traditional methods cannot match, especially when enhanced with black laser marking spray for high-contrast designs. If you're wondering how to use a laser engraver to create these masterpieces, this guide will take you through the process step-by-step. We'll specifically look at using the Monport GPro 60W Split MOPA Fiber Laser Engraver & Marking Machine which offers incredible precision and versatility.

Monport GPro 60W Split MOPA Fiber Laser Engraver & Marking Machine With Manual Focus - Machine

Want to start engraving like a pro? Get 10% off with code BESTMP10 at checkout – Click here to shop!
Read More : The Perfect TEXITcoin Collector’s Item: Laser Engraved TXC Coins and Tokens
Understanding Laser Engraving
Laser engraving is a method that uses laser beams to etch designs onto various surfaces. For coins, it involves directing a high-powered fiber laser to meticulously carve out intricate patterns, text, or images onto metal blanks. This method ensures durability and a high level of detail, making it ideal to laser engrave coins, especially when paired with black laser marking spray for enhanced contrast and precision.

Getting Started with the Monport GPro 60W Split MOPA Fiber Laser Engraver
Before diving into the engraving process, it’s crucial to understand the components and features of your Monport GPro 60W Split MOPA Fiber Laser Engraver.
Key Features
- 60W MOPA Fiber Laser: Allows for deep engraving and a variety of marking techniques.
- Manual Focus: Enables precise control over the engraving depth.
- Split Design: Offers flexibility in working with different materials and sizes.
Preparing Your Work Area
To ensure safety and optimal results, prepare your work area by following these steps:
- Ensure Proper Ventilation: Laser engraving can produce fumes; a well-ventilated area is essential.
- Safety Gear: Always wear safety goggles and gloves.
-
Stable Surface: Set up your engraver on a stable, flat surface to avoid any movement during the process. For best results, consider using black laser marking spray when you laser engrave coins to enhance contrast and detail.

Setting Up Your Laser Engraver
Step-by-Step Setup
- Unboxing and Assembly: Carefully unbox the machine and follow the assembly instructions in the manual.
- Connecting the Power: Ensure all connections are secure before powering up the engraver.
- Software Installation: Install the necessary software on your computer, typically provided with the machine.
- Manual Focus Adjustment: Adjust the focus manually to ensure the fiber laser is correctly aligned with the coin's surface.
Designing Your Coin
Before engraving, you need a design. This can be done using graphic design software like Adobe Illustrator or CorelDRAW.
Design Tips
- High Contrast Images: Use high-contrast black and white images for the best results.
- Vector Graphics: These are preferred as they can be scaled without losing quality.
-
Test Runs: Always do a test run on a similar material to ensure your design translates well when you laser engrave coins.

Engraving Your Coin
With your design ready, it’s time to engrave your coin. Here’s a detailed process:
Engraving Process
- Place the Coin: Secure the coin blank on the engraver bed.
- Import the Design: Load your design file into the laser engraving software.
- Adjust Settings: Set the appropriate laser parameters (speed, power, frequency) based on your material.
- Run a Test Engraving: Perform a test on a sample to fine-t-tune the settings.
- Engrave: Once satisfied, start the engraving process on the actual coin.

Post-Engraving Process
After the engraving is complete, follow these steps to finish your coin:
- Cleaning: Remove any residue using a soft brush or cloth.
- Polishing: If necessary, polish the coin to enhance its appearance.
- Quality Check: Inspect the coin for any imperfections and re-engrave if necessary.
FAQs About Laser Engraved Coins
Q1: What makes laser engraved coins better than traditional methods?
A: Laser engraved coins offer superior detail, durability, and customization with no physical contact or wear on the material.
Q2: Can I use other metal types besides aluminum or stainless steel?
A: Yes! The Monport GPro 60W handles brass, titanium, and more with excellent results.
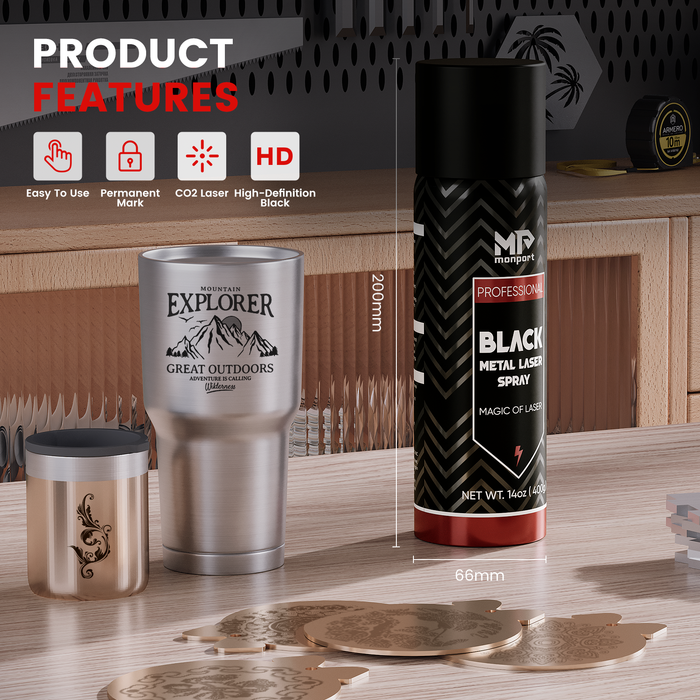
Q3: How does black laser marking spray enhance coin engraving?
A: It creates a bold, high-contrast look by darkening the engraved area, making the design pop.
Q4: Is this engraver beginner-friendly?
A: Absolutely. With manual focus and intuitive software, the Monport GPro 60W is great for both hobbyists and professionals.
Q5: Do I need to buy extra accessories for coin engraving?
A: At minimum, use black laser marking spray for best contrast and have a coin jig or holder to keep your work stable.
Important Details
- Safety First: Always prioritize safety by wearing protective gear and ensuring proper ventilation.
- Software Compatibility: Ensure your design software is compatible with the engraver's software.
- Maintenance: Regularly clean and maintain your laser engraver for consistent performance.
Key Takeaways
- Precision and Detail: Laser engraving offers unmatched precision for creating detailed coin designs.
-
Preparation is Crucial: Proper setup and safety measures are essential to successfully laser engrave coins.
- Versatility: The Monport GPro 60W Split MOPA Fiber Laser Engraver can handle various materials and designs.

Conclusion
Creating custom keepsakes is easier when you laser engrave coins using a machine like the Monport GPro 60W Split MOPA Fiber Laser Engraver. By following the steps outlined in this guide, you can craft stunning, personalized coins that are perfect for commemorative events, gifts, or collectibles. Whether you’re a hobbyist or a professional, mastering this technique will open up a world of creative possibilities. For enhanced results, consider using black laser marking spray to bring out the details and improve the contrast on the engraved designs.
Ready to start your engraving journey? Use code BESTMP10 at checkout for 10% off – Click here to grab your machine now!


