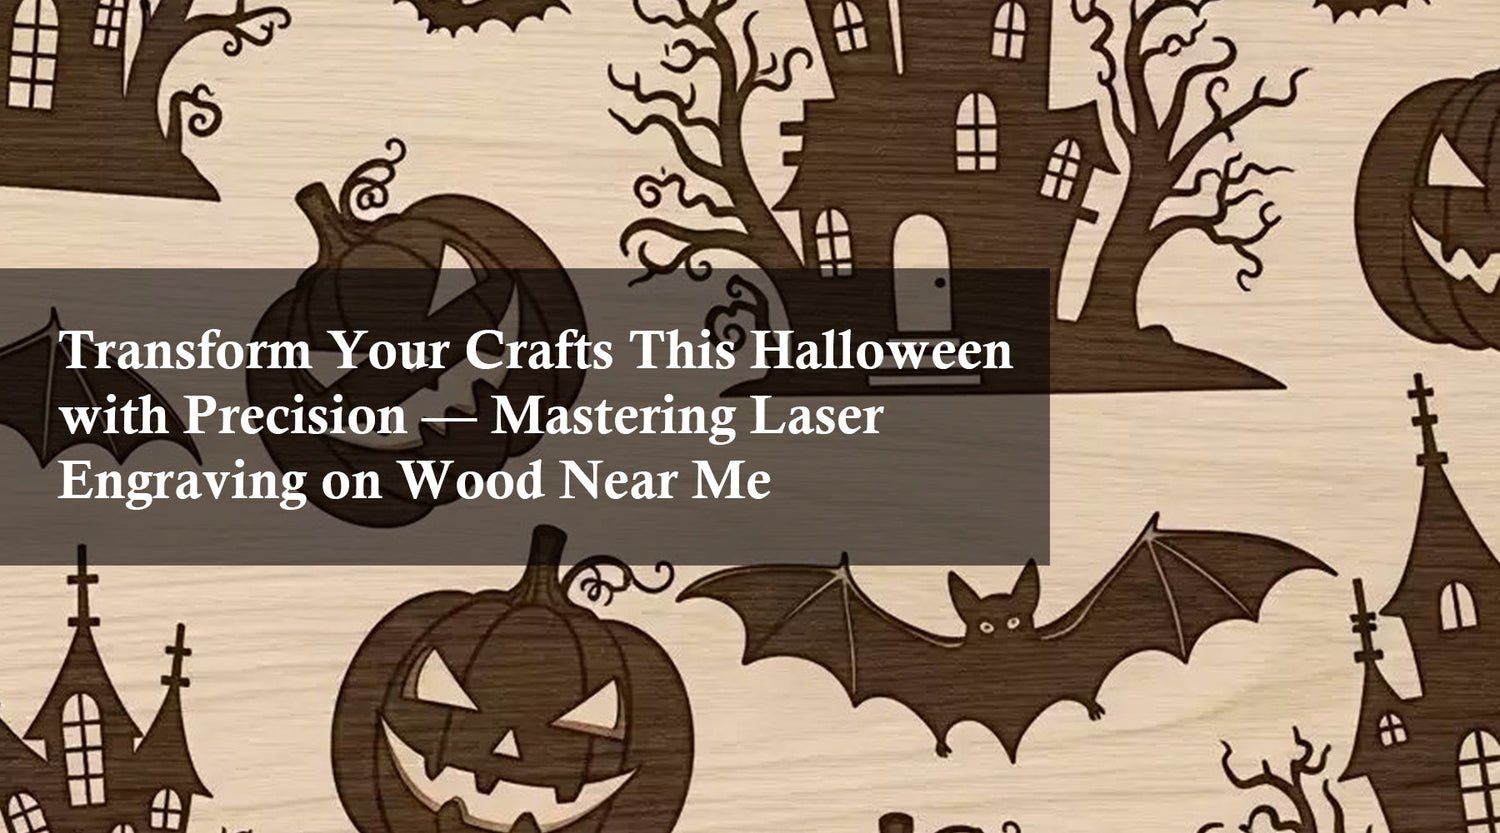
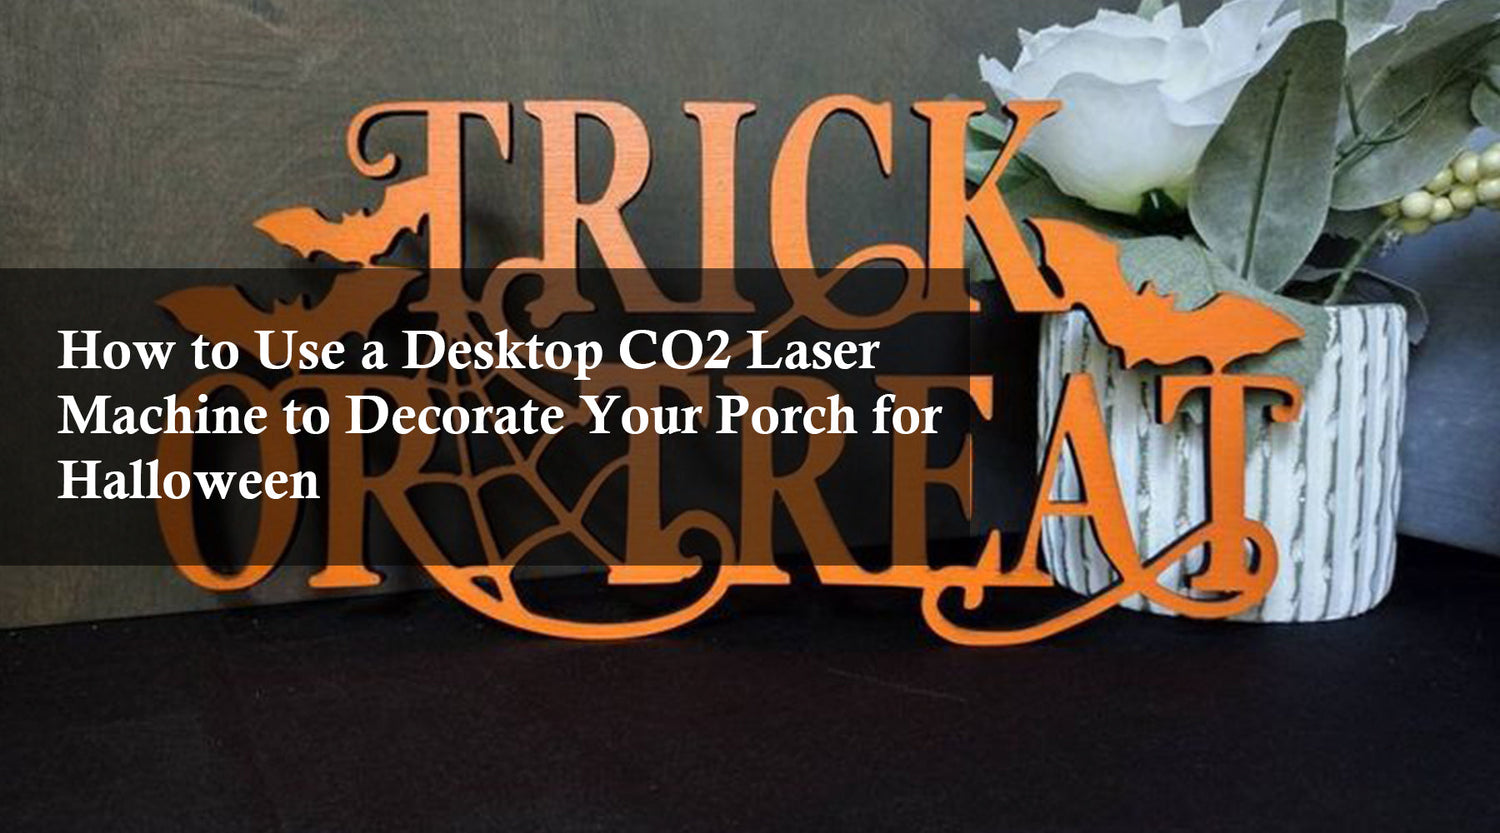
The holiday season is a time for creativity, warmth, and personal touches. Whether you're decorating your home or preparing unique gifts, there's one tool that can elevate your decorations to a whole new level: a home laser engraver. Specifically, the Monport 90W Built-in Chiller CO2 Laser Engraver & Cutter (36" x 24") can help you design intricate, customized Christmas decor that will make this season even more magical.
In this blog, we’ll walk you through how to use a home laser engraver to create memorable Christmas decor that’s both beautiful and personal. You’ll also find helpful tables, bullet points, and answers to frequently asked questions (FAQs) to make your project easier and more enjoyable.
Getting Started with Your Home Laser Engraver
Before diving into your project, it’s important to get familiar with your home laser engraver. For this guide, we are using the Monport 90W CO2 Laser Engraver with a built-in chiller and a 36" x 24" cutting area. This powerful tool allows you to engrave and cut a variety of materials like wood, acrylic, leather, and more.
Key Features of the Monport 90W CO2 Laser Engraver
| Feature | Description |
|---|---|
| Laser Power | 90W CO2 laser, ideal for both engraving and cutting materials |
| Built-in Chiller | Keeps the laser cool during extended use, improving performance and safety |
| Working Area | 36" x 24" cutting area for large projects |
| Compatibility | Compatible with a range of software like LightBurn and RDWorks |
| Materials Supported | Wood, acrylic, leather, fabric, and more |
Step-by-Step Guide to Making Personalized Christmas Decor
With the right tools and some creativity, you can make a variety of unique Christmas decor items for your home, such as custom ornaments, wooden signs, or festive centerpieces. Let’s get started!
Step 1: Choose Your Design
First, decide what kind of Christmas decor you want to create. Some popular choices include:
- Custom ornaments with names or holiday messages
- Engraved wooden signs with festive quotes
- Personalized Christmas stockings with initials
- Intricate snowflakes or reindeer cutouts for table decorations
Once you have an idea in mind, you can search for or create a design in design software like LightBurn, which is compatible with the Monport 90W CO2 Laser Engraver.
Step 2: Select Your Material
Next, choose the material you want to use. Some options that work well with a home laser engraver include:
- Wood: Ideal for rustic or vintage-style decor.
- Acrylic: Perfect for modern, sleek designs with a glossy finish.
- Leather: Adds a warm, luxurious texture to ornaments or stockings.
Make sure your material is compatible with your Monport 90W laser engraver.
Step 3: Prepare the Design in Your Software
Load your chosen design into your software (e.g., LightBurn). Adjust the size and layout according to your material. Be sure to mirror the design if you’re engraving on the backside of a clear material like acrylic.
Step 4: Set the Laser Parameters
Before engraving or cutting, you’ll need to adjust the settings on your home laser engraver for optimal results. The Monport 90W allows you to customize the laser power, speed, and frequency to match the material you’re working with.
Here’s a general guide:
| Material | Laser Power | Speed | Frequency |
|---|---|---|---|
| Wood | 60-80% | 30mm/s | 20kHz |
| Acrylic | 50-70% | 20mm/s | 18kHz |
| Leather | 40-60% | 25mm/s | 15kHz |
Always do a test cut to ensure the settings work well with your material.
Step 5: Start Engraving or Cutting
Once everything is set, you can start engraving or cutting your Christmas decor. The Monport 90W CO2 Laser Engraver is powerful and precise, so you can expect detailed and professional-looking results. Just make sure to monitor the process for safety.
Step 6: Assemble and Finish Your Decor
After engraving or cutting, you can add finishing touches like paint, varnish, or glitter to your pieces. Assemble multiple cutouts if needed, and attach ribbons or hooks for ornaments. Voila! Your custom Christmas decor is ready to be displayed or gifted.

FAQs: Common Questions About Using a Home Laser Engraver
1. What materials can I use with the Monport 90W laser engraver?
A. You can use a variety of materials such as wood, acrylic, leather, fabric, and some metals. However, always check the material’s compatibility to avoid damaging the machine or creating harmful fumes.
2. How safe is it to use a laser engraver at home?
A. Laser engravers are generally safe if used correctly. Always follow safety instructions, wear protective glasses, and ensure proper ventilation in your workspace.
3. Can I engrave on glass or metal?
A. Yes, the Monport 90W laser engraver can engrave on certain metals and glass surfaces, but it may require additional preparation, like coating the surface with a marking spray.

Important Tips for Success
- Test your design first: Always do a small test run to make sure your settings are correct.
- Monitor the engraving process: Never leave the laser engraver unattended while it’s running.
- Clean your machine: After each project, clean the lens and check for any debris to keep your engraver in top shape.

Takeaways
Using a home laser engraver like the Monport 90W CO2 Laser Engraver makes it easy to create intricate and personalized Christmas decor. With a little preparation and creativity, you can make ornaments, signs, and other decorations that will make your holiday season extra special.
Conclusion
A home laser engraver is a powerful tool that can transform your Christmas decor projects. Whether you're looking to make custom ornaments, festive signs, or personalized gifts, the Monport 90W Built-in Chiller CO2 Laser Engraver & Cutter (36" x 24") offers the versatility and precision you need to bring your holiday ideas to life.


