Key Factors for Choosing a Rotary Axis for Laser Marking or CO2 Engraving:
- Applicable materials:
-
Determine the type of material you want to process (metal, plastic, wood, glass, stone, etc.), because different materials may require different types of lasers (such as fiber, CO2, or UV laser). Laser rotary attachment can enhance versatility when working with cylindrical objects, and custom laser engraving allows for personalized designs. CO2 laser engraving machines are generally suitable for non-metallic and some plastic materials, while fiber lasers are more suitable for metals.
- Workpiece size and shape:
- Choose a laser engraver rotary axis that can accommodate the maximum diameter of the workpiece you need to process. Pay attention to the load-bearing capacity and working range of the rotary axis to ensure that it can stably support the workpiece and allow the necessary rotational freedom.
- Accuracy and speed requirements:
- Choose a rotary axis with the corresponding accuracy level according to your application requirements. For example, for fine marking or engraving that requires extremely high accuracy, you should choose a rotary axis with high-precision bearings and a stable transmission system.
- Understand the speed range of the rotary axis to ensure that it can meet your production speed requirements.
- Rotary axis type:
- There are many typesoflaser engraver rotary axis to choose, such as two-wheel rotary axis, grabber, automatic fixture changer, etc. Consider which type best suits your workflow and space layout.
- The drive mode of the rotary axis (such as motor drive, belt drive, etc.) will also affect its stability and accuracy, and needs to be selected according to the actual situation.
- Compatibility and integration:
-
Confirm whether the laser rotary attachment is compatible with your existing marking machine or engraving machine control system, including electrical interface and software support. Some rotary axes may require specific control modules or software plug-ins for custom laser engraving.


How to connect and use the rotary axis for laser machine?
- Adjust the position of rotary axis for laser machine:
-
First, determine the correct position of the laser rotary attachment. You can choose to place it directly on the work platform, on the side of the platform, or let the table sink to accommodate the rotary axis. Different layouts will affect the custom laser engraving range and the stability of the machine, so it needs to be determined according to the actual engraving needs and the size of the workpiece.
Make sure that the laser rotary attachment is firmly installed and can withstand the force during the engraving process to avoid shaking at high speed.
- Electrical connection:
- Connect the motor line of the rotary axis to the corresponding driver of the engraving machine control system. Usually, the rotary axis will be connected to the Y-axis driver, but the specific connection method still needs to refer to your engraving machine manual, because different models of machines may vary.
- After connection, you may need to adjust or set the motor parameters of the rotary axis in the control software, including but not limited to the subdivision settings of the stepper motor, to ensure precise control and avoid dimensional deformation.
- Parameter adjustment:
- In the engraving software, you need to configure the correct parameters for the rotary axis, such as rotation direction, speed, and acceleration, so as to calculate the correct engraving path. This step is crucial to ensure engraving accuracy.
- If the engraving machine supports it, you also need to adjust the subdivision jumper of the rotary axis in the control panel or software to optimize the performance of the stepper motor.
- Testing and calibration:
- Before officially starting engraving, perform a dry run test to check whether the rotary axis for laser is smooth and without abnormal noise, and ensure that all connections are tightened correctly.
- Calibrate the engraving path as needed to ensure that the center of the rotary axis is aligned with the center of the engraving design to avoid engraving errors caused by offset.
- Start engraving:
- After completing the above preparations, start the machine according to the engraving machine's instructions and observe the entire engraving process to ensure that everything goes as expected. Please remember to read the engraving machine's user manual in detail before operation and follow the safe operating procedures, especially when handling rotating mechanical parts. If you encounter specific technical difficulties, you can contact us for help.
Monport rotary axis introduction and compatible laser machine models
| rotary axis type | picture |
Applicable models |
|
40w CO2 |
|
 |
40w CO2 |
|
 |
60-150w CO2 |
|
 |
fiber laser |
|
| Three Jaws Rotary Axis |  |
fiber laser |
| mini Rotary Axis Chuck |  |
fiber laser |
 |
60-150w CO2 |
|
 |
60-150w CO2 |
The difference among these rotary axis types
- 2 Wheel Rotary Axis for 40w CO2 Laser:
- Suitable for co2 engraving machine
- Upgraded 2 Wheel Rotary Axis for 40W CO2 Laser Engraver:
- Suitable for co2 engraving machine
- 39mm lower than the old two-wheel rotary axis, increasing the diameter of the engraved object
- Rotary Axis for 60w-150W CO2 Laser Engraver:
- Same function as the old two-wheel rotary axis, only different from suitable laser machine models
- Three Jaws Rotary Axis with a Scale Dial:
- Compared with the mini type, this type has more advantages when engraving heavy objects.
- There is a scale display on the side for easy memory engraving
- Three Jaws Rotary Axis:
- Compared with the mini type, this type has more advantages when engraving heavy objects.
- mini Rotary Axis Chuck:
- Lightweight and small size
- The accessories add claws to make it easier to carve ring-shaped objects, and the carving method is more flexible
- 4-Wheel Lifting Rotary Axis for 60W~150W CO2 Laser:
- A wider range of objects can be engraved, and irregular cylinders can be engraved
- The small wheel can be adjusted up and down with an activity space of 80mm
- The slide rail can be adjusted to a long and short distance with an activity space of 360mm
- No assembly required
- 4-Wheel Rotary Axis for 60W~150W CO2 Laser:
- It is a simplified version of 4-Wheel Lifting Rotary Axis for 60W~150W CO2 Laser, which can be adjusted up and down, left and right.
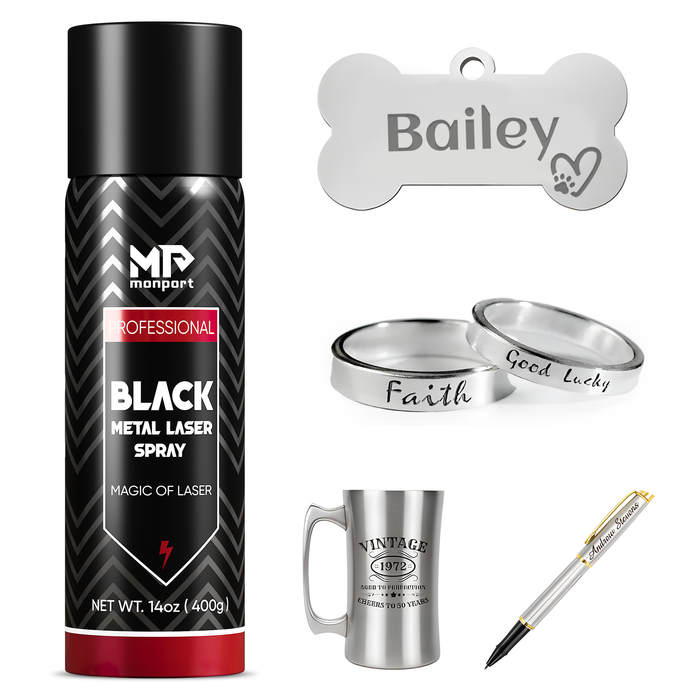
As you navigate the complexities of selecting and integrating a laser rotary attachment into your laser marking or CO2 engraving setup, it's evident that meticulous attention to detail yields rewarding results. By aligning your choices with the unique demands of your materials, workpiece specifications, and precision requirements, you pave the way for seamless operations and impeccable custom laser engraving outcomes. Additionally, using black laser marking spray can enhance the visibility and durability of your engravings, ensuring crisp, clear results. Remember, the journey doesn't end with selection; thorough calibration, testing, and adherence to safety protocols are equally vital steps towards achieving excellence in engraving endeavors. With the right laser rotary attachment in place and a steadfast commitment to craftsmanship, you're poised to etch your mark with precision and finesse in every project.