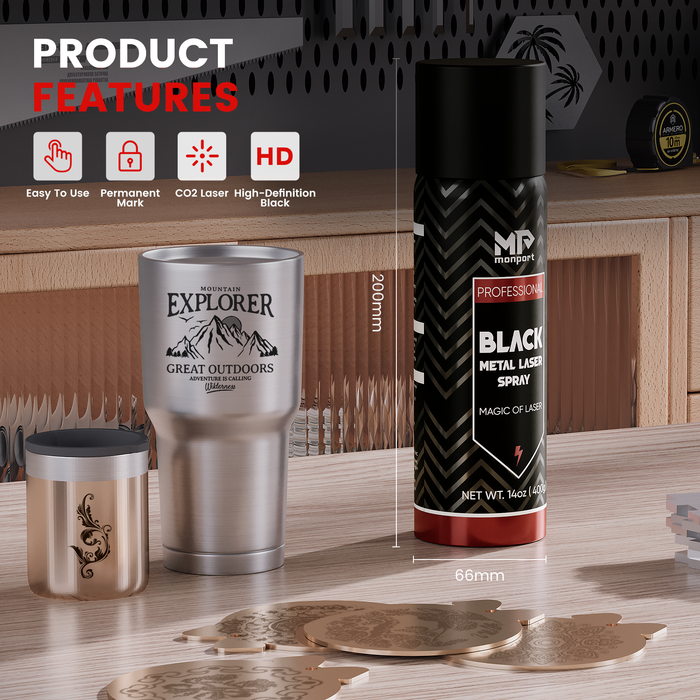
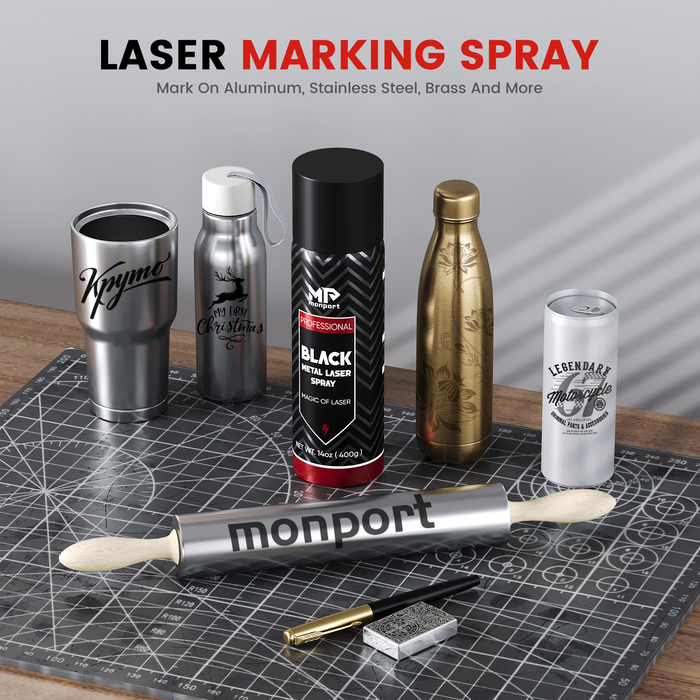
Maintaining the performance of your engrave machine is essential to ensure consistent results and extend the life of your machine. One important maintenance task is to clean the mirrors and lenses, which are an essential part of the engrave machine system. Laser engraver ideas can be greatly enhanced by maintaining a clean workspace. Dust, residue, and other contaminants can affect the quality of engraving, resulting in wasted process material and reduced efficiency. Using black laser marking spray can also help achieve cleaner, more defined results—especially when applied to a properly cleaned surface.
Cleaning laser lenses ensures that these enhancements are not compromised by dirty optics. Regularly cleaning the surface and components of your laser engraving machine ensures optimal performance and more accurate, high-quality results. Below is a step-by-step guide on how to properly clean the mirrors and lenses of your engrave machine.
Read More: How to Clean Fiber Laser Lens?
Why Clean the Mirrors and Lenses?
Over time, the mirrors and lenses in your laser engraver can accumulate dust, dirt, and residue from the materials you are working with. Cleaning laser lenses helps prevent this buildup from affecting your work. This buildup can cause several issues, including reduced laser power, decreased engraving precision, and longer processing times. Regular cleaning and maintenance of these components are essential for preserving the performance of your laser engraver and ensuring consistent, high-quality results—especially when using tools like black laser marking spray for detailed and high-contrast engravings.
- Reduced Laser Power: Contaminants can block or scatter the laser beam, reducing its intensity and impacting engraving or cutting quality in your engrave machine.
- Poor Image Quality: Dirty mirrors and lenses can cause uneven engraving, distortion, or inconsistent results when using your engrave machine.
- Overheating: Accumulated residue can obstruct airflow and cause overheating, potentially damaging the components of your engrave machine.
- Regular cleaning helps maintain optimal performance and prevents these problems.
Regular cleaning laser lenses helps maintain optimal performance and prevents these problems.
How do you clean Co2 Laser Lens and Mirror?
I. Preparations
- Make sure the engraving machine is powered off and has cooled down to avoid electric shock and burns.
- Use anti-static gloves to prevent static electricity from damaging the lens.
II.Prepare cleaning tools
- Pure water or special lens cleaning solution.
- Lint-free cloth or lens cleaning paper.
- Air blowing ball (for blowing away dust).
- Tweezers (for operating the lens).
- Steps to clean the reflector and focusing lens
III. Remove the lens
- Gently remove the reflector or focusing mirror. Be careful not to use too much force to avoid damage to the lens or adjustment device.
- Use fingers or tweezers to fix the edge of the lens, do not touch the surface of the lens.

IV. Preliminary cleaning
- Use an air blowing ball to gently blow off the dust and particles on the surface of the lens.
- Do not use your hands or cloth to wipe directly, so as not to scratch the lens.
V. Cleaning the lenses
- Use a dust-free cotton swab or lens cleaning paper dipped in a small amount of anhydrous ethanol or special lens cleaning solution, gently wipe the surface of the lens.
- Use a spiral way of wiping from the center to the outside to avoid leaving residues of cleaning solution.
- If there are stubborn stains on the lens, you can soak the lens in anhydrous ethanol for 1 hour, and then wipe repeatedly until the stains are removed.

VI. Dry the lenses
- Use a clean dust-free cotton swab or lens cleaning paper to gently dry the surface of the lens.
- Ensure that the lenses are completely dry to avoid water stains or cleaning fluid residue.
VII. Installing the lenses
- Carefully reinstall the dry lens into the engraving machine to ensure that the lens position is accurate.
- During the installation process, avoid touching the surface of the lens with your hands to keep the lens clean.

Precautions
- Avoid using chemical cleaners: Do not use alcohol or other chemical cleaners with low purity to avoid corrosion on the surface of the lens.
- Regular cleaning: It is recommended to clean the lens regularly according to the frequency of use to avoid the accumulation of dust or stains affecting the engraving effect.
- Gentle operation: The cleaning process should be operated gently to avoid excessive force causing damage to the lens.
These rules are essential when cleaning laser lenses to ensure the optics remain scratch-free and effective.
Regular maintenance of your CO2 laser engraver's mirrors and lenses is crucial for preserving the quality and efficiency of your engraver. By following these cleaning steps, you ensure that your machine operates at peak performance, reducing the risk of laser power loss, image distortion, and overheating issues. Consistent cleaning laser lenses not only extends the lifespan of your equipment but also helps you achieve the best results in your engraving projects. Remember to handle all components with care and use the appropriate cleaning tools and solutions—especially when working with black laser marking spray—to maintain the optimal functionality of your laser engraver.


