CO2 laser cutter is used in a variety of industries, including the manufacturing and medical fields. They're also used by hobbyists for a wide range of laser machinery projects and applications.
In order to use your CO2 laser engraving safely and effectively, it's important that you know how to restore factory settings if something goes wrong with your laser machinery equipment. This article will explain why factory laser settings are important and provide instructions on how to restore them if needed for your CO2 laser machine.
Why factory settings are important for laser machinery?

-
Calibration: A CO2 laser cutter requires precise calibration to ensure optimal output power and beam quality. Restoring factory laser settings can help maintain proper CO2 laser settings, essential for accurate cuts and engravings across materials.
-
Safety: Improper CO2 laser settings can lead to safety risks. Restoring factory defaults ensures the laser operates within safe parameters.
-
Compatibility: If your CO2 laser is used alongside other machinery or software, resetting to factory laser settings can ensure it remains compatible and functions correctly.
-
Troubleshooting: Many problems stem from incorrect configurations. Restoring factory CO2 laser settings can help isolate the issue by starting from a known baseline.
-
Warranty: Before service or support is approved, manufacturers often require resetting the CO2 laser machine to original co2 laser settings.
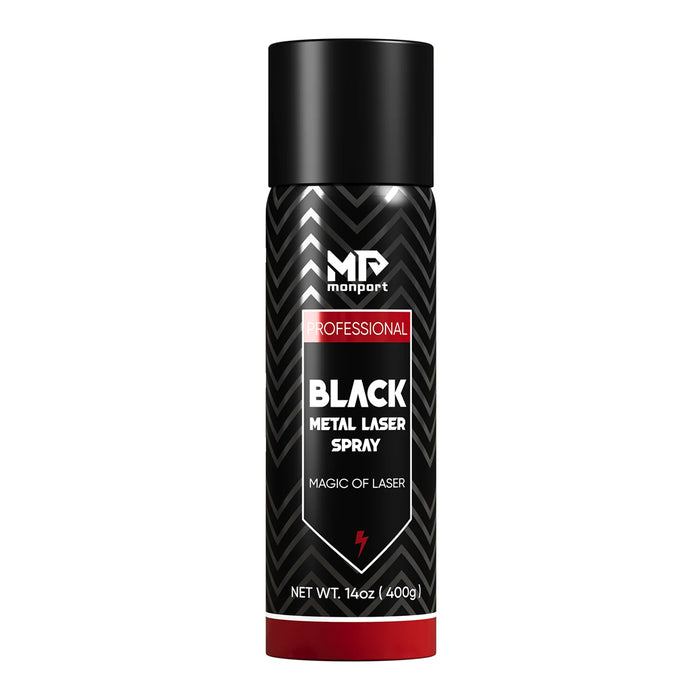
Achieve Precision and Durability with Monport Black Laser Marking Spray

Monport black laser marking spray is the ultimate solution for achieving high-contrast, permanent black markings on metals like aluminum, stainless steel, and brass. Specifically designed for CO2 laser engraving machines of 25 watts and above, this black laser marking spray ensures deep penetration and long-lasting results. Its advanced anti-clog nozzle provides an even and smooth application, making it easy to achieve consistent, high-quality engravings. The quick-dry formula allows the black laser marking spray to dry in just five minutes, ensuring an efficient workflow. Once engraving is complete, simply rinse off the excess black laser marking spray to reveal sharp, crisp markings with no residue. Whether for customizing jewelry, personalizing glassware, or marking industrial tools, Monport black laser marking spray guarantees exceptional performance and durability.
ReadMore : How to Restore Factory Settings for Your CO2 Laser
Guide for restoring the factory settings
To restore the factory laser settings for your Monport CO2 laser machine, you can follow these steps:
Turn off the laser: Before making any changes, turn off the Monport CO2 laser and unplug it from the power source to prevent any electrical accidents.
Locate the control panel: The control panel is where you can access the settings for your laser. For the Monport CO2 laser, the control panel is typically located on the top of the machine.
Enter the password: To access the reset feature, you will need to enter a password. The default password for the Monport CO2 laser is usually "8888". Enter this password using the numerical keypad on the control panel.
Select "System Setup": After entering the password, you should see a menu on the control panel. Select "System Setup" from the menu using the arrow buttons.
Select "Factory Reset": Within the "System Setup" menu, look for the option to perform a factory reset. This option may be labeled "Factory Reset" or "Default Settings". Select this option using the arrow buttons.
Confirm the reset: After selecting "Factory Reset", the control panel should display a message asking you to confirm the reset. Select "Yes" to confirm and restore the factory laser settings of your CO2 laser machine.
Wait for the reset to complete: The Monport CO2 laser will take a few moments to reset to the factory settings. Do not turn off or unplug the machine during this time.
Test the laser: Once the reset is complete, test the laser to ensure that it is functioning properly. Start with low power settings and gradually increase to the desired power level.
FAQs
Conclusion
If you encounter any CO2 laser machine issues during the restoration process, consult the user manual for troubleshooting tips or contact Monport’s technical support. Fine-tuning your co2 laser settings can make all the difference in precision and project success.
Unlock Big Savings at Monport Laser! Use code BESTMP10 at checkout for an exclusive discount – Click here to shop now!


