Introduction
Desktop laser engravers have revolutionized the world of crafting and fabrication, offering precision cutting capabilities for a wide range of materials, including acrylic. Whether you're a hobbyist, DIY enthusiast, or professional maker, learning how to laser cut acrylic with a desktop laser engraver opens up a world of creative possibilities. In this step-by-step guide, we'll walk you through the process of laser cutting acrylic with ease and precision using a desktop laser engraver.

Unlock Big Savings at Monport Laser! Use code BESTMP10 at checkout for an exclusive discount – Click here to shop now!
Step 1: Prepare Your Workspace
Before you begin, ensure you have a well-ventilated workspace with adequate ventilation to disperse any fumes generated during the laser to cut acrylic process. Clear your work area of any clutter and ensure there are no flammable materials nearby. Additionally, make sure your desktop laser engraver is properly set up and calibrated according to the manufacturer's instructions.
Step 2: Choose the Right Acrylic
Select the appropriate acrylic sheet for your project. Acrylic comes in various thicknesses and colors, so choose the one that best suits your needs. Thicker acrylic sheets may require multiple passes to achieve effective laser cutting acrylic, while thinner sheets may require fewer passes. Choosing the right material ensures smooth edges and professional results.
Step 3: Prepare Your Design
Create or import your design into the software that controls your desktop laser engraver. Make sure your design is properly scaled and positioned on the acrylic sheet. You can use vector-based design software like Adobe Illustrator or CorelDRAW to create your designs, or download pre-made designs from online repositories. Proper planning ensures smooth laser cutting acrylic results.
Step 4: Set Your Laser Parameters
Adjust the laser settings based on the thickness and type of acrylic you're using. This includes setting the power, speed, and frequency of the laser. For laser to cut acrylic, you'll typically want to use higher power and lower speed settings to ensure clean cuts without melting or charring the edges.
Step 5: Secure the Acrylic Sheet
Place the acrylic sheet onto the bed of your desktop laser engraver and secure it in place using clamps or other mechanisms. Make sure the acrylic sheet is flat and level to ensure accurate laser cutting acrylic.
Step 6: Test the Laser Settings
Before cutting your final design, perform a test cut on a small piece of scrap acrylic to ensure the laser settings are optimized for clean and precise laser to cut acrylic. Make any necessary adjustments to the laser parameters based on the results of the test cut.
Step 7: Start the Cutting Process
Once you're satisfied with the laser settings, start the laser cutting acrylic process by initiating the engraving job on your desktop laser engraver. Monitor the cutting progress closely to ensure the acrylic is being cut cleanly and accurately. Depending on the thickness of the acrylic and the complexity of your design, the process may take several passes.
Step 8: Remove the Cut Acrylic
Once the laser cutting acrylic process is complete, carefully remove the cut acrylic from the laser engraver bed. Use caution when handling the acrylic, as the edges may be sharp. Inspect the cut edges for smoothness and cleanliness.
Step 9: Clean Up and Finishing
After laser to cut acrylic, you may need to clean up any residue or debris left on the acrylic surface. You can use a soft cloth or compressed air to remove any excess material. If desired, you can also polish the edges of the acrylic using a flame or a special acrylic polishing compound to achieve a smooth, glossy finish.
Step 10: Enjoy Your Finished Product
Congratulations! You've successfully completed laser cutting acrylic using a desktop laser engraver. Whether you're creating signage, jewelry, or custom parts, your finished product is sure to impress. Now, let your creativity soar and explore the endless possibilities of laser to cut acrylic in your future projects.
Monport 40W CO2 Desktop Laser Engraver: The Ultimate Acrylic Cutting Companion
Unlock Big Savings at Monport Laser! Use code BESTMP10 at checkout for an exclusive discount – Click here to shop now!
In the realm of precision crafting and artistic endeavors, Monport's 40W CO2 Desktop Laser Engraver reigns supreme as the pinnacle of excellence. Renowned for its exceptional speed, precision, and versatility, the Monport 40W CO2 Desktop Laser Engraver stands as the unrivaled choice for acrylic cutting enthusiasts. Let's delve into the extraordinary features that set this machine apart and make it the ultimate desktop laser cutter for acrylic.
Exceptional Speed and Precision
Experience the power of high-speed engraving with the Monport 40W CO2 Desktop Laser Engraver. Capable of reaching speeds up to 350mm/s, this machine delivers swift and precise cuts with impeccable accuracy. With an engraving accuracy of 0.01 inches, it ensures that every detail of your design is executed flawlessly on acrylic, wood, glass, or leather. Perfect for those who want professional-quality laser cutting acrylic results at home or in a studio.
Lightburn Compatibility
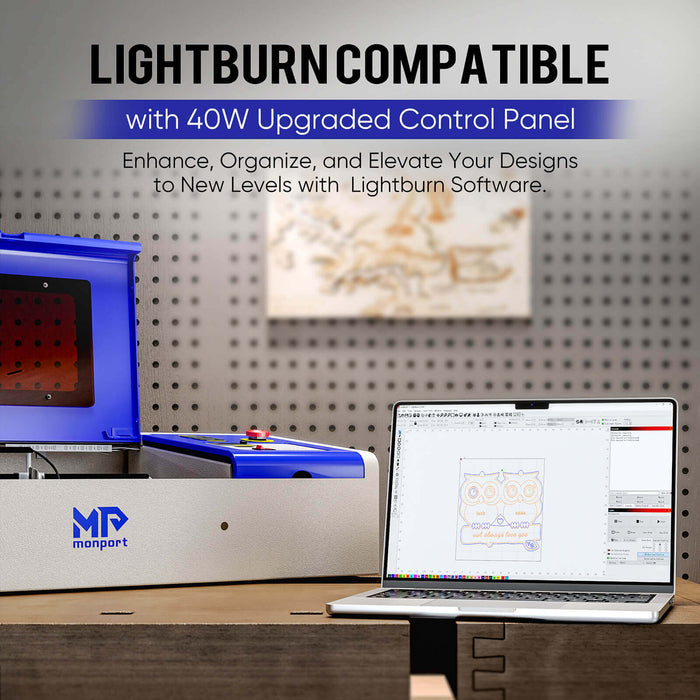
Unlock limitless design possibilities with Lightburn compatibility. Equipped with an upgraded control board, the Monport 40W CO2 Desktop Laser Engraver seamlessly integrates with Lightburn – the industry-leading software renowned for its versatility and user-friendly interface. With Lightburn, you can achieve the perfect laser to cut acrylic designs with precision.
Built-in Air Assist
Enhance engraving precision and clarity with the built-in air assist feature. By reducing carbonization effects when engraving on wood and acrylic, the Monport 40W CO2 Desktop Laser Engraver ensures that your final artwork is crisp and clean, devoid of any imperfections.
Machine Component Upgrade
The Monport 40W CO2 Desktop Laser Engraver boasts a suite of enhanced features designed to elevate your engraving experience:
-
19mm Adjustable Laser Head
-
Professional-Grade Metal Rails
-
Top-tier Mirror Holder
Every component is meticulously crafted to deliver unparalleled performance and durability, ensuring that laser cutting acrylic is smooth and accurate every time.
Red Dot Guidance
Achieve pinpoint precision with the Red Dot Guidance feature. Mounted on the laser head, the red dot illustrates the laser's path, allowing you to align your cuts and engravings with utmost accuracy. Perfect for precise laser to cut acrylic applications.
Innovative Dual Work Bed
Versatility meets convenience with the Monport 40W CO2 Desktop Laser Engraver's innovative dual work bed:
-
Stabilizer clamp for irregularly shaped objects
-
Vented level board for regular shapes
This feature expands your creative possibilities and simplifies every laser cutting acrylic project.
Built-in Ventilation
Create a safe and comfortable work environment with the integrated ventilation system. The built-in fan boosts laser performance, improves ventilation, and reduces noise levels, ensuring a seamless and enjoyable engraving experience.
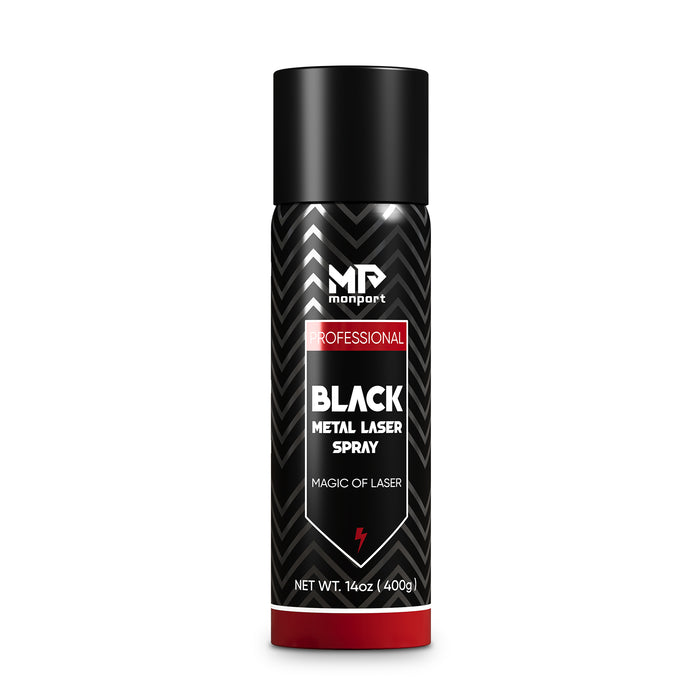
Effortless Laser Marking with Monport Black Laser Marking Spray
Looking to elevate your laser engraving projects? Monport Black Laser Marking Spray is the solution you’ve been waiting for. This high-performance aerosol spray is designed for use with CO2 laser engraving machines, ensuring easy and precise results with every application. Whether you're personalizing jewelry, customizing glassware, or serializing tools, this spray provides you with high-contrast, permanent marks that stand out.
The Benefits of Using Black Laser Marking Spray
-
Compatible with CO2 Laser Engraving Machines Designed for use with CO2 laser engraving machines of 25 watts and above, Monport Black Laser Marking Spray is the ideal companion for your engraving needs. It transforms your metal surfaces into highly legible, permanent black marks after laser engraving, making it perfect for a wide range of applications from metalwork to custom art pieces.
-
Permanent, High-Contrast Marks When you apply Monport Black Laser Marking Spray, the result is a high-contrast, dark black mark on your metal surface that is permanent and durable. This spray works on various metals, including aluminum, stainless steel, and brass. The fine-grained formula ensures deep penetration into the metal, producing heat-resistant markings that will last for years, even under challenging conditions.
-
Even and Powerful Application With the advanced spray technology in Monport Black Laser Marking Spray, you can achieve a smooth, even application every time. The 14 oz can features an anti-clog nozzle that guarantees no blockages, making the spray process both easy and efficient. The nanoparticle formula delivers more coverage with a thinner coating, which results in a professional-quality finish for all your metal marking projects.
-
Easy to Use and Quick Drying Using Monport Black Laser Marking Spray couldn’t be simpler. Just shake the can for 2 minutes, spray from a distance of 6 to 8 inches, and let the surface dry for 5 minutes. Once it’s dry, you’re ready to engrave, saving you valuable time. After engraving, rinse and wipe away the residue to reveal your crisp, dark black markings without any fuss.
-
Effortless Cleanup and Maintenance After marking your metal pieces, simply rinse and wipe the surface to reveal your high-contrast engraving. The black laser marking spray ensures there is no residue left behind, so your workpieces remain clean and ready for immediate use. The easy cleanup means that you can maintain a smooth and efficient workflow, whether you’re working on a small DIY project or a larger-scale production.
Conclusion
In conclusion, the Monport 40W CO2 Desktop Laser Engraver stands as the epitome of excellence in laser cutting acrylic technology. With exceptional speed, precision, LightBurn compatibility, built-in air assist, machine component upgrades, Red Dot Guidance, innovative dual work bed, and built-in ventilation, it offers unmatched versatility and performance for enthusiasts and professionals alike. Elevate your acrylic cutting endeavors to new heights with the Monport 40W CO2 Desktop Laser Engraver and unleash your creativity with confidence and precision.
Unlock Big Savings at Monport Laser! Use code BESTMP10 at checkout for an exclusive discount – Click here to shop now!


