Finding the perfect gift for your loved ones can be a challenge, especially when you want something unique and personal. DIY crystal engraving is a thoughtful and creative way to show your affection. Whether it's an engraved beer glass or another piece of glassware, the process of engraving glass DIY allows you to create a personalized and memorable gift. Using a Monport 40W CO2 laser cut engraver, you can add intricate designs, names, or special messages to glass, making your present truly one-of-a-kind. In this article, we'll guide you through the steps of color laser engraving, ensuring your project is a success.
Understanding the Monport 40W CO2 Laser Engraver
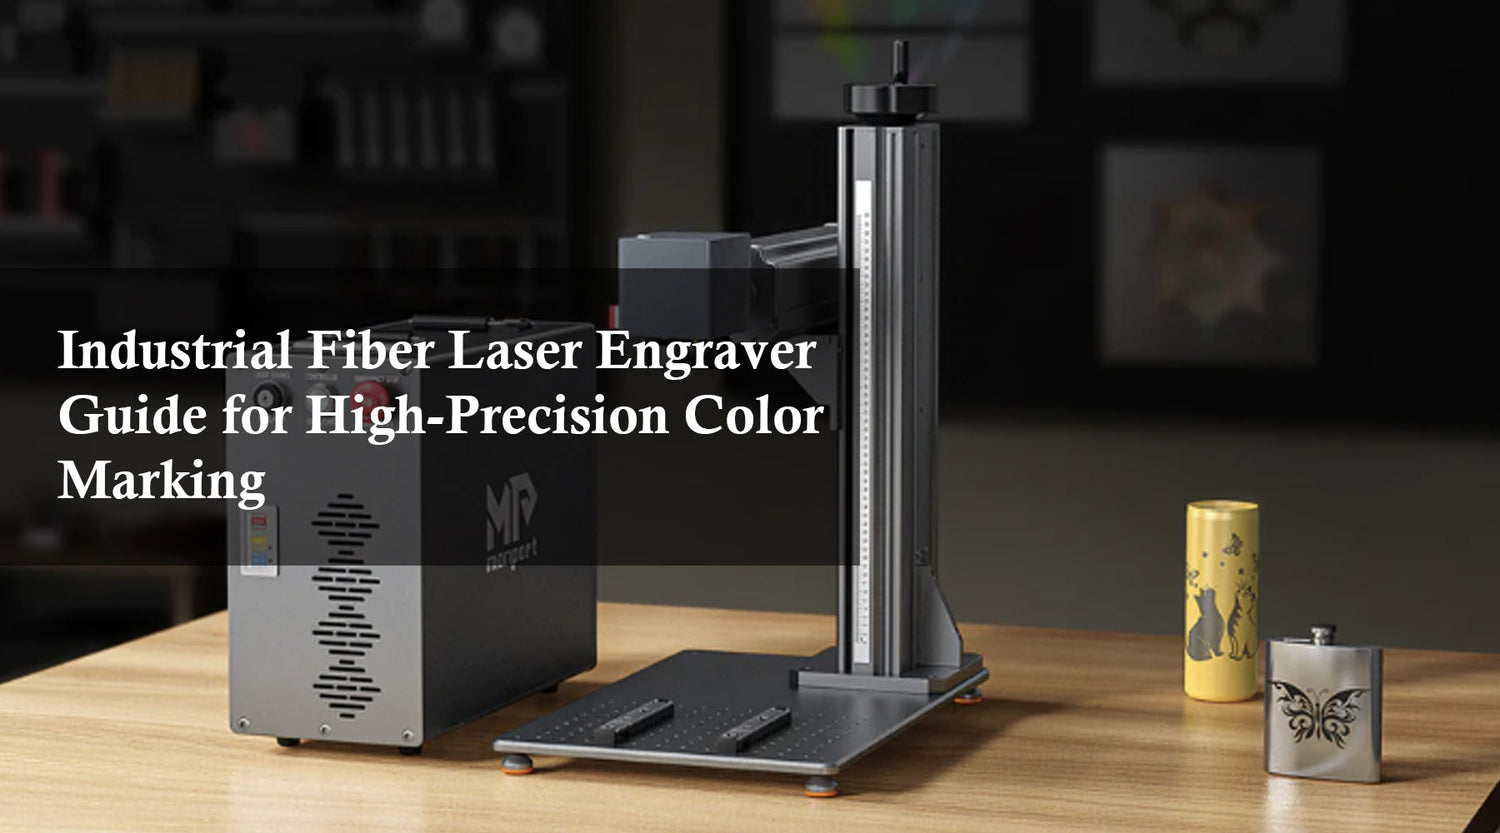
The Monport 40W CO2 laser cut engraver is a versatile and powerful tool perfect for engraving glass DIY projects. It uses a laser beam to precisely etch designs onto various surfaces, including glass, allowing for detailed and intricate patterns. With the ability to adjust settings like power, speed, and resolution, this engraver is ideal for both beginners and experienced crafters.
Setting Up Your Monport 40W CO2 Laser Engraver
Monport 40W Pro Lightburn-Supported (12" X 8") CO2 Laser Engraver & Cutter with Air Assist - 40W Pro
Before starting your engraving project, proper setup of your Monport 40W CO2 laser engraver is crucial. Follow these steps to ensure everything is ready for your DIY project:
-
Workspace Preparation: Choose a clean, well-ventilated workspace to avoid inhaling any fumes. Make sure the engraver is placed on a stable, flat surface.
-
Software Installation: Install the necessary software provided with the Monport 40W CO2 laser engraver. This software will allow you to create and upload your designs to the engraver.
-
Material Preparation: Clean the glass surface thoroughly to remove any dust or oils that could interfere with the engraving process.
-
Safety First: Always wear safety glasses and follow the manufacturer’s safety guidelines to protect yourself from laser exposure.
Engraving Process with the Monport 40W CO2 Laser Engraver
Step 1: Designing Your Artwork
Creating a design for your engraved beer glass or any glass piece is the first step. You can use graphic design software or the software provided with your engraver. Consider the size and shape of the glass when designing, ensuring your artwork fits well on the surface.
Step 2: Setting Parameters
Adjusting the laser settings is crucial for achieving the best results in your engraving glass DIY project. Here are some key settings to consider:
- Power: Adjust the power based on the thickness and type of glass. Lower power settings are usually sufficient for glass to prevent cracking.
- Speed: Set the speed according to the complexity of your design. Slower speeds allow for more detailed engravings.
- Resolution: Higher resolution settings provide more detail but may take longer to engrave.
Step 3: Engraving
Once your design is ready and parameters are set, place the glass in the engraver. Use a rotary attachment if your glass is cylindrical, such as an engraved beer glass, to ensure even engraving. Double-check the alignment and start the engraving process. Monitor the progress to ensure everything is going smoothly and make adjustments if necessary.
Step 4: Post-Engraving Finishing
After the engraving is complete, carefully remove the glass from the laser cut engraver. Clean the engraved area with a mild glass cleaner to remove any residue. If you wish to add color to your engraving, use glass paint or fill the engraved areas with colored resin for a vibrant finish.
Creating a Memorable Gift: Ideas and Inspiration

When it comes to DIY gifts for your loved ones, there are countless possibilities with glass engraving. Here are a few ideas to inspire you:
- Wine Glass Set: Create a matching set of wine glasses with personalized designs or messages.
- Glass Picture Frame: Engrave a meaningful design around the edges of a glass picture frame.
- Jewelry Box: Personalize a glass jewelry box with intricate patterns or her initials.
Key Takeaways
- Versatility of the Monport 40W CO2 Laser Engraver: This tool allows for precise and intricate engravings on various glass surfaces.
- Importance of Proper Setup: Ensuring your workspace and materials are prepared correctly is crucial for a successful project.
- Adjustable Settings: Fine-tuning power, speed, and resolution settings is essential for achieving detailed and high-quality engravings.
- Creative Gift Ideas: Personalized glass items make thoughtful and memorable gifts for your loved ones, showcasing your creativity and effort.
Conclusion
Engraving glass DIY projects using the Monport 40W CO2 laser cut engraver offers a unique and personal touch to gift-giving. Whether it's an engraved beer glass or another piece of glassware, the ability to create custom designs ensures your gift will be cherished and remembered. By following the steps outlined in this article, you can successfully create a beautiful and meaningful present that reflects your love and creativity. So, why not start your next DIY project today and make a crystal clear connection with a personalized engraved gift?


