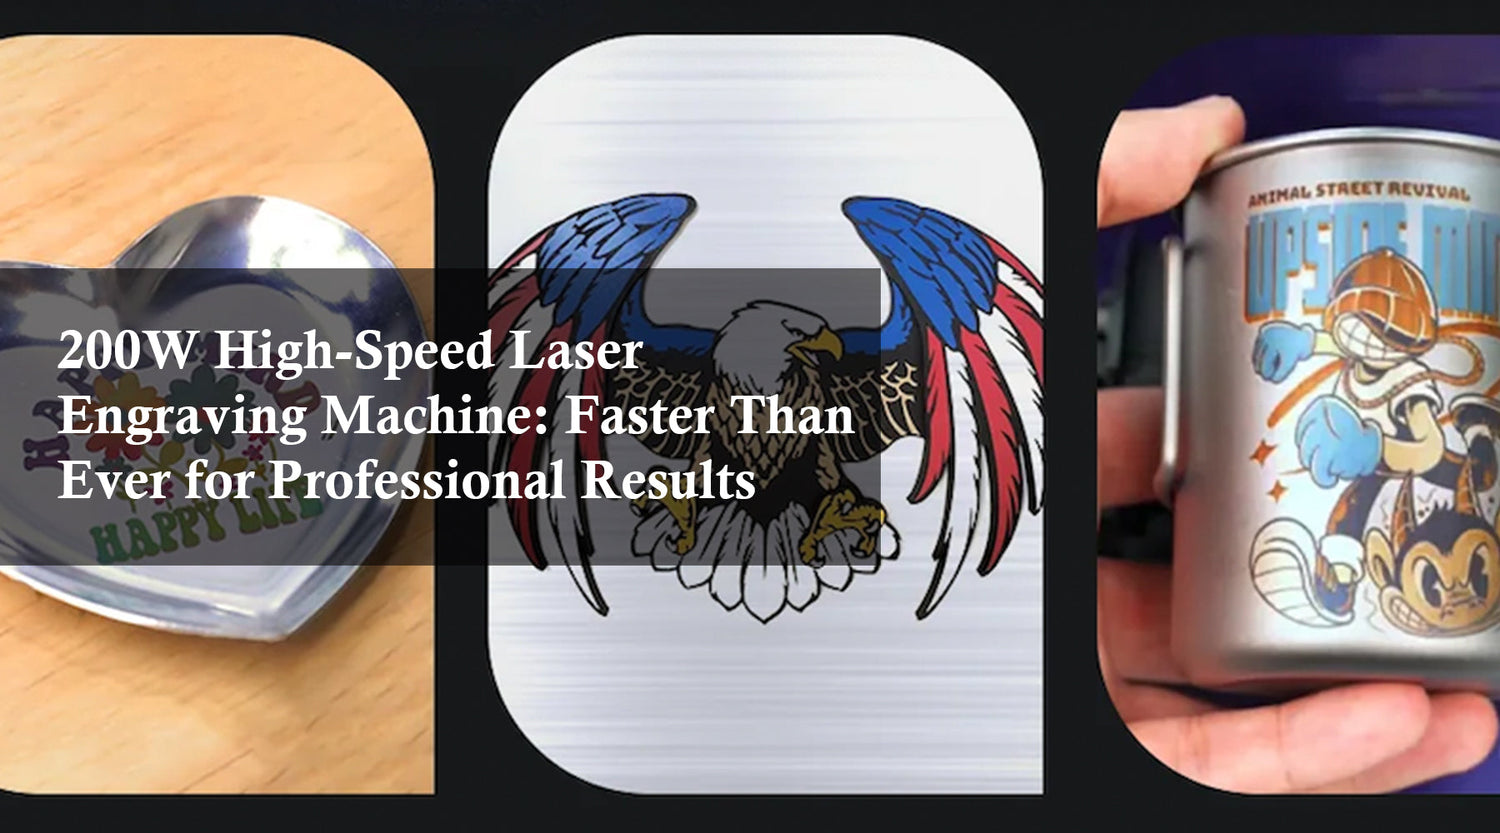
Welcome to the realm of creativity and precision a world where artistry and technology converge seamlessly. In this comprehensive guide, we'll unravel the mysteries of transforming ordinary clear acrylic into extraordinary works of art through the process of laser engraving. Whether you're a seasoned artisan looking to enhance your skills or a curious beginner eager to explore new possibilities, this tutorial is tailored just for you. Join us on this illuminating journey as we delve into the intricacies of how to laser engrave acrylic, unlocking the full potential of this versatile material. We'll specifically focus on the enchanting process of laser engraving clear acrylic, demystifying the steps to create captivating designs that come to life with unparalleled clarity and precision. Let's embark together on this exploration of creativity and craftsmanship, as we master the art of laser engraving on clear acrylic surfaces.
Items Required for Acrylic Laser Engraving:
Before diving into the process, it is essential to gather the necessary items for laser engraving on acrylic. Here is a list of the key components:
- Acrylic sheet: Choose a clear acrylic sheet with the desired thickness for your project. Ensure the size fits your laser engraving machine's working area.
- Laser Engraving Machine: Invest in a high-quality laser engraving machine with adjustable power settings. Monport offers advanced machines suitable for acrylic engraving.
- Vector Graphics Software: Utilize vector graphics software like Adobe Illustrator, CorelDRAW, or Inkscape to create or edit your designs.
- Safety Equipment: Safety goggles and gloves must be worn during the engraving process to protect your eyes and hands.

Steps to Engrave Acrylic through Laser:
Now that you have the necessary items, let's explore the step-by-step process of laser engraving acrylic in Monport:
- Prepare Your Design:
- Create or select your desired design in the vector graphics software.
- Ensure your design fits within the dimensions of your acrylic sheet.
- Adjust the image properties, such as size, orientation, and alignment.
- Prepare the Laser Engraving Machine:
- Power on the laser engraving machine and ensure it is properly connected.
- Set the appropriate laser power and speed settings for acrylic engraving.
- Place the acrylic sheet securely on the machine's work area, ensuring it is properly aligned.

- Test the Engraving Settings:
- Before engraving the final design, perform a test run on a scrap piece of acrylic with similar properties.
- Adjust the laser power, speed, and focus as necessary to achieve the desired engraving depth and quality.
- Engrave the Acrylic:
- Initiate the engraving process, ensuring the laser head moves smoothly across the acrylic sheet.
- Monitor the process carefully to ensure proper engraving and prevent any potential issues.
- Be patient as the laser works on the acrylic, engraving your design with precision and accuracy.

Important Takeaways
- Laser engraving acrylic in Monport enables the creation of intricate and personalized designs.
- Ensure you have the required items, including a laser engraving machine, acrylic sheet, and vector graphics software.
- Testing the engraving settings on a scrap piece of acrylic is essential to achieve desired results.
- Safety precautions should always be followed to protect your eyes and hands during the engraving process.
Unlock your creative potential today by mastering the art of laser engraving on clear acrylic! Dive into this guide and start transforming ordinary acrylic sheets into stunning works of art with precision and ease.

Conclusion:
Laser engraving on acrylic in Monport is a fascinating and versatile technique that opens up endless possibilities for creativity. By following the steps outlined in this guide, you can confidently embark on your acrylic engraving journey. Remember, practice and experimentation are key to refining your skills and achieving outstanding results in laser engraving on acrylic. Get started today and witness the remarkable outcomes of this cutting-edge technology!
Don’t wait to bring your ideas to life—begin your laser engraving journey on clear acrylic today and experience the remarkable possibilities this cutting-edge technology offers!


