Can You Laser Engrave ABS Plastic?

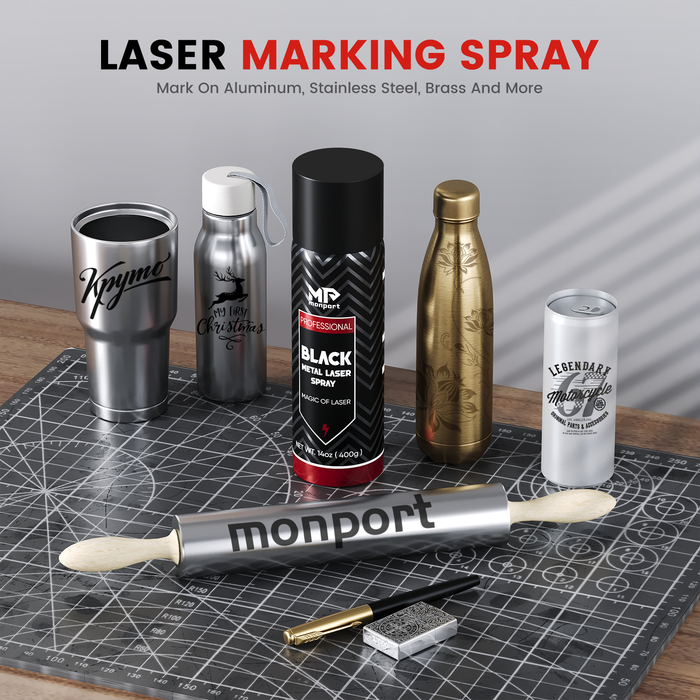
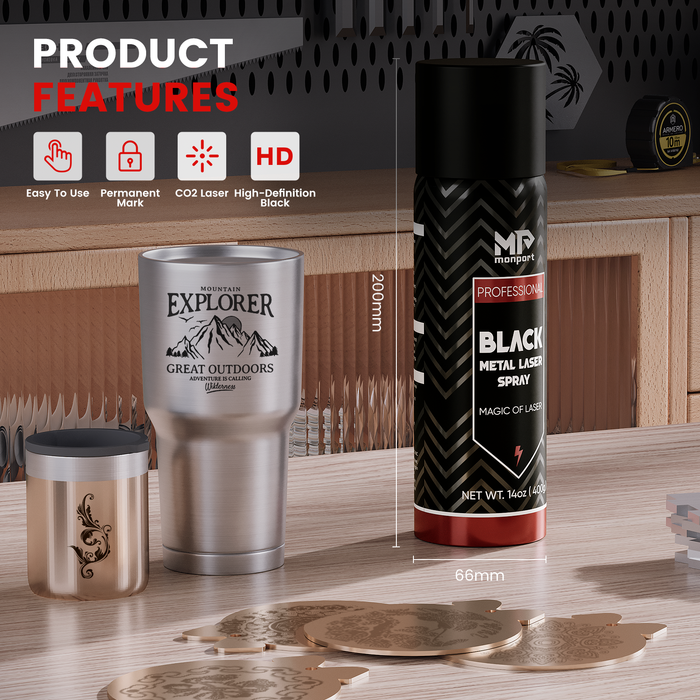
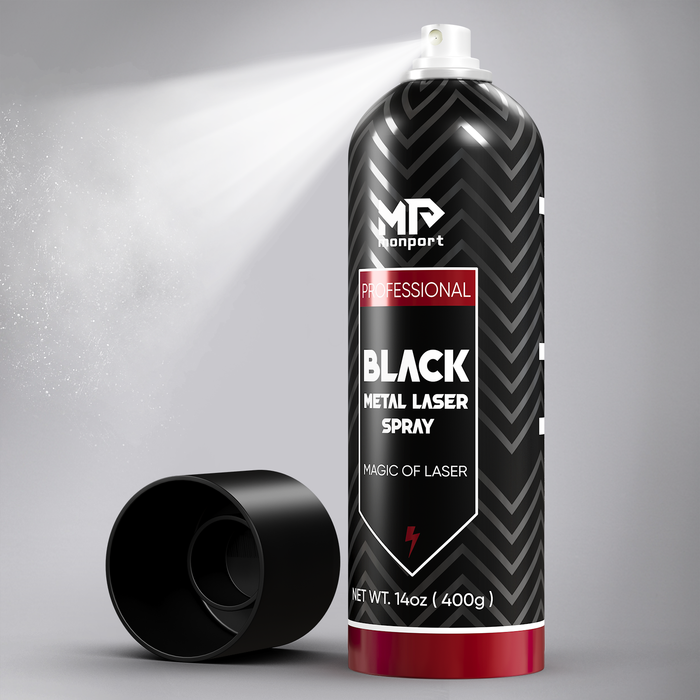
ABS (Acrylonitrile Butadiene Styrene) plastic is a popular choice for many applications due to its durability, affordability, and lightweight properties. However, ABS plastic laser engraving presents unique challenges. While technically possible, ABS tends to melt rather than vaporize cleanly under laser focus. This melting can lead to uneven engraving depths, discoloration, and the release of potentially harmful fumes. Using black laser marking spray can help mitigate some of these challenges by improving the contrast and clarity of engravings on ABS plastic, ensuring more consistent and precise results. Always remember that when you laser cut abs, you should operate at lower power and higher speed to prevent melting.
Challenges of Laser Engraving ABS Plastic
-
Melting: ABS plastic has a low melting point, making it prone to melting under laser heat instead of vaporizing for clean engraving. This can result in a messy, uneven engraving and potentially damage the plastic. Slowing down too much while you laser cut abs can also worsen the melting issue.
-
Fumes: The melting process of ABS plastic releases fumes that can be harmful if inhaled. Proper ventilation and safety precautions are crucial when attempting ABS plastic laser engraving. These precautions are equally important when you laser cut abs.
-
Limited Depth Control: Due to melting, achieving precise engraving depths can be difficult, especially when trying to laser cut abs for detailed designs.
Alternatives for ABS Engraving Plastic
While laser ABS engraving plastic might not be ideal, several alternative materials offer superior results. If you struggle to laser cut abs, switching to acrylic can be much easier:

- Acrylic: Clear acrylic sheets, also known as Polymethyl Methacrylate (PMMA), stands as a fantastic alternative to ABS plastic for laser engraving. Unlike ABS, clear acrylic sheets vaporize cleanly under laser focus, creating crisp, defined engravings.
How to Laser Engrave Clear Acrylic
Clear acrylic sheets offers a stunning canvas for laser engraving projects. Here's a step-by-step guide on how to laser engrave clear acrylic:

- Choose Your Design: Select your desired image or text for engraving. Ensure the design is in a compatible format for your laser engraving software (e.g., DXF, BMP).
- Prepare the Acrylic: Cut your clear acrylic sheets to the desired size and ensure a clean, dust-free surface. Masking tape can be applied to protect the acrylic from unwanted laser marks during setup.
- Import Design and Set Parameters: Import your design into your laser engraving software and adjust settings like laser power, speed, and number of passes. It's recommended to perform test engravings on scrap acrylic to determine the optimal settings for your material thickness and desired engraving depth. Here are some starting points for engraving and cutting clear acrylic with a Monport ONYX-R 55W Desktop CO2 Laser Engraver (adjust based on your specific machine and material):

Material Settings for Monport ONYX-R 55W CO2 Laser Engraver (Clear Acrylic)
| Engraving | Speed (mm/s) | Power (%) | Passes |
|---|---|---|---|
| Light Engraving | 300 | 20-30 | 1-2 |
| Medium Engraving | 200 | 30-40 | 2-3 |
| Deep Engraving | 100 | 40-50 | 3-5 |
Acrylic Cutting Speed:
| Thickness (mm) | Speed (mm/s) | Power (%) | Notes |
|---|---|---|---|
| 3 | 15 | 80-90 | May require multiple passes for clean cuts |
| 4 | 10 | 50 | Fine adjustments needed based on material quality |
| 6 | 10 | 80-90 | Reduce speed slightly for thicker sections |
| 8 | 5 | 100 | Multiple passes recommended for clean cuts |
Important Note: These are starting points, and optimal settings may vary depending on your specific laser engraver model, laser tube wattage, and the desired engraving depth or cut quality. Always perform test engravings on scrap material to determine the ideal settings for your project, and consider using black laser marking spray to enhance the quality and contrast of your engravings.
- Laser Engraving: Once satisfied with your settings, secure your clear acrylic sheet in the laser engraver's work area. Initiate the engraving process and monitor it closely.
- Cleaning and Finishing: After engraving, remove any masking tape and gently clean the clear acrylic sheets with a soft cloth and mild soap solution to remove dust or residue.

Additional Machine Considerations and Guide
Beyond material settings, here are some crucial factors to consider when operating your laser engraver and achieving successful results:
- Machine Maintenance: Regular maintenance is essential for optimal performance and longevity of your laser engraver. Consult the user manual for your specific machine model for cleaning procedures, lubrication schedules, and guidance on replacing components like water filters and mirrors.
- Ventilation and Fumes: Laser engraving can generate fumes, especially when cutting certain materials. Always operate your laser engraver in a well-ventilated area and consider using a fume extractor to remove harmful airborne particles.
-
Safety Precautions: Laser engraving involves working with high-powered lasers. Always prioritize safety by following these guidelines:
- Wear appropriate eye protection specifically designed for laser wavelengths used by your machine.
- Never leave the laser engraver unattended while operating.
- Keep flammable materials away from the laser engraver's work area.
- Familiarize yourself with your machine's emergency stop procedures.
Software and Design Optimization

- Laser Engraving Software: Most laser engravers come bundled with compatible software for design creation, editing, and sending projects to the machine. Popular laser engraving software options include LightBurn, RDWorks, and LaserWeb. These programs allow you to import designs, adjust engraving parameters, and control laser movement.
- Design Optimization: For achieving clean and crisp engravings, it's recommended to optimize your vector artwork for laser engraving. Ensure your lines are closed paths, and use appropriate fill settings for desired engraving depths. Some software offers features specifically designed to prepare images for laser engraving.
The Monport ONYX-R 55W Desktop CO2 Laser Engraver: Features for Success
The Monport ONYX-R 55W Desktop CO2 Laser Engraver is equipped with several features that make it a versatile and user-friendly tool for various laser engraving and cutting projects:
- Auto-Focus System: Eliminate time-consuming manual adjustments with the built-in auto-focus function, ensuring consistent engraving quality across your projects.
- 5MP Camera and Lightburn Software: The high-resolution camera provides clear previews of your artwork placement within the work area, while the included Lightburn software offers powerful design editing and laser control functionalities.
- Wide Compatibility: The Monport ONYX-R can engrave and cut a broad range of materials beyond clear acrylic, including wood, leather, fabric, glass, and more. Consult the user manual or manufacturer recommendations for compatible materials and suggested settings.
- User-Friendly Design: The Monport ONYX-R prioritizes ease of use with a clear control panel and intuitive software. This makes it suitable for beginners and experienced users alike.
Frequently Asked Questions (FAQs)
1. Q: Can you laser engrave ABS plastic safely?
A: Yes, but caution is needed. ABS tends to melt instead of vaporize, which can cause uneven results and produce harmful fumes. Always use proper ventilation and safety gear, and consider using black laser marking spray to improve engraving clarity.
2. Q: What is a better alternative to ABS plastic for laser engraving?
A: Clear acrylic sheets are an excellent alternative. They vaporize cleanly under laser focus, producing sharp and precise engravings without melting or releasing harmful fumes.
3. Q: How do I prepare clear acrylic sheets before laser engraving?
A: Cut them to size, clean the surface to remove dust, and apply masking tape to protect areas from unwanted marks during setup. This preparation ensures cleaner and more accurate engraving results.
4. Q: What settings should I use on the Monport ONYX-R 55W for engraving clear acrylic?
A: Start with 300 mm/s speed and 20–30% power for light engraving, and gradually lower the speed while increasing power for deeper engravings. Always test on scrap pieces to fine-tune the settings for your specific project.
5. Q: How can I ensure safety while using a laser engraver?
A: Always wear laser-safe eye protection, operate in a well-ventilated space, keep flammable items away, never leave the machine unattended, and follow your engraver’s emergency stop procedures.
Conclusion
Laser engraving opens doors to endless creative possibilities. While ABS plastic laser engraving is possible, it requires careful handling, the right settings, and safety precautions due to melting and fumes. For cleaner results, clear acrylic often offers a better alternative. With the Monport ONYX-R 55W Desktop CO2 Laser Engraver’s advanced features, you can produce professional-quality engravings on a variety of materials, from acrylic signage to customized products. Always test, adjust, and explore — because the only limit in laser engraving is your creativity. And if you choose to laser cut abs, follow the right safety steps and settings for the best results.

Get the Monport ONYX-R 55W now and use code BESTMP10 at checkout – Click here to shop!


