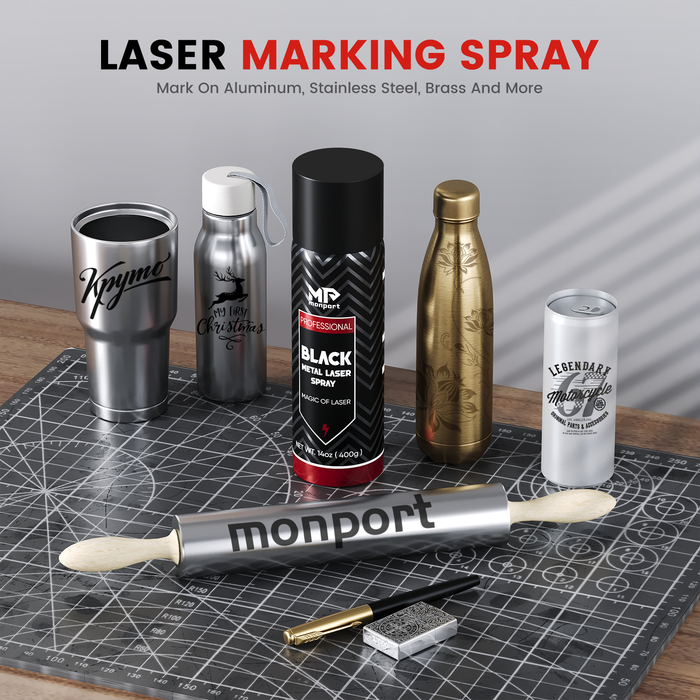
LightBurn is a powerful software designed to enhance your lazer engraving machines cutting and engraving projects. One of its standout features is the "camera window," which provides a live video feed from a camera mounted on your lazer engraving machines. This tool is invaluable for aligning the laser beam with your workpiece, monitoring the quality of cuts, and troubleshooting any issues that may arise during the cutting process.
Whether you're using a USB or Ethernet camera, LightBurn supports a wide range of camera brands, including Logitech, Microsoft, GoPro, and various generic options, especially when used with black laser marking spray.By integrating a compatible lightburn camera setup, you can access real-time visuals that significantly improve your workflow.
A key feature of this setup is the ability to find the middle of your machine with precision. This functionality ensures that your designs are perfectly centered and aligned, leading to more accurate and professional results. To get started, simply install your laser with camera, connect it to your computer, and open the camera window in LightBurn. For enhanced precision, consider adding a camera to LightBurn to improve alignment and streamline your workflow.Adding a laser with camera to LightBurn makes these steps easier and more intuitive. With these tools at your disposal, you'll be well-equipped to optimize your laser cutting and engraving projects. Follow our step-by-step guide on adding a camera to LightBurn software for enhanced laser cutting and engraving accuracy.

Why do you need a LightBurn camera setup for laser cutting?
There are several reasons why a LightBurn camera setup might be used in a laser cutting system:
-
Alignment: Adding a laser with camera to LightBurn can be used to align the laser beam with the workpiece, ensuring that the laser is properly positioned to cut or engrave the desired pattern.
-
Quality control: Adding a laser with camera to LightBurn can be used to monitor the quality of the laser cutting process, allowing the operator to ensure that the cuts are being made accurately and consistently.
-
Process control: Adding a laser with camera to LightBurn can be used to control the laser cutting process, allowing the operator to adjust the laser parameters in real-time based on the feedback from the laser with camera.
-
Troubleshooting: Adding a laser with camera to LightBurn can be used to help troubleshoot problems with the laser cutting process, allowing the operator to identify issues and take corrective action.
Overall, the use of a LightBurn camera setup in a laser cutting system can help to improve the accuracy, quality, and efficiency of the process, as well as make it easier to troubleshoot any problems that may arise, especially when using black laser marking spray.

What is the best laser cutting camera?

Any camera in Windows that complies with UVC standards should be accessible through LightBurn. However, not necessarily all cameras will be suitable based on field-of-view and image quality. The Camera Selection Help tool available in the Help menu will help you determine the right camera for your needs when working with laser engraving machines. There are many different cameras that can be used for laser cutting, and the best one for your needs will depend on a variety of factors, including the specific requirements of your application, the type of laser with camera being used, and your budget. Here are a few things to consider when choosing a camera for laser engraving machines or adding a camera to LightBurn for optimal performance, especially when using black laser marking spray.
- Resolution: The resolution of the camera is an important factor to consider, as it determines the level of detail that the camera can capture. Higher resolutions are generally better, but they may also be more expensive.
- Field of view: The field of view of the camera determines the size of the area that the camera can see. A wider field of view may be more suitable for larger laser cutting systems, while a narrower field of view may be more suitable for smaller systems.
- Sensitivity: The sensitivity of the camera determines how well it can detect low light levels. A more sensitive camera may be necessary for applications where the laser beam is dim or the workpiece is difficult to see.
- Compatibility: It's important to ensure that the camera is compatible with the laser cutting system and any software or hardware that you are using.
Overall, the best camera for your lazer engraving machines needs will depend on the specific requirements of your application. It's a good idea to carefully consider your needs and compare the features and performance of different cameras to find the one that is best suited for your needs.

How to choose the best camera for my laser?
LightBurn is software that is used to control lazer engraving machines cutting and engraving machines. It is compatible with a wide range of cameras, including webcams, industrial cameras, and machine vision cameras. Some popular LightBurn cameras that are compatible with LightBurn and are often used in lazer engraving machines applications include the Basler acA1920-155um, the FLIR GF309, and the Optronis CL-20M-CD. It's important to note that any camera that is compatible with LightBurn should meet the minimum system requirements for the software, which include a USB 2.0 port and a minimum resolution of 640x480 pixels. For enhanced accuracy and alignment, consider adding a camera to LightBurn to streamline your engraving projects, especially when using black laser marking spray.
Here are a few factors to consider when choosing the best LightBurn camera setup for your laser:
- Compatibility: Make sure that the camera is compatible with your laser and any other equipment that you will be using. Check the manufacturer's documentation to ensure that the camera is compatible with your specific model of laser.
- Resolution: Consider the resolution of the camera. A higher resolution camera will provide better image quality, but may also be more expensive.
- Frame rate: The frame rate of the camera determines how many images it can capture per second. A higher frame rate may be necessary for tasks that require fast motion or real-time feedback.
- Sensitivity: If you will be using the camera in low light conditions, you may want to choose a camera with high sensitivity.
- Connectivity: Consider the connectivity options of the camera. Some cameras may be connected to your laser using a USB cable, while others may use Ethernet or Wi-Fi.
- Price: Determine your budget and choose a camera that fits your price range.
- Additional features: Consider any additional features that you may need, such as support for different image formats or the ability to take still images.
Keep in mind that the best LightBurn camera setup for your laser with camera will depend on your specific needs and preferences. It may be helpful to do some research and compare the features and prices of different cameras to find the one that is the best fit for you. Additionally, consider adding a camera to LightBurn for improved precision and enhanced workflow in your engraving projects.

Some laser software programs used with a camera
LightBurn is a software program specifically designed for laser cutting and laser engraving, and it includes a feature called the "camera window" that allows the operator to view a live video feed from a camera mounted on the laser cutter. However, LightBurn is not the only software that can be used with a camera for laser cutting. There are many other software programs that can be used to control a laser cutter and that include camera support.

There are many other software programs that can be used with a camera for laser engraving in addition to LightBurn. Some examples include:
- CorelDRAW: CorelDRAW is a popular graphics design software that includes support for laser engraving. It includes a camera window that allows the operator to view a live video feed from a camera mounted on the laser engraver and to use the camera to align the laser beam and monitor the engraving process.
- LaserWeb: LaserWeb is an open-source software program for laser cutting and laser engraving that includes support for cameras. It allows the operator to view a live video feed from a camera mounted on the laser engraver and to use the camera to align the laser beam and monitor the engraving process.
- GrblController: GrblController is a software program that can be used to control a wide range of CNC and laser cutting equipment. It includes support for cameras and allows the operator to view a live video feed from a camera mounted on the laser engraver.
- Universal G-Code Sender: Universal G-Code Sender is an open-source software program that can be used to control a wide range of CNC and laser cutting equipment. It includes support for cameras and allows the operator to view a live video feed from a camera mounted on the laser engraver.
Overall, there are many software programs that can be used with a camera for laser engraving, and the best one for your needs will depend on your specific requirements, the capabilities of your laser engraver, and whether you're adding a camera to LightBurn for enhanced precision and functionality.

LightBurn Camera Selection and Installation
To select and install a camera in LightBurn, you will need to follow these general steps:
- Connect the camera to your computer using a USB cable.
- Launch LightBurn and open the "Webcam" window by going to "View" > "Webcam".
- In the "Webcam" window, select the camera that you want to use from the drop-down menu. If the camera does not appear in the menu, you may need to install the camera's drivers or software. Consult the documentation for your camera for specific instructions.
- If necessary, adjust the camera's settings using the controls in the "Webcam" window. For example, you can adjust the exposure, white balance, and focus.
- Use the "Webcam" window to preview the video feed from the camera. You can use the controls in the window to start and stop the camera, as well as to take a still image.
- When you are finished using the camera, you can close the "Webcam" window or disconnect the camera from your computer.
FAQs About LightBurn Cameras
Does LightBurn support multiple cameras?
LightBurn cameras can be switched within the software, depending on system support.
Is calibration required for a lightburn camera setup?
Yes, calibration ensures accurate placement and scale.
Can beginners use LightBurn add camera features?
LightBurn add camera tools are beginner-friendly with guided calibration steps.
What affects camera accuracy most?
Camera position, calibration quality, and a stable lightburn camera mount have the biggest impact.

Conclusion
LightBurn cameras are essential tools for improving alignment and efficiency. With the right lightburn camera setup, a secure lightburn camera mount, and careful calibration, users can achieve accurate and repeatable results. Understanding how to lightburn add camera features and choosing the best camera for lightburn helps maximize precision and workflow control.
Keep in mind that the specifics of how to select and install a camera in LightBurn can vary depending on the specific camera and computer that you are using. If you are having trouble setting up the camera, it may be helpful to consult the documentation for your camera or contact the manufacturer for assistance on adding a camera to LightBurn.
Unlock Big Savings at Monport Laser! Use code BESTMP10 at checkout for an exclusive discount – Click here to shop now!


