Introduction
Printing on leather patches is a creative and rewarding process that can add a personalized touch to clothing, accessories, and other items. With the right tools, you can achieve professional-quality results. In this guide, we'll walk you through the steps of how to print on leather patches using a laser cutter for leather. Specifically, we'll focus on using the Monport 80W Built-in Chiller CO2 Laser Engraver & Cutter (36" x 24"), an excellent tool for achieving precise and detailed designs on leather.
Special Offer
Get the Monport 80W Built-in Chiller CO2 Laser Engraver & Cutter (36" x 24") now and save! Use code BESTMP39 at checkout – click here to shop!
Understanding the Process
Printing on leather patches involves using a laser for cutting machine to engrave or cut the design directly onto the leather. This method allows for intricate details and a high level of customization. The laser cutter for leather works by focusing a powerful beam of light on the surface of the leather, burning away material to create the desired design.
The process is similar when learning how to print on leatherette—a synthetic leather often used in promotional items and affordable accessories. Leatherette can also be engraved using a CO2 laser, but it typically requires slightly different settings due to its composition. Always test your settings before working on a final piece.
Materials and Tools Needed
Before you begin, you'll need to gather the necessary materials and tools:
- Leather patches: Choose high-quality leather suitable for laser engraving.
- Laser cutter: We recommend the Monport 80W Built-in Chiller CO2 Laser Engraver & Cutter (36" x 24").
- Design software: Software like Adobe Illustrator or CorelDRAW for creating your design.
- Protective equipment: Safety goggles and proper ventilation to ensure a safe working environment.
Setting Up the Laser Cutter
To get started with printing on leather patches—or learning how to print on leatherette—you'll need to set up your laser cutting machine:
-
Prepare the Machine: Ensure the Monport 80W CO2 Laser Engraver & Cutter is properly connected and calibrated. The built-in chiller helps maintain a safe and consistent temperature during operation.
-
Adjust the Settings: Select the appropriate settings for your material. For natural leather, a power setting of 30–50% and a speed of 300–500 mm/s works well. For leatherette, you may need to reduce the power slightly to prevent burning or melting.
-
Test the Settings: Always test on a scrap piece of leather or leatherette to fine-tune your settings.
Designing the Leather Patch
Designing your leather patch is a crucial step in the process:
- Create or Import a Design: Use design software to create your custom design. This could be a logo, text, or intricate pattern. Ensure that the design is vector-based for the best results.
- Adjust the Design for Laser Cutting: Modify the design if necessary to suit laser for cutting machine. This might involve converting the design to black and white or adjusting the lines for clarity.
- Position the Design: Import the design into the laser for cutting machine's software, and position it correctly on the leather patch. Make sure the design fits within the dimensions of your patch.
This same approach applies when exploring how to print on leatherette. Just remember to consider the slightly different burn behavior of synthetic leather during design testing.
Engraving the Leather Patch
With the design ready and the laser for cutting machine set up, it's time to engrave the leather patch:
- Place the Leather on the Cutting Bed: Secure the leather patch on the laser for cutting machine's bed. Ensure it's flat and positioned correctly.
- Start the Engraving Process: Begin the engraving process. The laser will move over the leather, burning away material according to your design. Monitor the process closely to ensure everything is working as expected.
- Check the Results: Once the engraving is complete, carefully remove the leather patch and inspect the results. If necessary, you can make adjustments and re-engrave.
Finishing Touches
After engraving, you may want to add some finishing touches to your leather patch:
- Clean the Patch: Use a soft brush or cloth to remove any residue from the engraving process.
- Condition the Leather: Apply a leather conditioner to keep the leather soft and supple.
- Attach the Patch: Depending on your project, you can sew, glue, or heat press the patch onto your desired item.

FAQs
Q1: What type of leather works best for laser engraving?
- Vegetable-tanned leather is often preferred for laser engraving due to its ability to produce clear and detailed engravings.
Q2: Can I engrave colored designs on leather patches?
- Laser engraving typically produces a monochrome effect. However, you can experiment with different settings to achieve varying shades and depths.
Q3: Is laser engraving safe for all types of leather?
- Yes, but it's essential to use proper ventilation and protective equipment to avoid inhaling fumes.
Q4: How long does the engraving process take?
- The time varies depending on the complexity of the design and the size of the leather patch. Simple designs may take a few minutes, while more intricate ones can take longer.

Important Details
- Leather Type: Always use high-quality leather for the best results.
- Machine Settings: Adjust the laser cutter settings based on the thickness and type of leather.
- Design Software: Ensure your design is vector-based for precision.
- Safety First: Always wear protective goggles and ensure proper ventilation.
Takeaways
Printing on leather patches using a laser cutter for leather is a precise and customizable process that allows for a high level of creativity. By following the steps outlined in this guide, you can achieve professional-quality results that stand out. Remember to use the right tools, materials, and safety precautions to ensure a successful project.

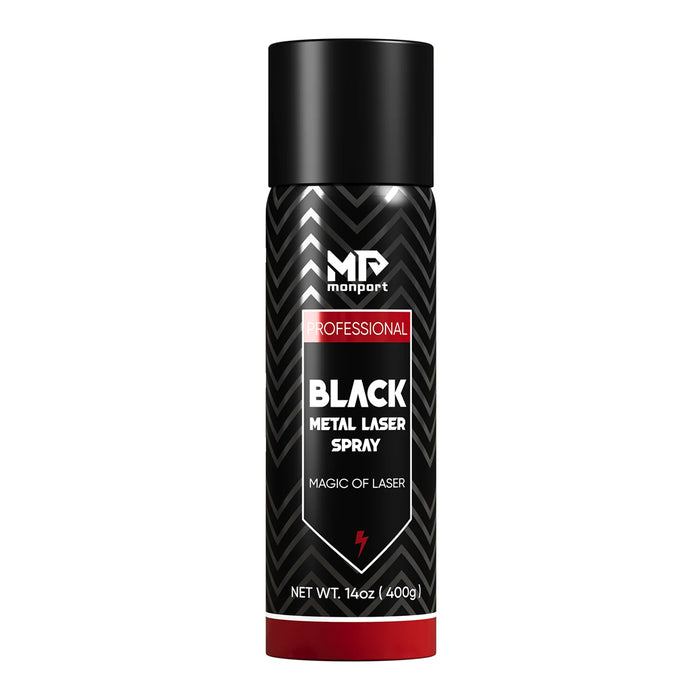
Enhance Your Metal Engraving with Monport Black Laser Marking Spray

Monport black laser marking spray offers a reliable and easy-to-use solution for creating high-contrast, permanent marks on various metals. Compatible with CO2 laser engraving machines, this black laser marking spray provides an excellent finish on materials like aluminum, stainless steel, and brass. With its advanced formula, the spray ensures even coverage and deep penetration into the surface, producing durable marks that are resistant to heat and wear. The black laser marking spray dries quickly, allowing you to complete your projects efficiently. After engraving, simply rinse off the spray to reveal sharp, crisp markings. Monport’s black laser marking spray is the perfect tool for personalizing products, customizing metal items, and creating high-quality industrial markings with ease.
Conclusion
Mastering how to print on leather patches and understanding how to print on leatherette can take your design capabilities to a whole new level. Whether you're working with premium leather or budget-friendly synthetic options, the Monport 80W Built-in Chiller CO2 Laser Engraver & Cutter ensures professional-quality engraving with every use.
Ready to elevate your leather projects? Use code BESTMP39 at checkout – click here to shop the Monport 80W now!


