Introduction
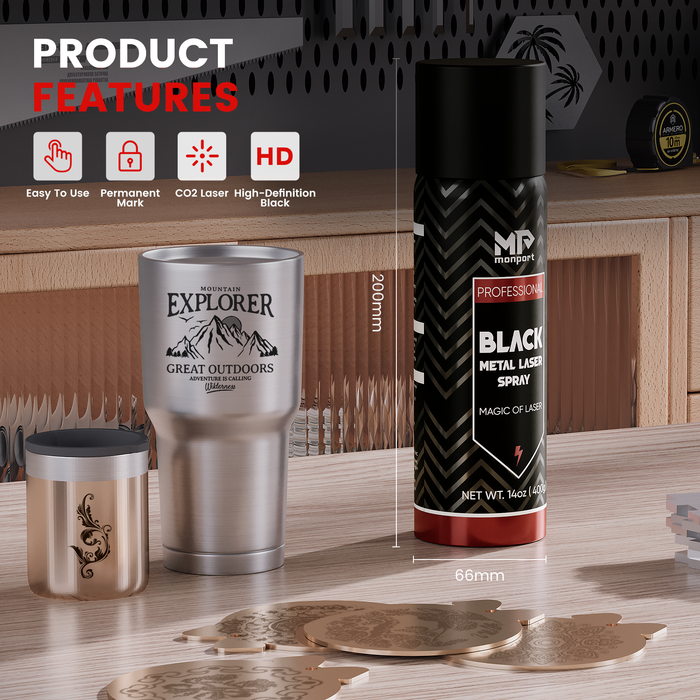
Creating your own rubber stamps can be a fun and rewarding experience, especially when using the right tools like black laser marking spray. Whether you're looking to personalize your business or create unique designs for crafting,learning how to make rubber stamps is a valuable skill. In this guide, we will walk you through the process of creating rubber stamps using the Monport 80W Built-in Chiller CO2 Laser Engraver & Cutter (36" x 24"). This laser engraver makes the process easy and efficient, even for beginners.
1. What You Need to Get Started
Before diving into the process of making rubber stamps, you'll need to gather some essential materials and tools.
Materials and Tools:
- Monport 80W CO2 Laser Engraver & Cutter: This powerful laser engraver is ideal for cutting and engraving rubber materials.
- Rubber Sheets: These can be natural or synthetic, depending on your preference.
- Stamp Mounts: Wooden or acrylic mounts to attach your rubber designs.
- Adhesive: To stick the rubber design onto the stamp mount.
- Design Software: To create the digital image of your stamp.
2. Designing Your Rubber Stamp
The first step in creating rubber stamps is to design the image or text you want to engrave. Here's how:
Steps to Design:
- Choose Your Design Software: You can use software like Adobe Illustrator, CorelDRAW, or Inkscape.
- Create Your Design: Make sure your design is simple and clear, as intricate details might be challenging to cut cleanly.
- Invert the Design: Remember to flip the design horizontally. This is crucial so that your stamp prints correctly.
Tip: Keep your design within the size limits of your rubber sheet and stamp mount.
3. Setting Up the Laser Engraver
Once your design is ready, it’s time to set up your Monport 80W CO2 Laser Engraver & Cutter.
Setting Up:
- Import the Design: Load your design into the laser engraver’s software.
- Adjust the Settings: Set the appropriate speed and power settings for rubber. For the Monport 80W, a good starting point is 20% speed and 80% power.
- Position the Rubber Sheet: Place the rubber sheet on the laser bed, making sure it’s flat and secure.

Table: Recommended Laser Settings for Rubber
| Material | Speed | Power | Passes |
|---|---|---|---|
| Rubber Sheets | 20% | 80% | 1-2 |
4. Engraving and Cutting the Rubber
With your laser engraver set up, you’re ready to start engraving and cutting your rubber stamp.
Engraving Process:
- Start the Engraving: Begin by engraving the design onto the rubber sheet.
- Cut the Outline: Once engraving is complete, cut around the design to create the stamp.
- Check the Results: Carefully remove the engraved rubber from the laser bed and inspect it.
Safety Tip: Always use the built-in chiller with your laser engraver to prevent overheating and ensure clean cuts.
5. Assembling Your Rubber Stamp
After cutting out your rubber design, it’s time to assemble the stamp.
Steps to Assemble:
- Prepare the Stamp Mount: Clean the surface of the stamp mount to ensure good adhesion.
- Apply Adhesive: Use a strong adhesive to attach the rubber design to the stamp mount.
- Align Carefully: Make sure the design is centered on the mount before pressing it down.
- Let It Dry: Allow the adhesive to fully dry before using the stamp.

FAQs
Q1: What type of rubber is best for making stamps?
A1: Natural rubber is often preferred for making stamps because it provides clean impressions and is durable. However, synthetic rubber can also be used.
Q2: Can I use any laser engraver to make rubber stamps?
A2: While many laser engravers can cut rubber, the Monport 80W CO2 Laser Engraver & Cutter is highly recommended for its precision and ease of use.
Q3: Do I need special software to design rubber stamps?
A3: You can use any vector-based design software, like Adobe Illustrator or Inkscape, to create your rubber stamp designs.
Important Details to Remember
- Safety First: Always operate the laser engraver in a well-ventilated area to avoid inhaling fumes.
- Test Cuts: Before starting the final engraving, do a test cut on a scrap piece of rubber to ensure the settings are correct.
- Cleaning: After engraving, clean the rubber stamp with a soft brush to remove any residue.
Takeaways
Learning how to make rubber stamps with a laser engraver is a straightforward process that anyone can master. With the right equipment, like the Monport 80W CO2 Laser Engraver & Cutter, and a bit of creativity, you can produce professional-quality stamps for personal or business use.
Conclusion
Creating rubber stamps using a laser engraver is both a fun and practical skill, especially when incorporating black laser marking spray. Whether you're making stamps for your business, crafting, or as gifts, the process is made easy with the Monport 80W CO2 Laser Engraver & Cutter. By following the steps outlined in this guide, you'll be well on your way to mastering the art of creating rubber stamps. Happy stamping!


