Introduction
 Monport GPro 30W Split MOPA Fiber Laser Engraver & Marking Machine With Manual Focus
Important Details about the Monport GPro 30W Split MOPA Fiber Laser Engraver & Marking Machine
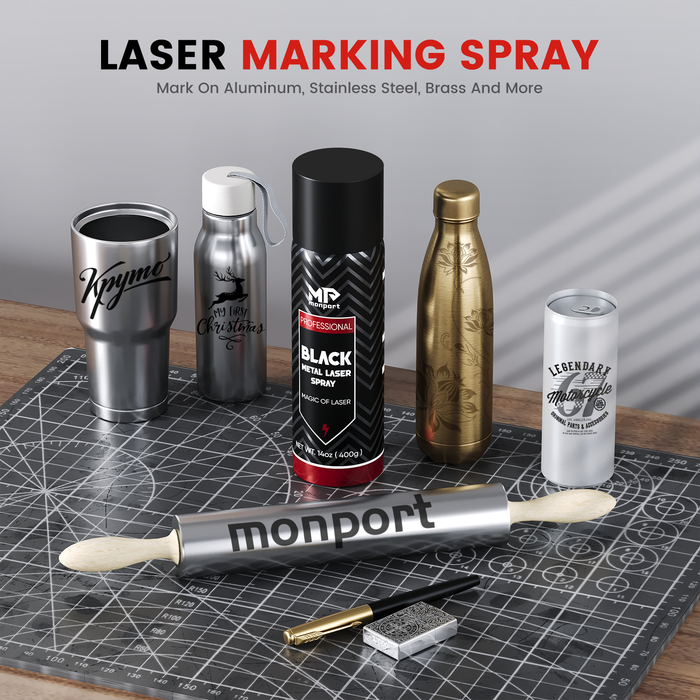
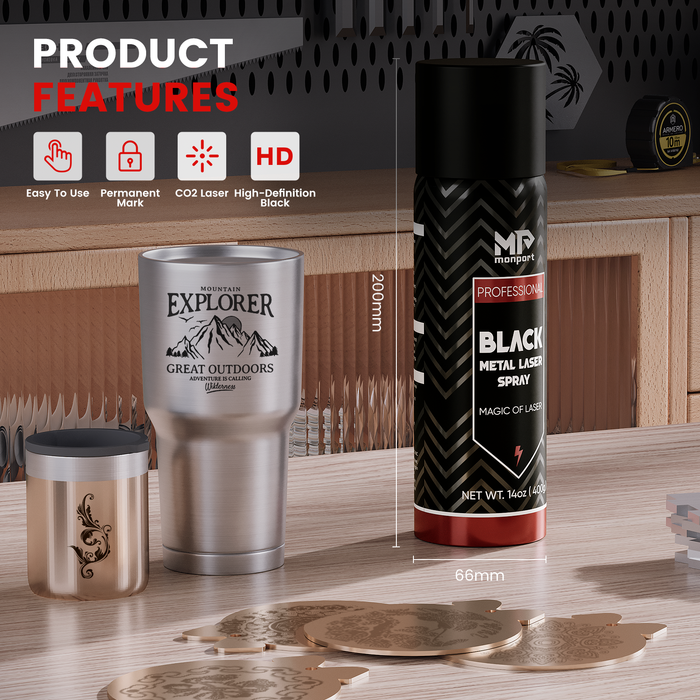
Before we dive into the process of laser engraver tumblers, let's familiarize ourselves with the key features and specifications of the Monport GPro 30W Split MOPA Fiber Laser Engraver & Marking Machine, a best laser marking tool for various applications, especially when used with black laser marking spray to achieve high-contrast and detailed engravings.
- Split MOPA fiber laser for precise and high-quality engravings.
- Manual focus feature for adjusting the focal distance according to the thickness of the tumbler.
- Output power of 30W, making it suitable for a wide range of engraving applications.
- Compact and easy to use, with a user-friendly interface.
- Compatible with various graphic design software.

Step 1: Prepare the Tumbler
First, you need to prepare the tumbler by cleaning it thoroughly. Remove any dust, grease, or fingerprints from the surface to ensure proper adhesion of the engraving. Black laser marking spray can be used to enhance the contrast of your engraving for more vibrant results.

Step 2: Set Up the Laser Engraver
Place the Monport GPro 30W Split MOPA Fiber Laser Engraver & Marking Machine on a stable surface. Connect it to a power source and turn it on. Make sure the machine is calibrated and ready for use.
Step 3: Design the Engraving
Using your preferred graphic design software, create or import the design you want to engrave on the tumbler. Adjust the size and position of the design according to the dimensions of your laser engraver tumblers.
Step 4: Set the Laser Parameters
Adjust the laser settings on the machine based on the material of your tumbler. The Monport GPro 30W Split MOPA Fiber Laser Engraver & Marking Machine provides various options to control the power, speed, and frequency of the laser beam, especially when using black laser marking spray to ensure crisp and precise results.

Step 5: Focus the Laser
Use the manual focus feature to set the focal distance of the laser beam. This is crucial for achieving a clear and precise engraving on the curved surface of laser engraver tumblers. Adjust the focus according to the thickness of the tumbler.
Step 6: Test the Engraving
Before engraving the final design on the tumbler, it is always recommended to run a test engraving on a similar material or a spare tumbler. This will help you ensure that the laser settings and focus are correctly set for optimal results, especially when using black laser marking spray for enhanced contrast and durability.
Step 7: Engrave the Tumbler
Once you are satisfied with the test engraving, it's time to engrave the design on the actual tumbler. Place the tumbler securely in the engraving area and start the engraving process. Keep a close eye on the process to make sure everything is going smoothly with your laser engraver tumblers.

FAQs (Frequently Asked Questions)
-
What types of materials can be laser engraved using the Monport GPro 30W Split MOPA Fiber Laser Engraver?
The Monport GPro 30W Split MOPA Fiber Laser Engraver can engrave various materials, including stainless steel, aluminum, plastic, and glass. -
Can I engrave cylindrical tumblers with the Monport GPro 30W Split MOPA Fiber Laser Engraver?
Yes, the manual focus feature of the Monport GPro 30W Split MOPA Fiber Laser Engraver allows you to engrave cylindrical tumblers with precision. -
Can I use any graphic design software with the Monport GPro 30W Split MOPA Fiber Laser Engraver?
Yes, the machine is compatible with a wide range of graphic design software, making it convenient to create or import your desired designs. -
How do I clean the tumbler after laser engraving?
After engraving, gently wipe the engraved area with a soft cloth to remove any residue, ensuring the surface remains smooth and vibrant. -
Is the Monport GPro 30W Split MOPA Fiber Laser Engraver easy to operate for beginners?
Yes, the Monport GPro 30W Split MOPA Fiber Laser Engraver is designed with a user-friendly interface, making it easy for beginners to get started with laser engraving tumblers.

Important Takeaways
- Laser engraving is an effective way to add personalized designs to tumblers, and the best laser marking tool can help you achieve precise and clean engravings.
- The Monport GPro 30W Split MOPA Fiber Laser Engraver & Marking Machine is suitable for engraving various materials, making it one of the best laser marking tools on the market.
- Proper cleaning and preparation of the tumbler are essential for achieving good results.
- Adjusting the laser parameters and focusing the laser beam accurately are crucial for achieving high-quality engravings with the best laser marking tool.
- Always perform a test engraving before engraving the actual tumbler to ensure optimum settings.

Conclusion
Learning how to laser engrave tumblers is a fun and creative process, especially when using the Monport GPro 30W Split MOPA Fiber Laser Engraver & Marking Machine. With the step-by-step guide provided in this article, you can easily create personalized and professional designs on your tumblers. Don't forget to use black laser marking spray to achieve even more precise and durable engravings. Ready to get started? Shop now and get 10% off with code BESTMP10 at checkout – click here to shop! Happy engraving!


