Glass etching is a fantastic way to add a personal touch to glassware, mirrors, and even windows. Whether you're looking to create a custom gift or personalize your own items, how to etch a glass can seem daunting at first. But fear not! This guide will walk you through the process step-by-step, making it easy and fun to achieve stunning results with your glass etching custom projects.
Understanding Glass Etching
Glass etching is the process of creating decorative designs on the surface of glass by removing minute amounts of material. This can be done using various methods, including chemical etching creams and abrasive techniques. One popular method is using a laser engraver, like the Monport 80W Built-in Chiller CO2 Laser Engraver & Cutter (36" x 24").
Why Choose Laser Etching?
Laser etching offers precision, speed, and versatility when it comes to creating glass etching custom designs. With a laser engraver, you can easily etch intricate patterns, text, and images onto glass with ease. Plus, the Monport 80W Built-in Chiller CO2 Laser Engraver & Cutter is equipped with a built-in chiller to ensure consistent performance and durability.

Step-by-Step Guide to Glass Etching with a Laser Engraver
Materials Needed:
- Glass item to be etched
- Laser engraver (e.g., Monport 80W Built-in Chiller CO2 Laser Engraver & Cutter)
- Protective eyewear
- Masking tape
- Design software (e.g., Adobe Illustrator)

Steps:
-
Design Your Artwork: Use design software to create or import your custom design. Make sure to size it correctly to fit your glass item.
-
Prepare the Glass: Clean the glass surface thoroughly to remove any dust or oils. Use masking tape to outline the area you want to etch, creating a protective barrier around your design.
-
Set Up the Laser Engraver: Turn on the Monport 80W Built-in Chiller CO2 Laser Engraver & Cutter and adjust the settings according to your design and glass type.
-
Etch the Glass: Place the glass item inside the engraver and start the etching process. Monitor the engraving progress and adjust settings if needed.
-
Clean and Inspect: Once the etching is complete, remove the glass from the engraver and clean off any residue with water and a soft cloth. Remove the masking tape to reveal your glass etching custom design.

FAQs
Q: Can I etch any type of glass with a laser engraver?
A: While laser engravers can etch most types of glass, some types may require specific settings or techniques. Always test on a small area first.
Q: Is it safe to use a laser engraver for glass etching?
A: Yes, when used correctly and with proper safety precautions, laser engravers are safe for glass etching.
Q: How durable is glass etching done with a laser engraver?
A: Laser etched designs are permanent and durable, making them suitable for everyday use.

Important Details to Consider
-
Safety First: Always wear protective eyewear when operating a laser engraver.
-
Test First: Before etching your final design, do a test run on a similar piece of glass to ensure the settings and design are correct.
-
Ventilation: Ensure the area where you're using the laser engraver is well-ventilated to avoid inhaling any fumes from the etching process.
Takeaways
-
Precision: Laser engravers offer precise and detailed etching capabilities.
-
Versatility: You can create a wide range of glass etching custom designs with a laser engraver.
-
Durability: Laser etched designs are permanent and resistant to wear and tear.

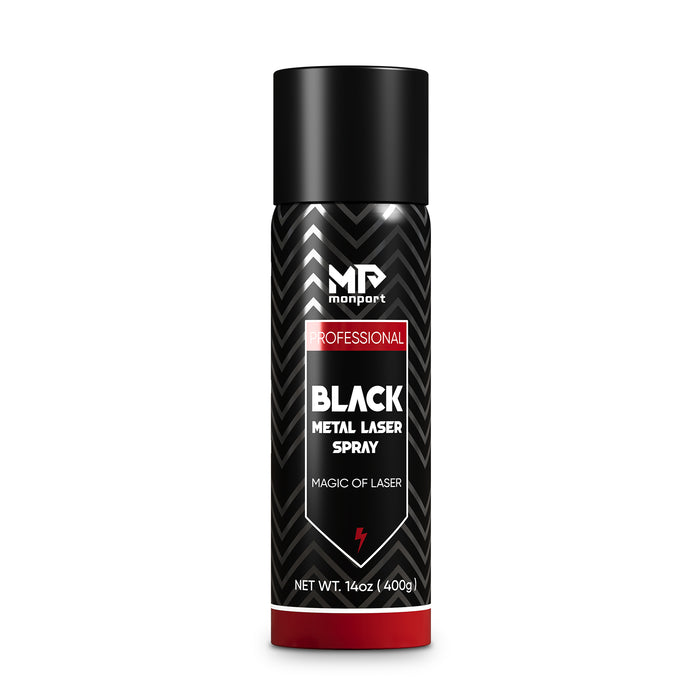
Achieve Perfect Metal Markings with Monport Black Laser Marking Spray
Unlock effortless engraving with Monport Black Laser Marking Spray, designed specifically for CO2 laser engraving machines of 25 watts and above. With a simple shake and spray, you can create high-contrast, permanent black marks on metals like aluminum, stainless steel, and brass. Thanks to its nanoparticle formula and anti-clog nozzle, this 14 oz aerosol ensures a smooth, even application with quick 5-minute air drying, making it perfect for personalizing jewelry, customizing glassware, and serializing tools.
The black laser marking spray transforms your metal surfaces with precision, providing durable, heat-resistant, and deeply penetrating marks that stand the test of time. Whether you're working on DIY projects or professional metalwork, its powerful fine-grain formula guarantees crisp, permanent results after engraving. Plus, the effortless rinse-and-wipe cleanup leaves no residue, helping you maintain an efficient workflow without any extra hassle.
Choose Monport Black Laser Marking Spray for a professional-grade finish every time. With its easy application, powerful coverage, and permanent results, this black laser marking spray is your ultimate tool for high-quality, durable metal markings. Say goodbye to complicated setups and hello to flawless engraving with Monport!
Read More: How to Etch Plexiglass: Understanding Laser Engraved Glass
Conclusion
Learning how to etch a glass with a laser engraver like the Monport 80W Built-in Chiller CO2 Laser Engraver & Cutter opens up endless possibilities for creating glass etching custom designs. With the right materials, preparation, and techniques, you can easily achieve professional-looking results that will impress everyone who sees them. So why wait? Start etching your own custom designs on glass today and unleash your creativity!
Unlock Your Discount! Apply BESTMP10 at checkout – click here to shop!


