Lightburn has become a popular software choice for laser machine laser engraving and cutting enthusiasts. With its intuitive interface and powerful features, it allows users to create stunning lightburn designs with ease. Whether you're a beginner or an experienced designer, laser engraver software and laser design tools can help you create intricate and precise designs with ease, mastering how to design in Lightburn can open up a world of creative possibilities. In this article, we'll walk you through the process of designing in Lightburn download, highlighting essential steps and tips to help you get started.

Monport 40W Pro Lightburn-Supported (12" X 8") CO2 Laser Engraver & Cutter with Air Assist - 40W Pro
Getting Started with Lightburn
Before diving into designing, it's essential to familiarize yourself with laser engraver software, laser design tools, and lightburn download's interface and basic functionalities. Here's a quick overview to start your lightburn download journey:
Lightburn Interface
-
Workspace: This is where you'll design and arrange your laser machine laser lightburn designs.
-
Toolbars: Access various tools and features to edit, align, and optimize your laser machine laser designs.
-
Preview Window: See a real-time preview of how your laser machine laser design will look when engraved or cut. Creating Your First Design Importing Graphics
Creating Your First Design
Importing Graphics
Lightburn supports various file formats, including SVG, PNG, and JPG. Here's how to import graphics into Lightburn:
- File > Import: Navigate to the file you want to import.
- Select the file and click Open.
- Your graphic will appear in the workspace.

Editing and Customizing Designs
Once your graphic is imported, you can start editing and customizing it:
- Resize: Adjust the size of your design to fit your project.
- Rotate: Rotate your design for better positioning.
- Editing Tools: Use tools like Boolean operations to combine or subtract shapes.
Optimizing Your Design for Laser Cutting and Engraving
Setting Parameters
Before sending your design to the laser engraver, it's crucial to set the right parameters with laser engraver software, laser design tools, and lightburn download.
- Material: Select the material you're working with (e.g., wood, acrylic, leather).
- Power and Speed: Adjust power and speed settings for cutting and engraving.
Table 1: Recommended Settings for Common Materials
| Material | Power (%) | Speed (mm/s) |
|---|---|---|
| Wood | 70 | 200 |
| Acrylic | 50 | 150 |
| Leather | 60 | 180 |
Preview and Test
Always preview your design before cutting or engraving:
- Click on Preview in the toolbar.
- Check for any errors or issues.
- Make necessary adjustments and re-preview.

FAQs
Q: Can I design directly in Lightburn?
A: Yes, Lightburn offers various design tools to create your designs from scratch.
Q: Is Lightburn suitable for beginners?
A: Absolutely! Lightburn's user-friendly interface makes it easy for beginners to get started.
Q: Can I use Lightburn with my Monport 40W Pro Laser Engraver?
A: Yes, Lightburn is compatible with the Monport 40W Pro Lightburn-Supported CO2 Laser Engraver.
Takeaways
- Familiarize yourself with Lightburn's interface and tools.
- Import, edit, and customize your designs with ease.
- Always optimize your design parameters for the best results.
- Preview and test your design before cutting or engraving.

Enhance Your Metal Engraving with Monport Black Laser Marking Spray

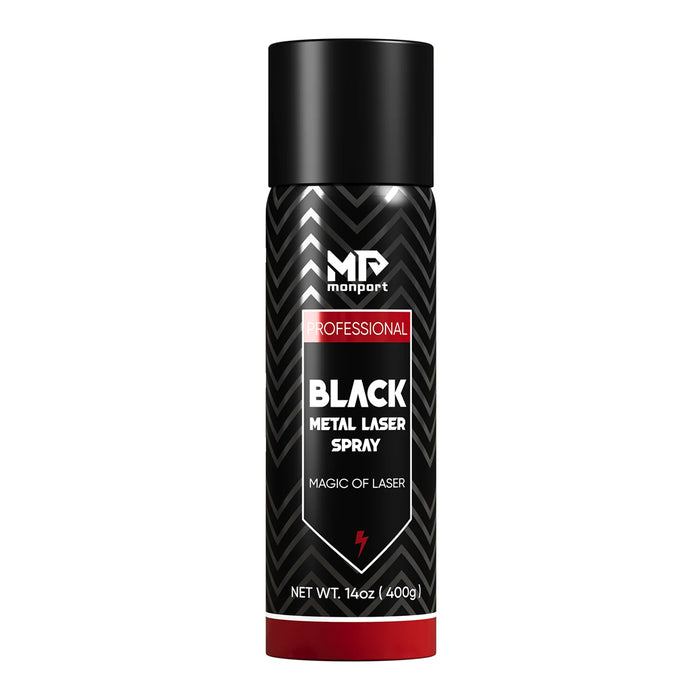
Monport black laser marking spray is designed to provide sharp, high-contrast markings on a variety of metals, including aluminum, brass, and stainless steel. When used with CO2 laser engraving machines, this black laser marking spray ensures a smooth, even application that delivers long-lasting, permanent marks. The quick-drying formula of this spray helps maintain a fast-paced workflow, allowing the markings to dry in just minutes. With its easy-to-use design, Monport black laser marking spray creates professional-grade results for any metal engraving project. Whether you’re customizing tools, jewelry, or industrial parts, this black laser marking spray will ensure your creations stand out with exceptional precision and clarity.
Conclusion
Designing in Lightburn offers a seamless experience for creating intricate and beautiful laser machine laser lightburn designs. By following this comprehensive guide, you'll be well-equipped to design, optimize, and execute your laser machine laser projects with confidence using lightburn download. Remember to experiment, learn from your mistakes, and most importantly, have fun with your laser machine laser creations. Consider exploring further resources for lightburn download to enhance your skills.
Read More: How to Connect Laser to LightBurn: LightBurn for Mac


