

Introduction
Laser engraving on glass offers a unique way to create elegant and personalized designs in Monport, Whether you are a professional artist or a DIY enthusiast, laser etching glass can revolutionize your projects. In this comprehensive guide, we will explore everything you need to know about glass laser engraver , including the step-by-step process, machine selection, and tips to reduce chipping.

Monport 60W CO2 Laser Engraver & Cutter (24" x 16") with Autofocus

Introduction to Laser Etching/Engraving Glass
Laser etching or engraving on glass involves using a high-powered laser beam to create precise and intricate designs. The laser vaporizes the surface of the glass, leaving behind a beautifully etched or engraved mark. This technique allows for the creation of highly detailed artwork, logos, or personalized patterns. Glass laser engraving is an exceptional method for achieving stunning and durable designs.
Step-by-Step Guide to Laser Etch/Engrave Glass

Here is a step-by-step guide on how to laser etch/engrave glass:
-
Prepare the glass: Clean the surface of the glass to remove any dirt, dust, or fingerprints. Ensure that it is completely dry before proceeding.
-
Set up the laser engraving machine: Install the necessary software and calibrate the laser according to the desired etching depth and speed for glass laser engraving.
-
Design the artwork: Use design software to create or import the desired artwork. Adjust the size and position to fit the dimensions of the glass piece for accurate glass laser engraving.
-
Position the glass: Secure the glass piece onto the laser engraving machine's bed using clamps or other appropriate methods. Make sure it is level and firmly in place to prevent movement during the glass laser engraving process.
-
Test the settings: Before engraving on the final piece, perform a test run on a scrap piece of glass to ensure the laser settings are appropriate for glass laser engraving. Adjust the power and speed settings as needed.
-
Start the engraving: Initiate the glass laser engraving process by pressing the start button on the laser engraving machine. Monitor the progress and adjust the settings as needed.
-
Finishing touches: Clean any residue or debris from the engraved glass using a soft cloth or compressed air. Consider using a glass cleaner to achieve a polished look for your glass laser engraving project.

Monport 60W CO2 Laser Engraver & Cutter for Glass Laser Engraving
The Monport 60W CO2 Laser Engraver & Cutter is an excellent choice for glass laser engraving. With its high-power output and precision control, it can emboss intricate designs onto glass surfaces with ease. The machine offers user-friendly software, a spacious engraving area, and reliable performance, making it a top choice for professionals and hobbyists alike.

How to Reduce Chipping When Laser Engraving Glass
Chipping can occur during the laser engraving process on glass, which can affect the quality and appearance of the final design. Here are some tips to reduce chipping:
- Use a lower power setting: Lowering the power of the laser can help reduce the chances of chipping. Experiment with different power settings on scrap glass pieces to determine the optimal setting for your engraving.
- Utilize masking tape: Applying masking tape to the surface of the glass before engraving can help protect it from chipping. Make sure the tape is firmly applied and does not interfere with the laser beam.
- Opt for slower engraving speed: Reducing the speed of the engraving process can minimize the risk of chipping. However, be cautious not to compromise the quality and depth of the engraving.
- Consider using special glass engraving settings: Some laser engraving machines offer specific settings for glass engraving. These optimized settings can help reduce chipping and improve the overall quality of the engraving.

Important Details to Consider
- Always wear appropriate protective eyewear when operating a laser engraving machine.
- Follow the guidelines provided by the manufacturer regarding machine operation, maintenance, and safety.
- Practice on scrap glass pieces before engraving on your final project to fine-tune the settings and reduce the chances of chipping.

Effortless Laser Marking with Monport Black Laser Marking Spray
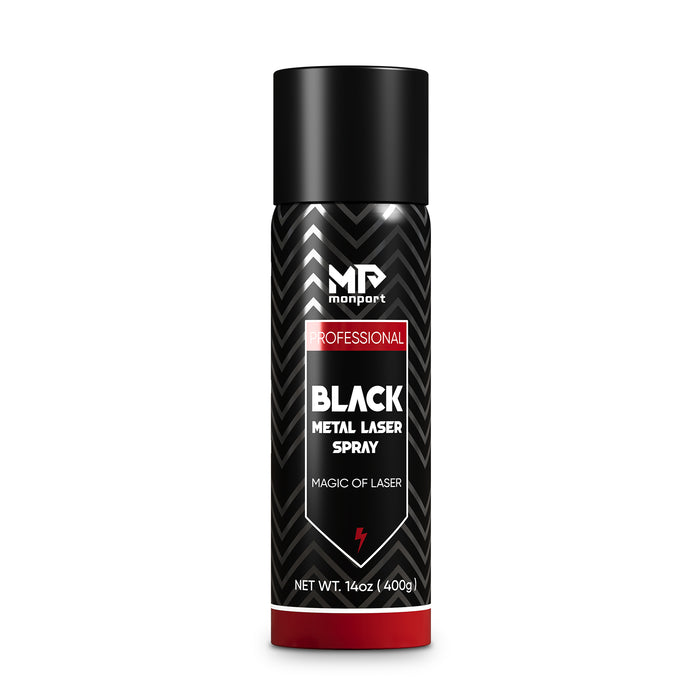
Looking to elevate your laser engraving projects? Monport Black Laser Marking Spray is the solution you’ve been waiting for. This high-performance aerosol spray is designed for use with CO2 laser engraving machines, ensuring easy and precise results with every application. Whether you're personalizing jewelry, customizing glassware, or serializing tools, this spray provides you with high-contrast, permanent marks that stand out.
The Benefits of Using Black Laser Marking Spray
-
Compatible with CO2 Laser Engraving Machines Designed for use with CO2 laser engraving machines of 25 watts and above, Monport Black Laser Marking Spray is the ideal companion for your engraving needs. It transforms your metal surfaces into highly legible, permanent black marks after laser engraving, making it perfect for a wide range of applications from metalwork to custom art pieces.
-
Permanent, High-Contrast Marks When you apply Monport Black Laser Marking Spray, the result is a high-contrast, dark black mark on your metal surface that is permanent and durable. This spray works on various metals, including aluminum, stainless steel, and brass. The fine-grained formula ensures deep penetration into the metal, producing heat-resistant markings that will last for years, even under challenging conditions.
-
Even and Powerful Application With the advanced spray technology in Monport Black Laser Marking Spray, you can achieve a smooth, even application every time. The 14 oz can features an anti-clog nozzle that guarantees no blockages, making the spray process both easy and efficient. The nanoparticle formula delivers more coverage with a thinner coating, which results in a professional-quality finish for all your metal marking projects.
-
Easy to Use and Quick Drying Using Monport Black Laser Marking Spray couldn’t be simpler. Just shake the can for 2 minutes, spray from a distance of 6 to 8 inches, and let the surface dry for 5 minutes. Once it’s dry, you’re ready to engrave, saving you valuable time. After engraving, rinse and wipe away the residue to reveal your crisp, dark black markings without any fuss.
-
Effortless Cleanup and Maintenance After marking your metal pieces, simply rinse and wipe the surface to reveal your high-contrast engraving. The black laser marking spray ensures there is no residue left behind, so your workpieces remain clean and ready for immediate use. The easy cleanup means that you can maintain a smooth and efficient workflow, whether you’re working on a small DIY project or a larger-scale production.
Why Choose Monport Black Laser Marking Spray?
Monport’s Black Laser Marking Spray is a game-changer for anyone looking to create durable, precise, and high-quality laser marks on metal surfaces. Its compatibility with CO2 lasers, combined with its easy application and cleanup, makes it an indispensable tool for professionals and hobbyists alike. With Monport Black Laser Marking Spray, you can be confident that your metal engraving projects will have permanent, high-contrast results every time.
Add this versatile spray to your toolkit today and experience effortless laser marking like never before!
Conclusion
Laser engraving on glass provides endless creative possibilities and allows you to add a personal touch to your projects. By following the step-by-step guide, selecting the right machine, and implementing the tips to reduce chipping, you can master the art of laser engraving on glass. Start exploring the world of glass etching and enjoy the beauty and elegance that laser engraving brings to your creations.


