DIY small laser engraver machines have become more accessible in recent years, allowing makers and hobbyists to create intricate designs on a variety of materials. Laser engraving is a versatile technique that can be used to make everything from personalized gifts to custom artwork. In this article, we will explore seven DIY laser engraver projects and provide tips on how to get started with a laser cutting and engraving machine.
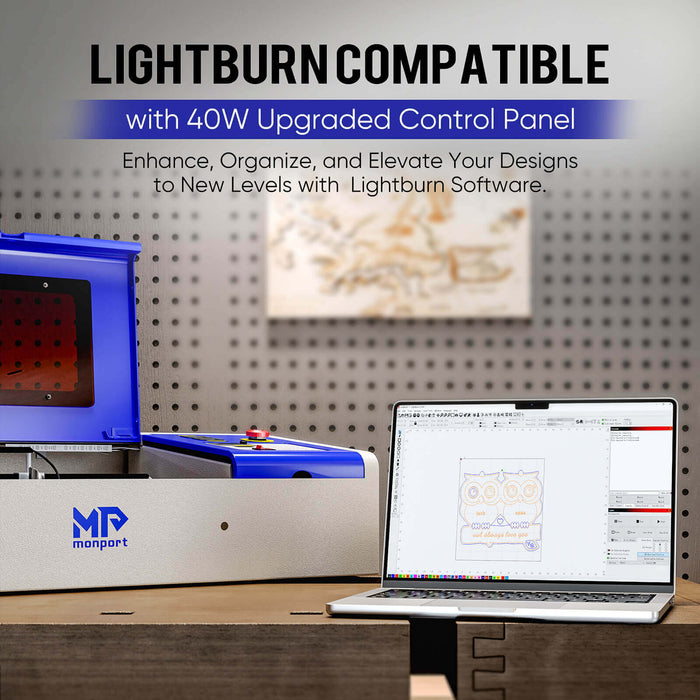
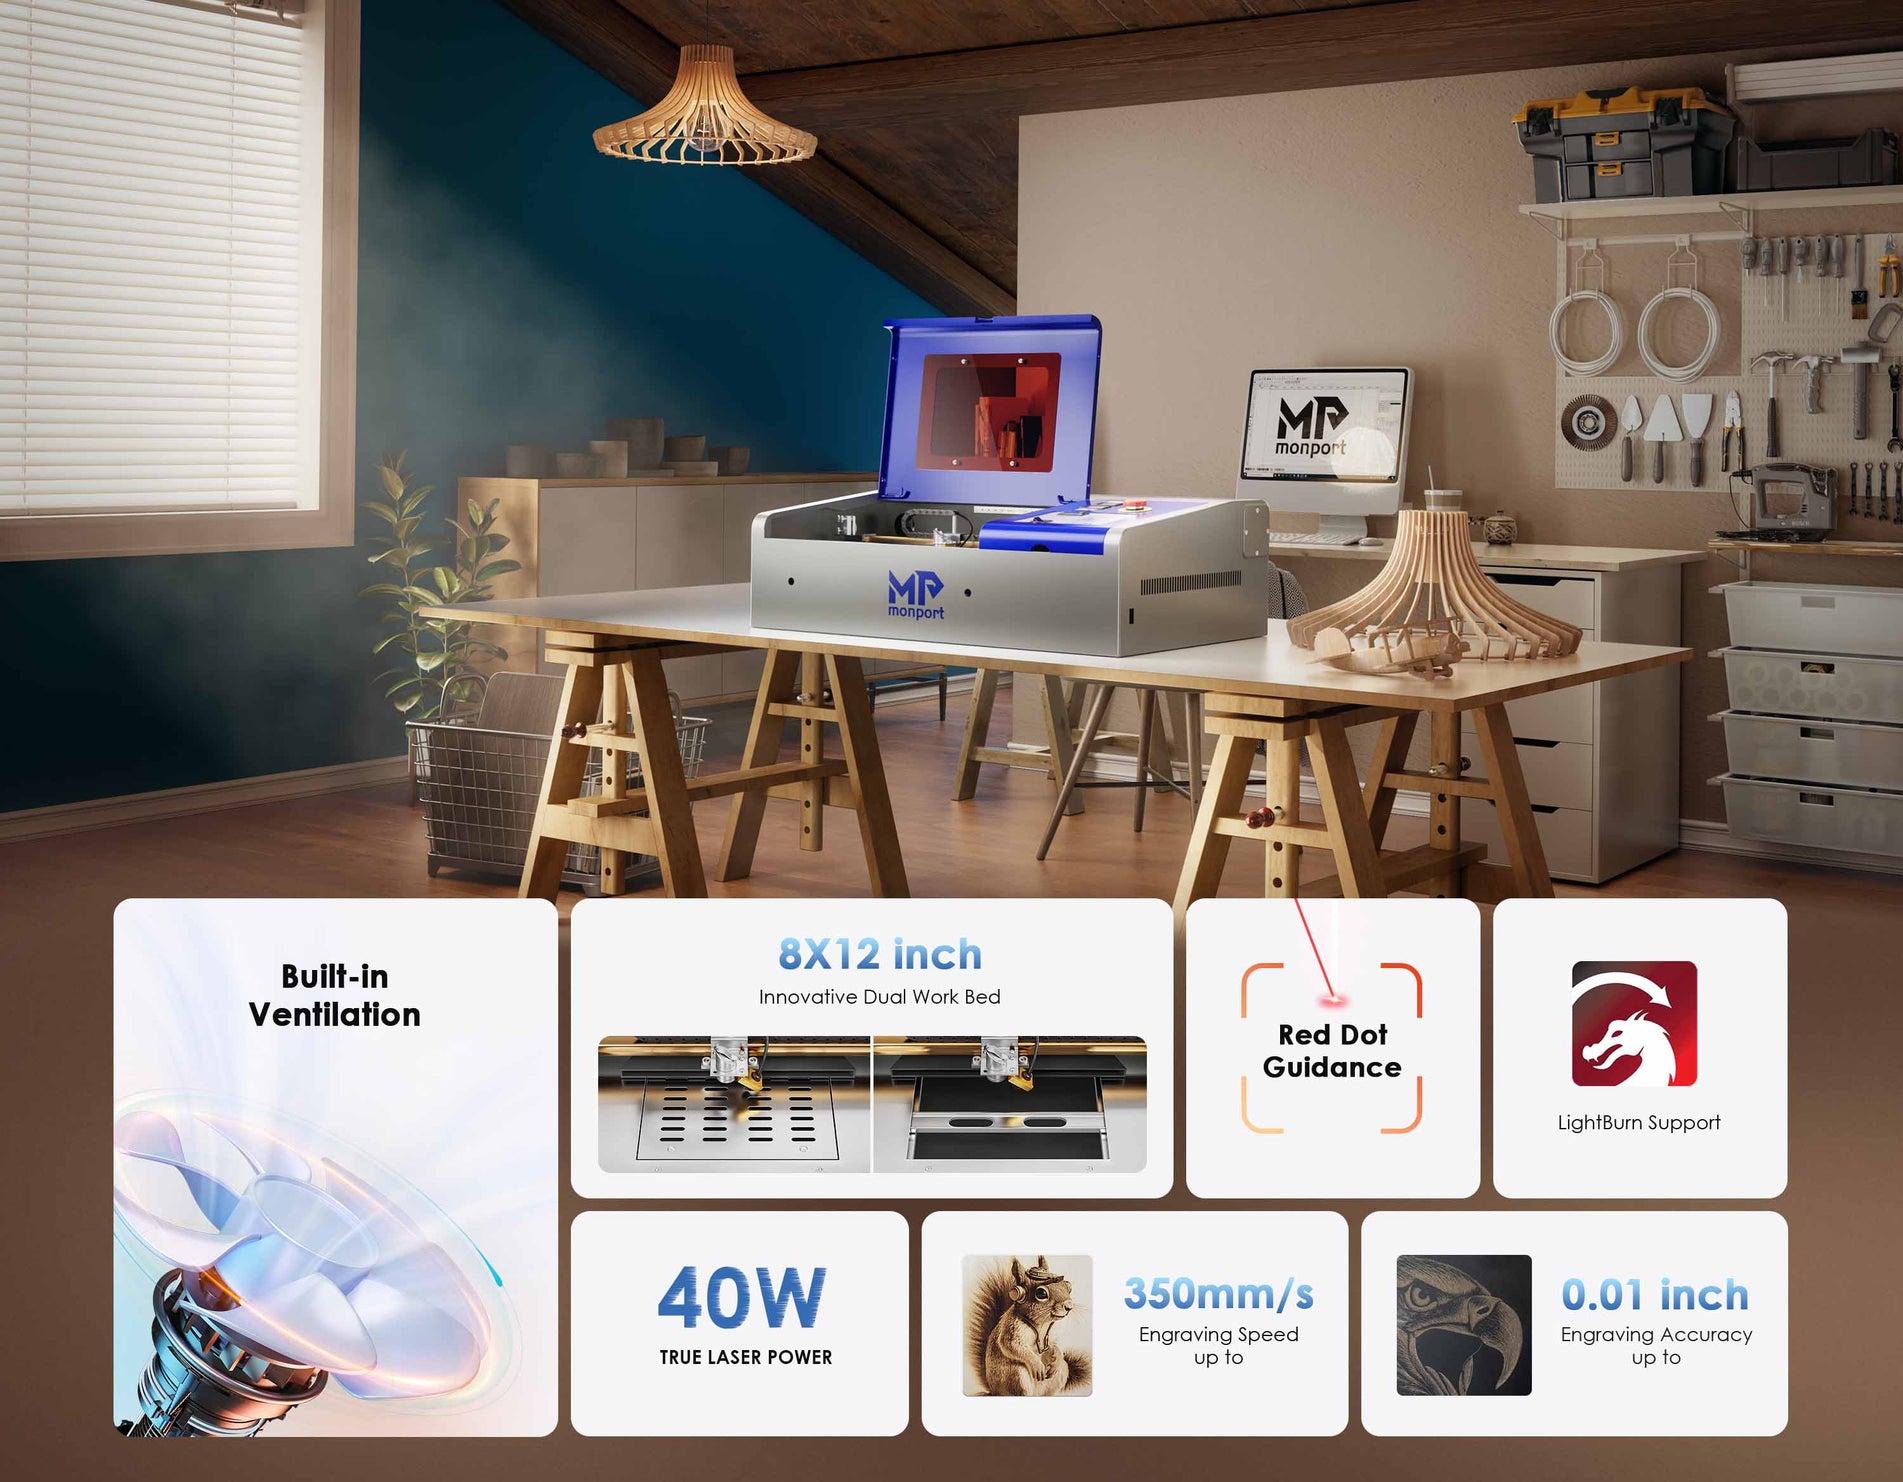
Monport 40W Pro Lightburn-Supported (12" X 8") CO2 Laser Engraver & Cutter with Air Assist - 40W Pro
What is a DIY Laser Engraver?

A DIY laser engraver is a machine that uses a laser to etch designs into various materials. These small laser engraver machines are typically built from kits or plans and can be customized to fit the needs of the user. DIY laser engravers are becoming increasingly popular due to their affordability and accessibility.
How to Engrave with a DIY Laser Engraver
Before we dive into the projects, let's cover some basics on how to engrave with a DIY laser engraver:
- Choose your material. Laser engravers can be used on a variety of materials, including wood, acrylic, leather, and metal.
- Create your design. You can use software like Adobe Illustrator or Inkscape to create your design. Make sure to set up your design to the correct size and resolution.
- Prepare your machine. Follow the manufacturer's instructions to set up your machine and connect it to your computer.
- Adjust the laser settings. Every material is different, so you will need to adjust the laser settings accordingly. Test on a small piece of material before engraving your final design.
- Start engraving. Load your material into the machine and start the engraving process. Make sure to wear safety goggles and gloves to protect yourself.
DIY Laser Engraver Projects

1. Custom Wooden Coasters - Engrave your own unique designs onto wooden coasters to add a personal touch to your home decor.

2. Leather Keychains - Create custom keychains by engraving designs onto leather blanks.

3. Personalized Cutting Boards - Engrave a family name or special message onto a wooden cutting board for a thoughtful gift.

4. Acrylic Nameplates - Use laser engraving to create professional-looking nameplates for your office or workspace.

5. Wooden / Acrylic Jewelry - Engrave intricate designs onto jewelry pieces for a one-of-a-kind accessory.

6. Wooden Phone Cases - Customize your phone case by engraving a design onto a wooden phone case.

7. Glassware - Create personalized glassware by engraving designs onto wine glasses, beer mugs, and more.

8. Engraved leather: Use a laser engraver to etch designs or text onto leather items such as wallets, belts, or keychains.

9. Engraved wooden signs: Use a laser engraver to create a custom wooden sign for a home or business.

10. Customized picture frame: Engrave a name or design onto a wooden picture frame for a unique and personalized touch.
Tips for DIY Laser Engraving Success

Choose the right material
Not all materials are suitable for laser engraving. It’s important to choose a material that is compatible with your laser engraver and can withstand the heat generated by the laser. Popular materials for laser engraving include wood, acrylic, leather, and some metals.
Properly set up your laser engraver
Make sure your laser engraver is properly set up and calibrated before starting the engraving process. This includes ensuring the laser power, speed, and frequency settings are set correctly for the material you are engraving.
Create an optimized design
Use a graphics software program to create a vector-based design that is optimized for laser engraving. This includes making sure the design is the correct size, is in vector format, and is appropriately spaced to avoid overlapping or missed areas.
Choose the right engraving mode
Laser engravers typically have two modes of engraving - raster and vector. A great DIY laser engraver used raster engraving for creating detailed designs and images, while vector engraving is used for creating text or line art.
Properly position the material
Ensure the material is properly positioned on the laser bed to avoid any misalignment or movement during the engraving process.
Test and adjust settings
Before engraving your final product, it’s a good idea to do a test run on a similar piece of material to ensure the laser engraver is properly set up and the design is optimized.
Practice safety measures
Laser engraving can be dangerous if proper safety measures are not taken. Be sure to wear protective eyewear and avoid touching the material or laser during the engraving process.
By following these tips, you can increase your chances of achieving success with DIY laser engraver projects and creating high-quality, personalized products.
Where to Buy DIY Laser Engraver Kits
If you're interested in building your own DIY small laser engraver, there are a variety of kits available online. Some popular options include:
- Monport 40W Lightburn-ready Laser Engraver - This best desktop laser cutter give your more powerful and easy laser engraving journey with LightBurn software.
- Ortur Laser Master 2 - This affordable kit includes everything you need to build your own laser engraver.
- EleksMaker EleksLaser-A3 Pro - This kit features a powerful laser and a large engraving area.
- LaserPecker Pro - This compact kit is perfect for small-scale projects and on-the-go engraving.

Conclusion
DIY small laser engraver engraving is a fun and rewarding hobby that allows you to create custom designs on a variety of materials. With the right tools and techniques, anyone can learn how to laser engrave. Try out one of these DIY small laser engraver items or come up with your own unique design. Happy engraving!


