Makerspaces are creative havens where individuals come together to build, invent, and learn using acrylic laser cutting machines. Whether you're a seasoned maker or a beginner, these spaces offer access to various tools and technologies, including the powerful acrylic laser cutting machine. In this guide, we'll explore the essentials of makerspaces, the versatility of acrylic laser cutting machines, and a fun project to try: a DIY necklace rack. Additionally, we'll delve into how to start laser engraving using the Monport 100W CO2 laser engraver.
Introduction to Makerspaces

Makerspaces are collaborative environments designed for individuals who enjoy creating, building, and experimenting with different materials and technologies. Central to many of these spaces are advanced tools like the acrylic laser cutting machine, which enables precise and intricate cuts on various materials. One exciting project you can undertake in a makerspace is crafting a DIY necklace rack, a practical and creative way to organize your jewelry.
Why Choose an Acrylic Laser Cutting Machine?
Flash Sale | Monport 100W CO2 Laser Engraver & Cutter (40" x 24") with FDA Approved
Precision and Versatility
An acrylic laser cutting machine is a must-have tool in any makerspace. It offers unparalleled precision, allowing users to create detailed designs and cuts on acrylic sheets and other materials. The machine's versatility extends to various applications, from crafting intricate jewelry pieces to creating large-scale art installations.
Speed and Efficiency
With its high-speed cutting capabilities, an acrylic laser cutting machine significantly reduces the time needed to complete projects. This efficiency is particularly beneficial in a makerspace, where multiple users might be waiting to use the equipment. The ability to quickly switch between projects enhances productivity and creativity.
Clean and Accurate Cuts
The laser technology ensures clean and accurate cuts, minimizing the need for post-processing. This feature is especially important for projects requiring high precision, such as the DIY necklace rack. The machine’s accuracy guarantees that each component of your project fits perfectly.
Getting Started with the Monport 100W CO2 Laser Engraver
For those looking to start laser engraving, the Monport 100W CO2 laser engraver is an excellent choice. Here’s a step-by-step guide to help you get started:
Step 1: Unboxing and Setup
Upon receiving your Monport 100W CO2 laser engraver, carefully unbox the machine and ensure all components are included. Follow the manufacturer’s instructions for assembling the machine. Place the engraver on a stable surface in a well-ventilated area to ensure optimal performance and safety.
Step 2: Installing the Software
Install the provided Lightburn software, which is compatible with the Monport 100W CO2 laser engraver. This software allows you to design and edit your projects with ease. Follow the installation instructions and ensure your computer meets the software’s system requirements.
Step 3: Connecting the Machine
Connect the Monport 100W CO2 laser engraver to your computer using the provided USB cable. Ensure all connections are secure before powering on the machine. Open the Lightburn software and verify that the engraver is properly connected and recognized by the software.
Step 4: Preparing Your Design
Use the Lightburn software to create or import your design. Adjust the design’s size and position according to the dimensions of the material you will be engraving. The built-in 5MP camera allows you to preview the work area and make precise adjustments.
Step 5: Setting Up the Material
Place the material on the work area of the engraver. Use the one-touch auto-focus feature to automatically adjust the laser to the correct focal distance. This ensures optimal engraving quality and accuracy.
Step 6: Adjusting the Settings
Set the appropriate power, speed, and number of passes in the Lightburn software. For different materials and thicknesses, these settings may vary. Perform test cuts on scrap material to fine-tune these settings and achieve the desired results.
Step 7: Engraving Your Design
Once all settings are configured, start the engraving process. Monitor the machine during operation to ensure everything runs smoothly. The Monport 100W CO2 laser engraver’s safety features will help prevent accidents and ensure a clean working environment.
Step 8: Post-Engraving Care
After the engraving is complete, carefully remove the material from the work area. Inspect the engraving for any imperfections and clean the work area to maintain the machine’s performance. Regular maintenance, such as cleaning the lens and mirrors, will ensure long-term reliability.
Crafting a DIY Necklace Rack

Creating a DIY necklace rack is a fantastic project to undertake in a makerspace, utilizing the precision of an acrylic laser cutting machine. Here’s how you can make your own:
Materials Needed
- Acrylic sheets
- Laser cutting design software (such as Lightburn)
- Monport 100W CO2 laser engraver
- Adhesive hooks or pegs
- Mounting hardware
Designing the Rack
-
Conceptualize Your Design: Start by sketching your necklace rack design on paper. Consider the size, shape, and number of hooks or pegs you’ll need.
-
Digital Design: Transfer your design to the laser cutting software. Ensure the dimensions match your acrylic sheet size and adjust the design for optimal material use.
Cutting the Acrylic
-
Prepare the Material: Place the acrylic sheet on the work area of the Monport 100W CO2 laser engraver.
-
Adjust Settings: Set the laser engraver’s power, speed, and focus settings for cutting acrylic. Perform a test cut on a scrap piece to ensure accuracy.
-
Cutting Process: Once satisfied with the settings, proceed with cutting the acrylic sheet. Monitor the process to ensure precision and safety.
Assembling the Rack
-
Clean the Pieces: After cutting, remove any protective film from the acrylic pieces and clean any residue.
-
Attach Hooks/Pegs: Use adhesive hooks or pegs to the acrylic sheet according to your design. Ensure they are evenly spaced and securely attached.
-
Mounting the Rack: Attach mounting hardware to the back of the acrylic sheet and securely mount the necklace rack on the wall.
Advanced Projects with Acrylic Laser Cutting Machines
Once you’re comfortable with basic projects like the DIY necklace rack, you can explore more advanced applications with your acrylic laser cutting machine:
Custom Signage
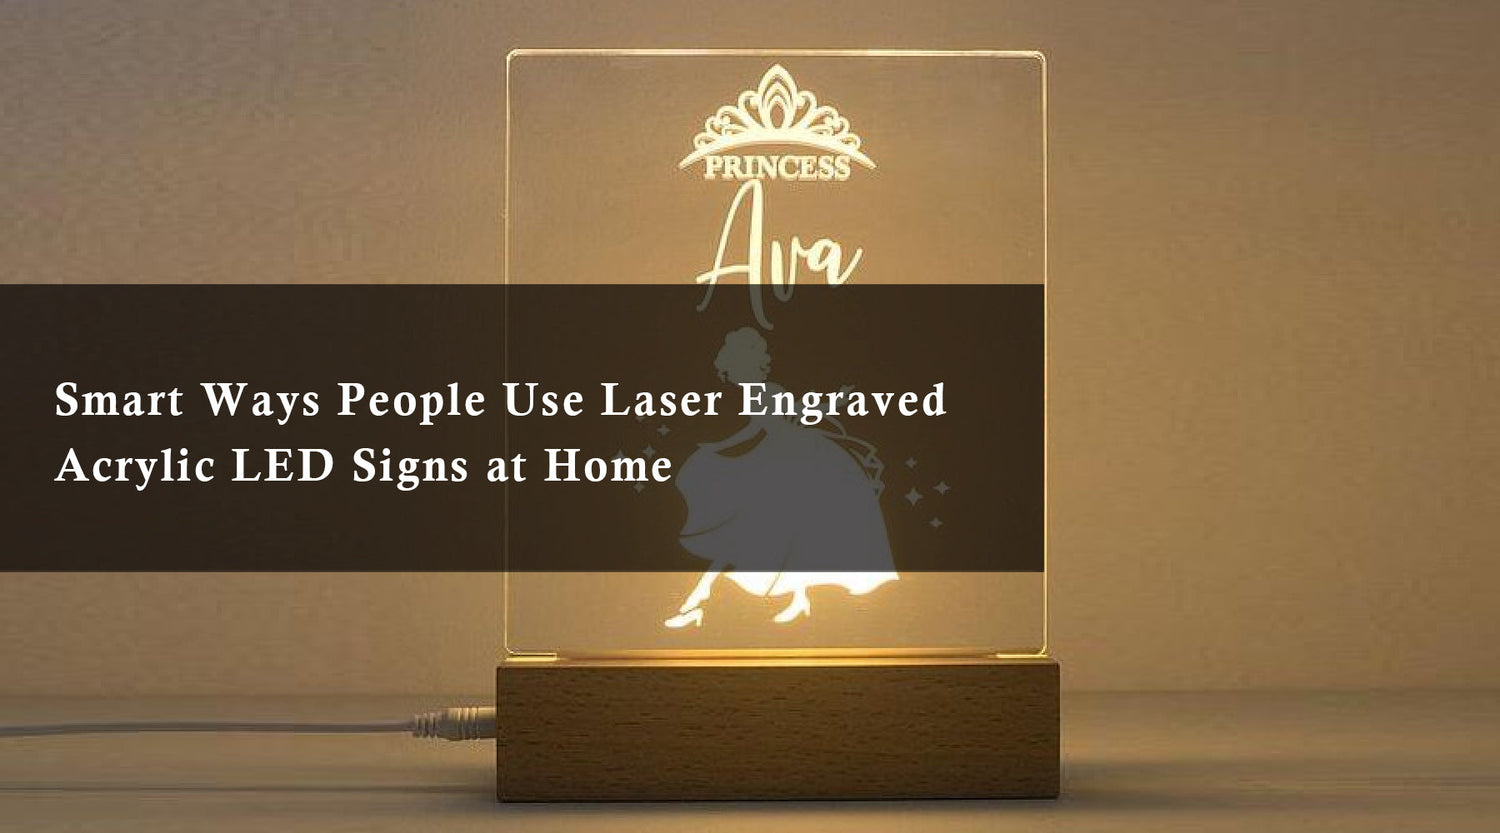
Create personalized signs for homes, businesses, or events. Use different acrylic colors and combine engraving and cutting techniques to produce unique and eye-catching designs.
Artistic Creations
Experiment with intricate patterns and layered designs to create stunning art pieces. The precision of the acrylic laser cutting machine allows for detailed and complex projects that can be displayed as standalone artworks or integrated into larger installations.
Functional Items
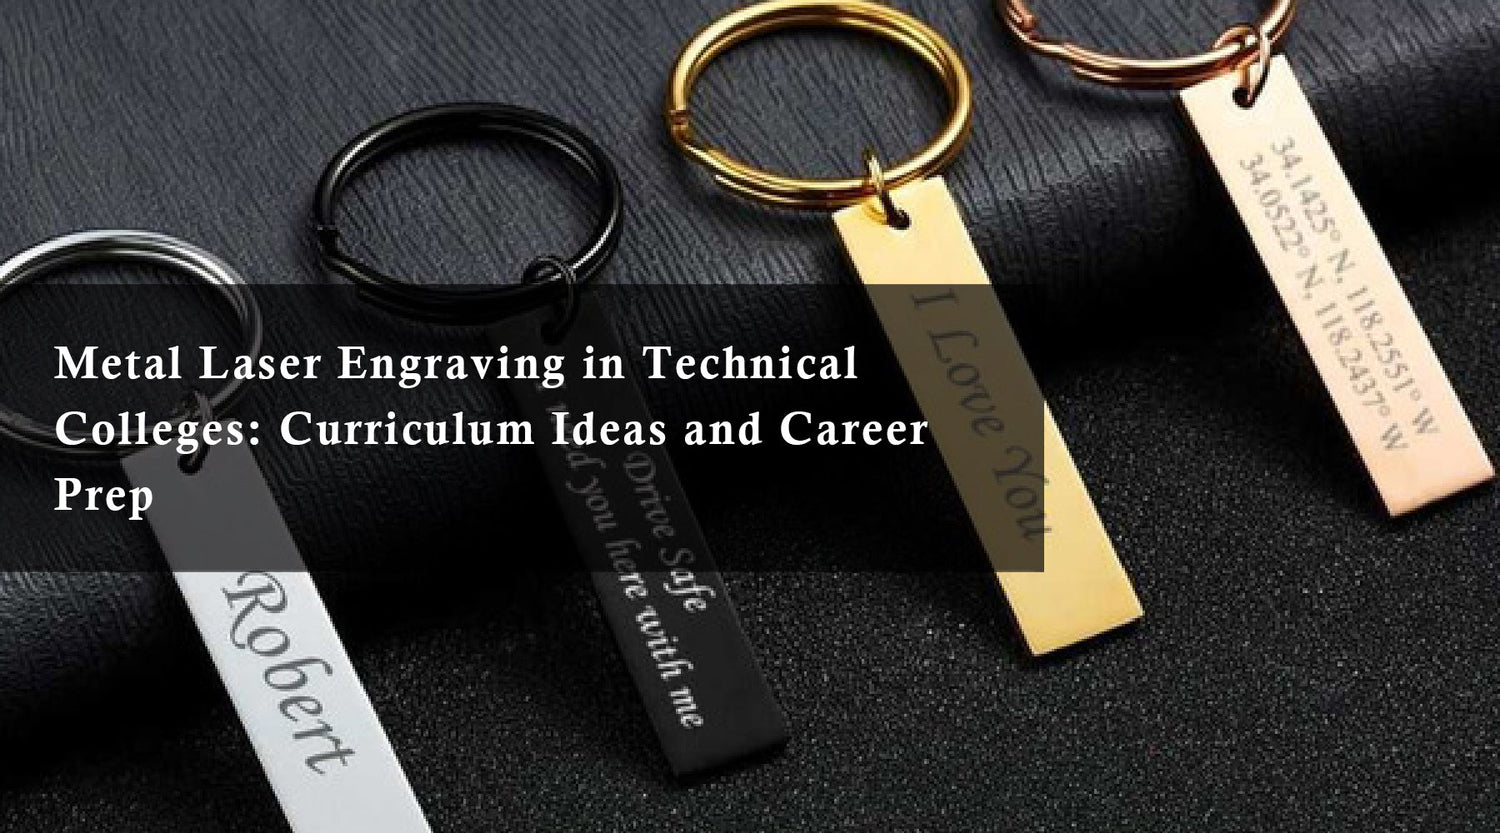
Design and fabricate functional items such as key holders, coasters, or even furniture components. The versatility of the Monport 100W CO2 laser engraver makes it suitable for a wide range of practical applications.
Tips for Successful Laser Cutting
Material Selection
Choose high-quality acrylic sheets that are compatible with your acrylic laser cutting machine. The material’s thickness and color can affect the cutting and engraving quality.
Design Optimization
Ensure your designs are optimized for laser cutting. Avoid overly complex patterns that may be difficult to cut accurately. Use vector-based designs for precision and clarity.
Regular Maintenance
Perform regular maintenance on your laser engraver to keep it in optimal condition. Clean the lens and mirrors, check for any signs of wear, and replace consumables as needed.
Conclusion
Makerspaces provide a dynamic environment for creativity and innovation, with tools like the acrylic laser cutting machine playing a central role. Whether you’re crafting a DIY necklace rack or exploring more advanced projects, the precision and versatility of the Monport 100W CO2 laser engraver make it an invaluable asset. By following the steps outlined in this guide, you can unlock the full potential of laser cutting and engraving, transforming your ideas into reality. Embrace the possibilities and start your laser engraving journey today.


