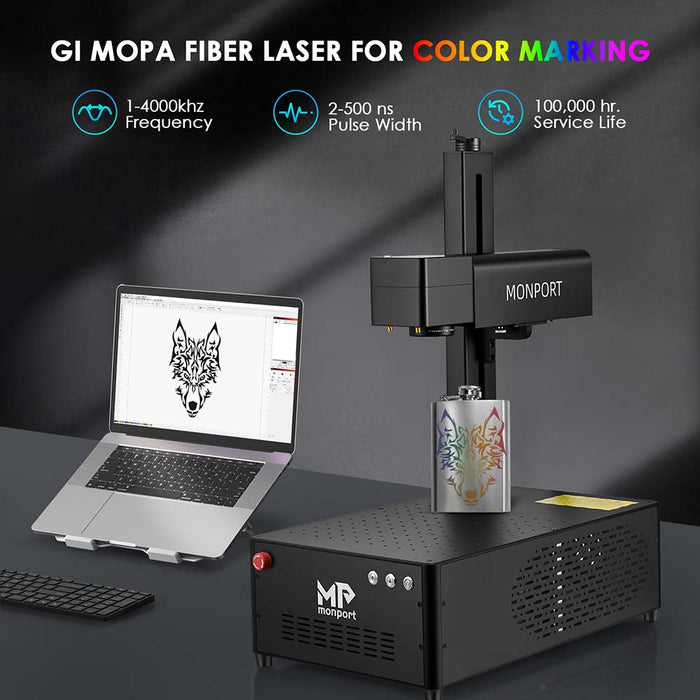
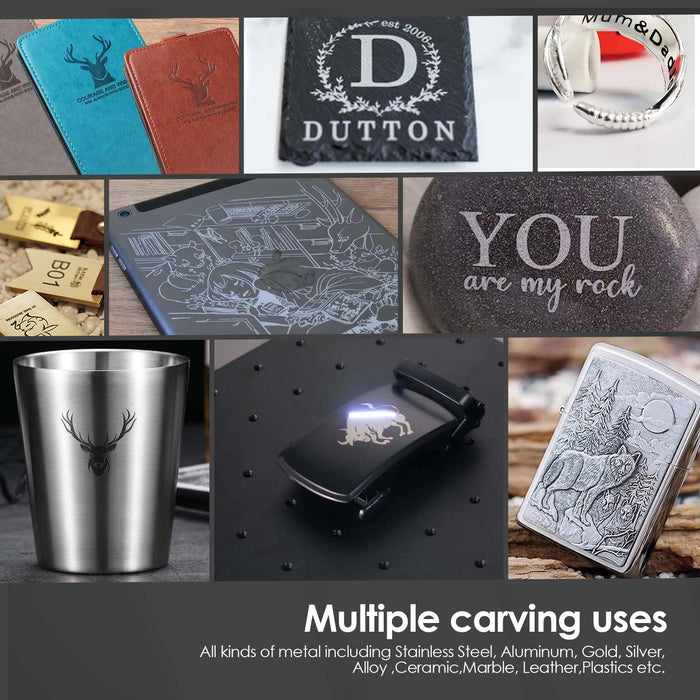
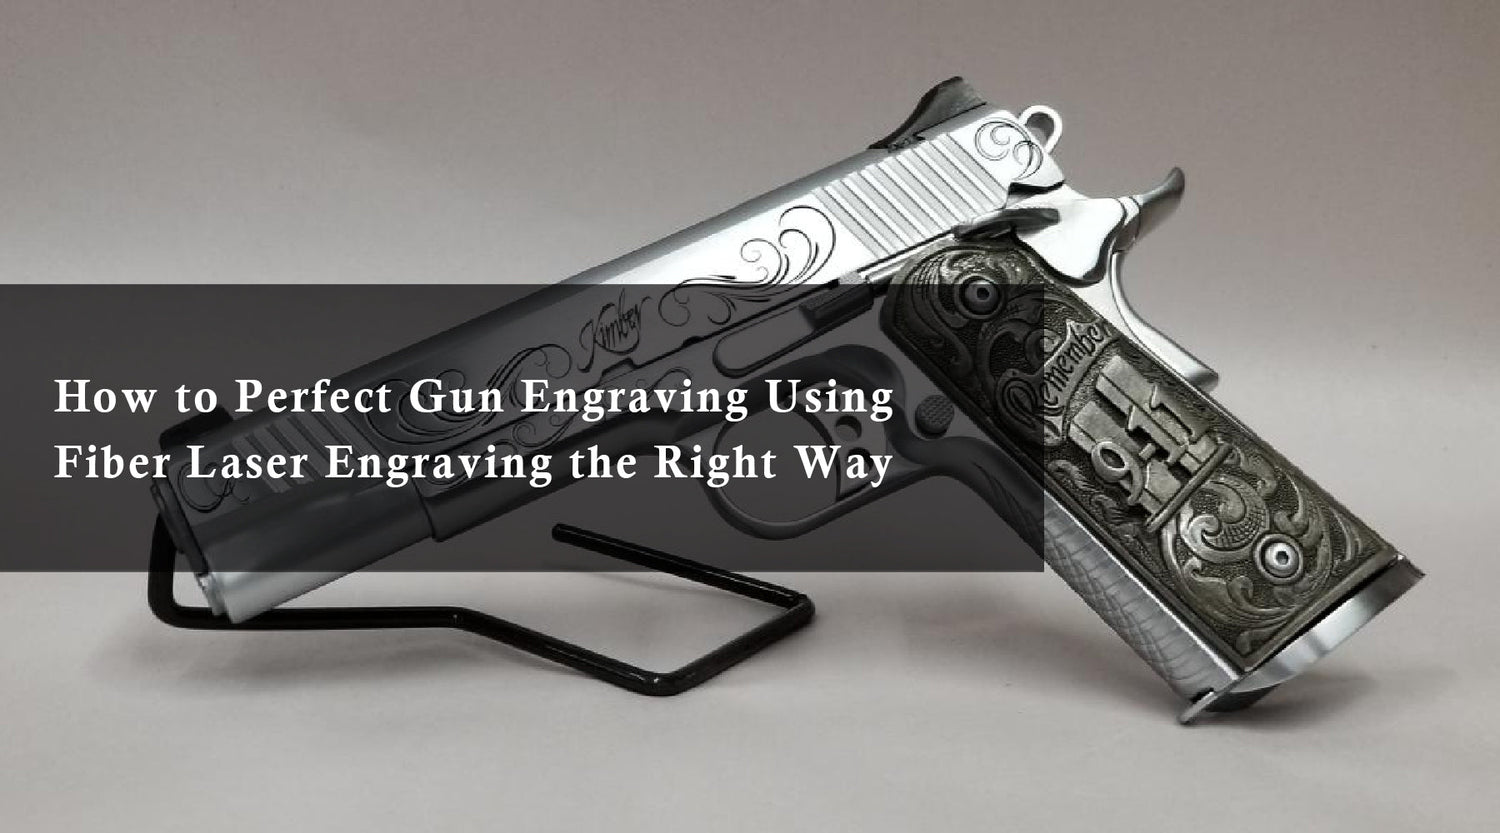
Laser engraving on metal is a fascinating process that allows you to create intricate designs, texts, and patterns on various metallic surfaces. Whether you're a hobbyist, an artist, or a professional, mastering the art of laser engraving on metal opens up a world of creative possibilities. In this comprehensive guide, we'll walk you through the step-by-step process of laser engraving on metal using a laser engraving machine.
How to Laser Engrave on Metal

Step 1: Selecting the Right Metal
Before you begin, it's essential to choose the right type of metal for your engraving project. Common metals suitable for laser engraving include stainless steel, aluminum, brass, copper, and titanium. Each metal has its unique characteristics and properties, so consider factors such as color, hardness, and surface finish when making your selection.
Step 2: Preparing Your Design
Once you've selected your metal, it's time to prepare your design. You can create your design using graphic design software like Adobe Illustrator, CorelDRAW, or AutoCAD. Ensure that your design is vector-based and properly scaled to fit the dimensions of your metal surface. Vector graphics work best for laser engraving as they provide precise lines and shapes.
Step 3: Setting Up Your Laser Engraving Machine
Next, set up your laser engraving machine according to the specifications of your metal and design. Adjust the laser power, speed, and frequency settings based on the material you're engraving and the desired depth of engraving. Test the settings on a scrap piece of metal to ensure optimal results before engraving your final design.
Step 4: Securing the Metal Surface
Secure the metal surface firmly onto the engraving bed of your laser engraving machine using clamps or a vacuum table. Ensure that the metal is flat and level to prevent distortion or misalignment during the engraving process. Take note of any surface imperfections or irregularities that may affect the quality of your engraving.
Step 5: Focusing the Laser Beam
Proper focusing of the laser beam is crucial for achieving sharp and precise engraving results. Use the autofocus feature or manually adjust the focal length of the laser lens to ensure that the beam is focused at the correct distance from the metal surface. This step is essential for achieving consistent engraving depth across the entire design.
Step 6: Running the Engraving Job
Once everything is set up and calibrated, it's time to run the engraving job. Start the laser engraving machine and carefully monitor the engraving process to ensure that it proceeds smoothly. Pay attention to any signs of overheating, smoke, or unusual noises, and adjust the settings if necessary to optimize the engraving quality.
Step 7: Post-Processing and Cleaning
After the engraving job is complete, allow the metal surface to cool down before handling it. Use a soft brush or compressed air to remove any debris or residue from the engraved area. Depending on the metal and design, you may also choose to apply additional finishing techniques such as polishing, painting, or coating to enhance the appearance of the engraving.
Step 8: Quality Inspection and Final Touches
Inspect the engraved metal surface thoroughly to ensure that the design is crisp, clear, and free of defects. Make any necessary adjustments or touch-ups to refine the engraving if needed. Once you're satisfied with the results, remove the metal from the engraving machine and admire your masterpiece.
Conclusion
Laser engraving on metal is a versatile and rewarding process that allows you to create stunning works of art, personalized gifts, and custom products with precision and accuracy. By following this detailed guide and mastering the techniques of laser engraving, you can unleash your creativity and bring your metal engraving projects to life with confidence and skill.


