

Laser engraving has revolutionized the art of customization, allowing for intricate and precise designs on a variety of materials. Among these materials, glass stands out for its elegance and versatility. Engraving glass with a CO2 laser opens up a world of possibilities, from personalized gifts to sophisticated home decor. With the best laser engraver, you can achieve high-quality results that showcase your creativity and craftsmanship. In this article, we will explore the basics of engraving glass with a CO2 laser and provide a step-by-step guide to start laser engraving tumblers.
Why Choose a CO2 Laser for Glass Engraving?
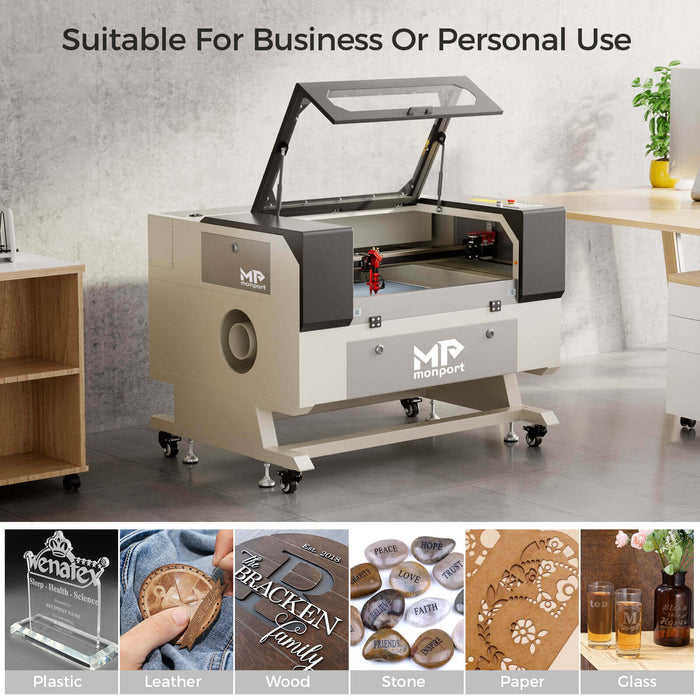
CO2 lasers are highly effective for engraving glass due to their precise control and ability to produce fine details. Here are some reasons why a CO2 laser is an excellent choice for glass engraving:
- Precision: CO2 lasers offer high precision, allowing for detailed and intricate designs on glass surfaces.
- Versatility: These lasers can handle a variety of glass types, including tumblers, bottles, and decorative pieces.
- Non-Contact Process: The laser engraves without physical contact, reducing the risk of breakage or damage to the glass.
- Customization: CO2 lasers can easily create custom designs, logos, and text, making them ideal for personalized gifts and promotional items.
Getting Started with Glass Engraving

Before you begin engraving glass with a CO2 laser, it's essential to understand the basic steps and necessary preparations. Here’s a comprehensive guide to get you started, ensuring you use the best laser engraver for the job and achieve outstanding results.
1. Choose the Right Laser Engraver
Selecting the appropriate laser engraver is crucial for achieving high-quality results. A CO2 laser engraver with adjustable power settings and a stable work area is ideal. Some popular models for glass engraving include:
- Monport 60W CO2 Laser Engraver: Known for its precision and versatility, suitable for various engraving projects.

- K40 CO2 Laser Engraver: A budget-friendly option that offers good performance for beginners.

2. Prepare Your Design
Create or select the design you want to engrave on the glass tumbler. Design software such as Adobe Illustrator, CorelDRAW, or LightBurn can be used to create intricate patterns, logos, or text. Ensure the design fits well within the dimensions of the tumbler.
3. Clean the Glass Surface
Before engraving, thoroughly clean the glass tumbler to remove any dust, oils, or residues that could interfere with the engraving process. Use a glass cleaner and a lint-free cloth to achieve a spotless surface.
4. Secure the Tumbler
Place the glass tumbler securely in the laser engraver’s work area. Depending on your machine, you may need a rotary attachment to hold the tumbler in place and ensure even engraving around its circumference.
5. Adjust Laser Settings
Set the appropriate laser parameters, including power, speed, and resolution. These settings may vary depending on the type of glass and the desired depth of the engraving. As a general rule, start with lower power and higher speed to avoid cracking or chipping the glass. Using the best laser engraver, such as a CO2 laser, ensures precision and reduces the risk of damage to the delicate surface.
6. Conduct a Test Run
Perform a test run on a similar piece of glass to fine-tune your settings and ensure the design will be accurately engraved. This step helps avoid mistakes and ensures optimal results.
7. Start Engraving
Once you are satisfied with the test run, proceed to engrave the actual tumbler. Monitor the process to ensure everything is running smoothly. The best laser engraver, like a CO2 laser, will create precise and clean engravings on the glass surface.
8. Clean and Inspect
After the engraving is complete, clean the tumbler again to remove any debris or residue from the engraving process. Inspect the design for accuracy and quality.
Tips for Successful Glass Engraving

- Use Masking Tape: Applying masking tape to the glass surface can help prevent chipping and provide a smoother finish.
- Optimal Focus: Ensure the laser is properly focused for sharp and clear engravings. Adjust the focus based on the thickness of the glass.
- Ventilation: Proper ventilation is crucial to remove fumes and particles generated during the engraving process.
Enhance Your Metal Engraving with Monport Black Laser Marking Spray
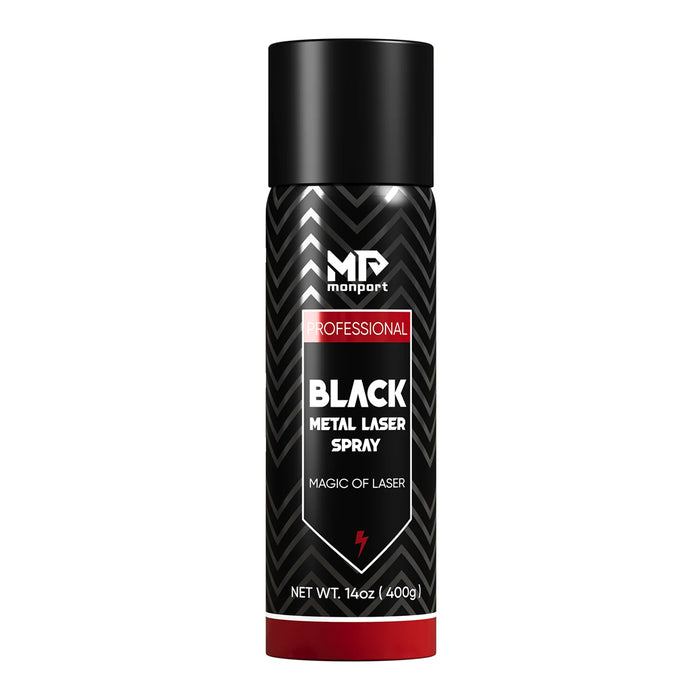
Monport black laser marking spray offers a reliable and easy-to-use solution for creating high-contrast, permanent marks on various metals. Compatible with CO2 laser engraving machines, this black laser marking spray provides an excellent finish on materials like aluminum, stainless steel, and brass. With its advanced formula, the spray ensures even coverage and deep penetration into the surface, producing durable marks that are resistant to heat and wear. The black laser marking spray dries quickly, allowing you to complete your projects efficiently. After engraving, simply rinse off the spray to reveal sharp, crisp markings. Monport’s black laser marking spray is the perfect tool for personalizing products, customizing metal items, and creating high-quality industrial markings with ease.
Conclusion
Engraving glass with a CO2 laser opens up endless possibilities for creating personalized and decorative items. Whether you are making custom gifts, promotional products, or unique home decor, understanding the basics of glass engraving and following the right steps will help you achieve stunning results. With the right equipment, such as the best laser engraver, design, and technique, you can start engraving glass tumblers and other glass items with precision and creativity. Embrace the potential of CO2 laser engraving and explore the art of customizing glass like never before.


