Learning how to make custom stamps are a fun way to add your personal touch to crafts and projects. Making custom stamps at home is easy and allows for endless creativity.
Custom Making Stamps Guide

Here's a simple guide about making custom stamps to get you started:
-
Choose Your Design: Pick a design you like for your stamp. It could be a symbol, letter, or even a small drawing.
-
Transfer Your Design: Trace your design onto a rubber stamp block. Make sure it's mirrored so it stamps the right way.
-
Carve Your Stamp: Use carving tools to carefully remove the rubber around your design. Take your time to make clean lines.
-
Test Your Stamp: Try out your stamp on a piece of paper with ink to see how it looks. Make any adjustments if needed.
-
Mount Your Stamp: Glue your stamp onto a wooden block or handle for easier use.
Now, let's talk about how the Monport 40W CO2 Laser Engraver can make stamp-making even easier:
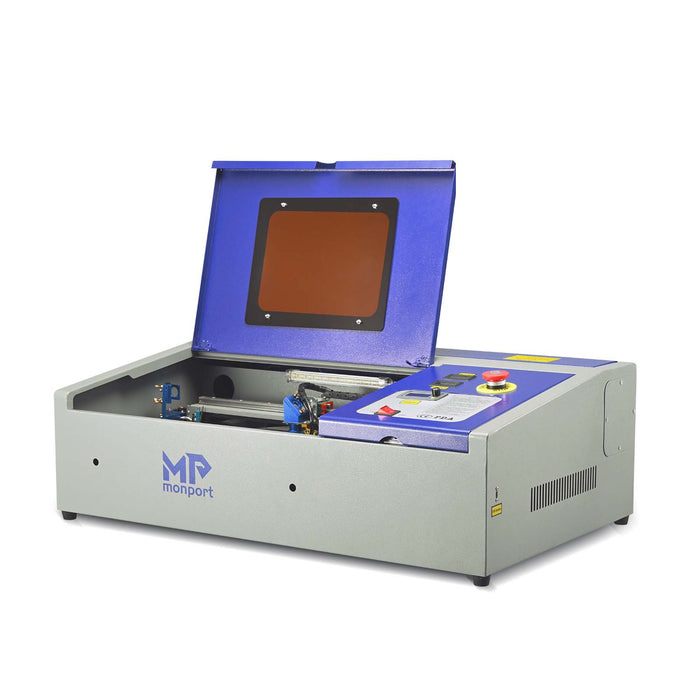
Special Offer | Monport 40W Pro Lightburn-Supported (12" X 8") CO2 Laser Engraver & Cutter with Air Assist
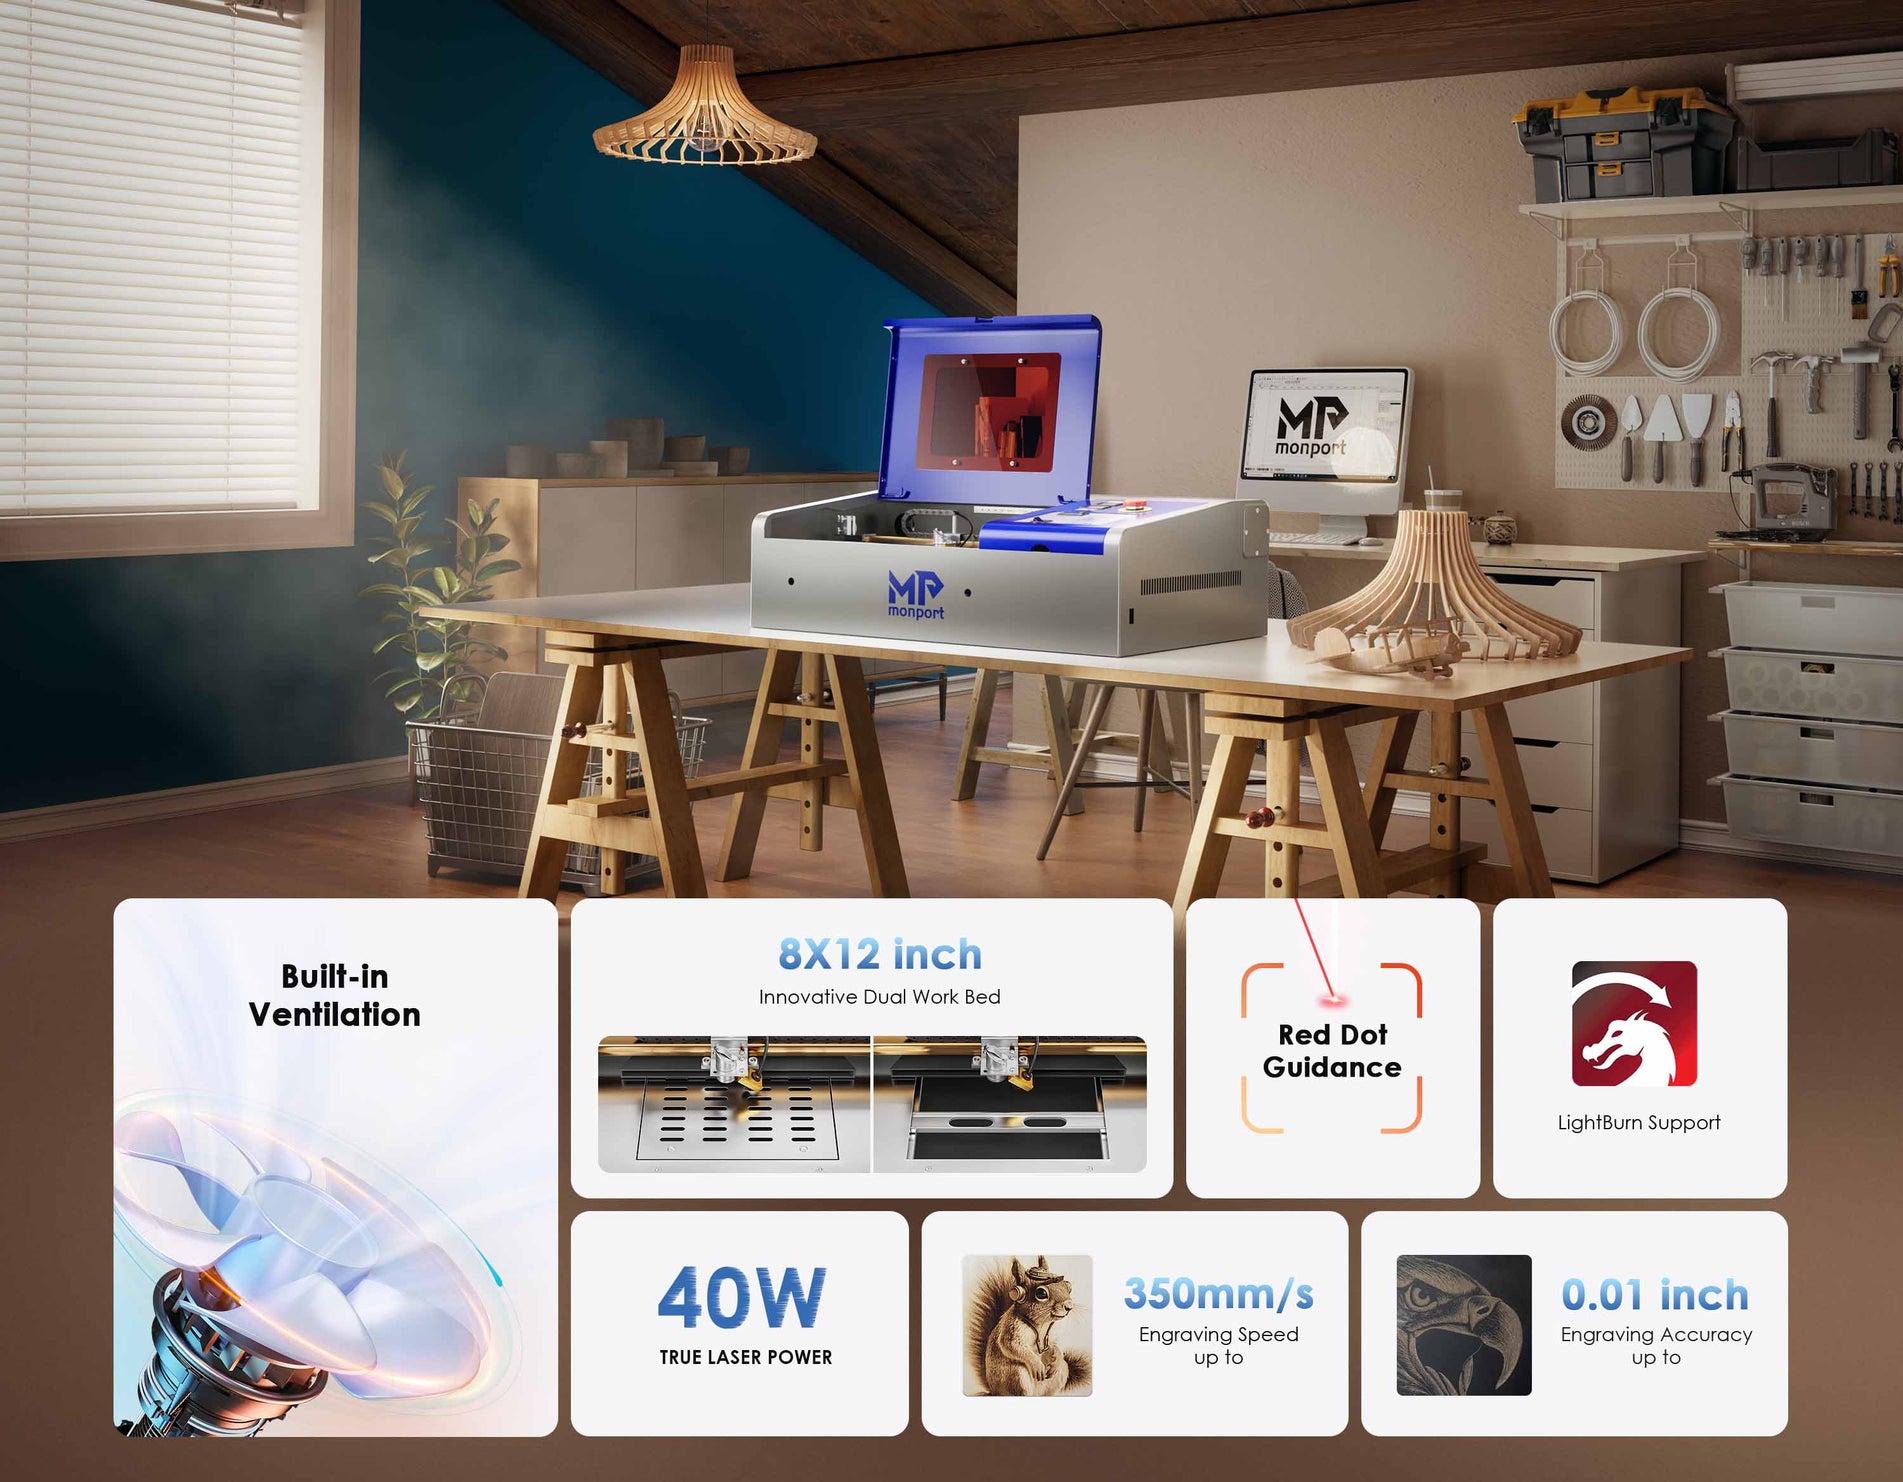
Fast and Precise: This machine engraves your stamp designs quickly and accurately, so they come out just right every time.
Easy Software: It works with Lightburn software, which is easy to use and gives you lots of options for designing your stamps.
Clear Engravings: The built-in air assist system helps make sure your stamps come out clear and clean, even on tricky materials.
Great Features: With adjustable parts and helpful features like Red Dot Guidance, it's simple to make stamps that look perfect.
Flexible Workspace: The machine has a dual work bed, so you can work with different materials and sizes easily.
Safe to Use: It has a ventilation system that keeps the air clean while you work, so you can focus on your crafts without worries.
Conclusion
Making custom stamps is a fun and creative way to add your own flair to projects. With the Monport 40W CO2 Laser Engraver, stamp-making is easier and more enjoyable than ever. Visit the Monport website to learn more and start creating your own unique stamps today!
